1. Introduction
Thank you for purchasing the Majority Scholars Compact DVD Player. This device is designed for versatile media playback, supporting multiple disc formats and regions. It features both HDMI and RCA connectivity for broad compatibility with various display devices, along with a USB port for playing digital media files. This manual provides essential information for setting up, operating, and maintaining your DVD player.
2. Safety Information
- Do not expose the unit to rain or moisture to prevent fire or electric shock.
- Ensure proper ventilation around the unit. Do not block ventilation openings.
- Avoid placing the unit on unstable surfaces.
- Do not open the casing. Refer all servicing to qualified personnel.
- Unplug the unit during lightning storms or when unused for long periods.
- Use only attachments/accessories specified by the manufacturer.
3. Package Contents
Please check the box for the following items:
- Majority Scholars Compact DVD Player
- Remote Control
- HDMI Cable
- RCA AV Cable
- Power Adapter
- User Manual

Figure 3.1: Contents of the Majority Scholars DVD Player package.
4. Product Overview
4.1 Front Panel

Figure 4.1: Front view of the DVD player.

Figure 4.2: Close-up of front panel controls and USB port.
The front panel includes the disc tray, a digital display, and essential control buttons such as Open/Close, Play/Pause, and Stop. A USB port is also located on the front for convenient access to digital media.
4.2 Rear Panel

Figure 4.3: Rear panel with connection ports.
The rear panel features the HDMI output for high-definition connection, RCA audio/video outputs for standard definition connections, and the power input port.
4.3 Remote Control
The included remote control provides full functionality for operating the DVD player from a distance. It requires two AAA batteries (not included).
5. Setup
5.1 Connecting to a TV
You have two primary options for connecting your DVD player to a television:
- HDMI Connection (Recommended for best quality):
Connect one end of the supplied HDMI cable to the HDMI OUT port on the rear of the DVD player and the other end to an HDMI input port on your TV. Select the corresponding HDMI input on your TV using its remote control. - RCA Connection (Standard Definition):
Connect the supplied RCA AV cable to the VIDEO OUT (yellow), AUDIO OUT L (white), and AUDIO OUT R (red) ports on the rear of the DVD player. Connect the other end of the cable to the corresponding AV input ports on your TV. Select the AV input on your TV using its remote control.
5.2 Power Connection
Connect the power adapter to the DC IN port on the rear of the DVD player, then plug the adapter into a standard electrical outlet.
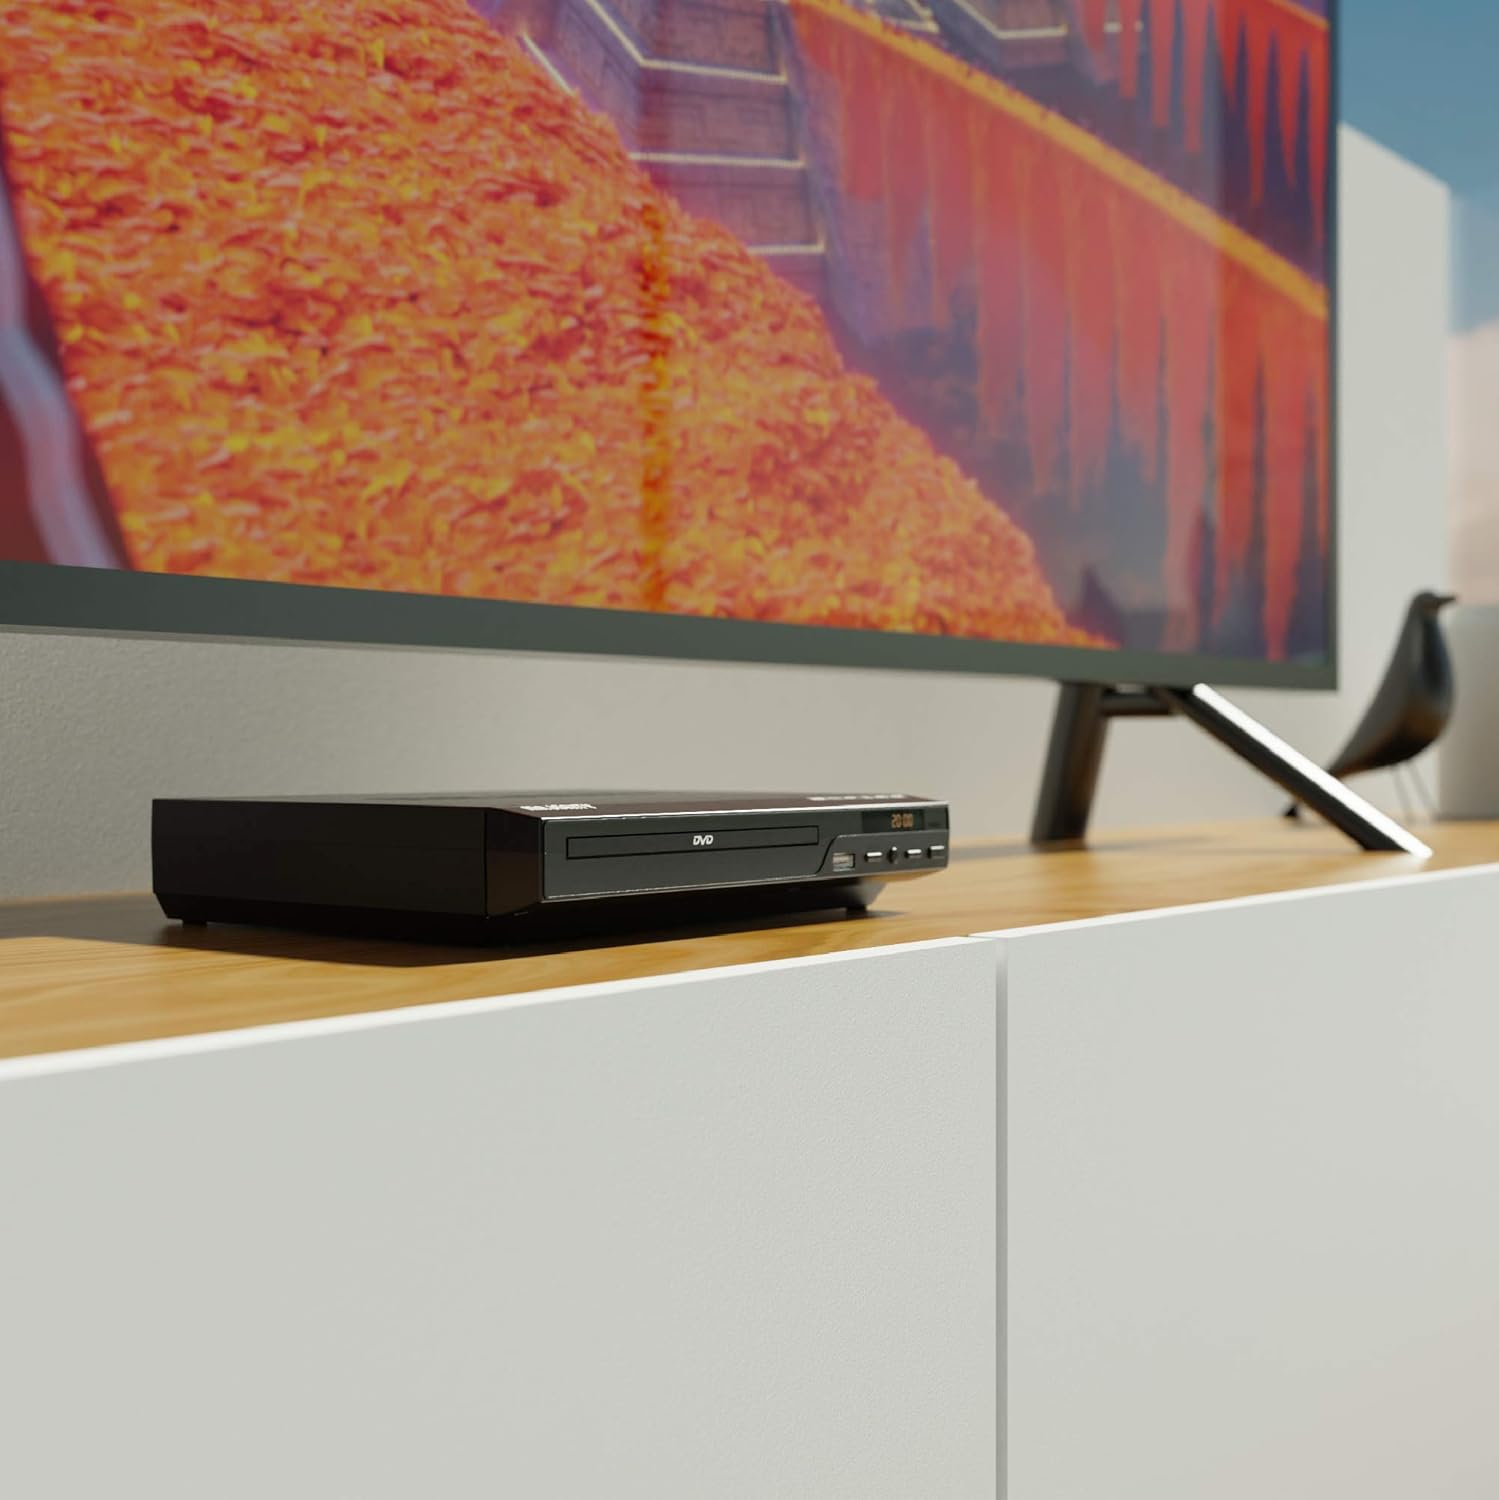
Figure 5.1: DVD player connected and ready for use.
6. Operating Instructions
6.1 Basic Disc Playback
- Power on the DVD player and your TV. Select the correct input source on your TV.
- Press the OPEN/CLOSE button on the front panel or remote control to open the disc tray.
- Place a DVD or CD disc gently into the tray with the label side facing up.
- Press the OPEN/CLOSE button again to close the tray. The player will begin loading the disc.
- Playback should start automatically. If a menu appears, use the remote control's arrow keys and OK button to navigate.
- Use the PLAY/PAUSE and STOP buttons on the remote or front panel to control playback.
6.2 USB Playback
- Insert a USB flash drive into the USB port on the front panel.
- The player should automatically detect the USB device and display its contents. If not, press the USB button on the remote control.
- Navigate through your files using the arrow keys on the remote and press OK to select and play media (e.g., videos, music, photos).
6.3 Multi-Region and PAL/NTSC Support
This DVD player is region-free, meaning it can play DVDs from all regions (1-6). It also features a built-in PAL/NTSC system, automatically converting video signals to match your TV's standard, ensuring compatibility with discs from different territories.
7. Maintenance
- Cleaning the Unit: Use a soft, dry cloth to clean the exterior of the DVD player. Do not use liquid cleaners or aerosol sprays.
- Cleaning Discs: Wipe discs from the center outwards with a soft, lint-free cloth. Avoid touching the playback surface.
- Ventilation: Ensure the ventilation slots on the player are not obstructed to prevent overheating.
8. Troubleshooting
| Problem | Possible Cause | Solution |
|---|---|---|
| No power | Power cable not connected or outlet faulty. | Check power cable connection and try a different outlet. |
| No picture/sound | Incorrect TV input selected or connection cables loose. | Select the correct HDMI/AV input on your TV. Ensure cables are securely connected. |
| "No Disc" error | Disc is dirty, scratched, or inserted incorrectly. | Clean the disc. Ensure the disc is inserted label-side up. Try a different disc. |
| Remote control not working | Batteries are dead or inserted incorrectly. Obstruction between remote and player. | Replace batteries. Ensure line of sight to the player's sensor. |
| Disc playback skips or freezes | Disc is dirty or damaged. Player is on an unstable surface. | Clean the disc. Place the player on a stable, level surface. |
9. Specifications
- Model: ojksfvx-1329
- Product Dimensions: 8.86 x 7.48 x 1.77 inches
- Item Weight: 1.5 pounds
- Media Type: CD, DVD (Multi-Region, Region Free)
- Supported Systems: PAL/NTSC
- Resolution: Up to 1920x1080 (via HDMI upconverting)
- Connector Types: HDMI, RCA, USB
- Audio Output Mode: Stereo, Surround Sound
- Color: Black

Figure 9.1: Dimensions of the DVD player.
10. Warranty and Support
The Majority Scholars Compact DVD Player comes with a 3-year warranty. For technical support, warranty claims, or further assistance, please refer to the contact information provided in your product packaging or visit the official Majority website.


