1. Important Safety Instructions
Please read all instructions carefully before using the dehumidifier. Keep this manual for future reference.
- Always ensure the dehumidifier is placed on a stable, level surface to prevent tipping.
- Do not block the air inlet or outlet. Maintain at least 20 cm (8 inches) clearance from walls or furniture.
- Do not operate the unit near flammable gases or combustible materials.
- Unplug the dehumidifier from the power outlet before cleaning, moving, or performing any maintenance.
- Do not immerse the unit, power cord, or plug in water or other liquids.
- Keep children and pets away from the dehumidifier during operation.
- Use only a grounded electrical outlet with the correct voltage (230V).
- If the power cord is damaged, it must be replaced by the manufacturer, its service agent, or similarly qualified persons to avoid a hazard.
2. Product Overview
The Ufesa DH5020 Dehumidifier is designed to efficiently remove excess moisture from your indoor environment, preventing mold, mildew, and improving air quality. It features an intuitive control panel, a 4-liter removable water tank, and a continuous drainage option.

Figure 2.1: Front view of the Ufesa DH5020 Dehumidifier.
Key Features:
- Dehumidification Capacity: 20 liters/24 hours (at 30°C, 80% RH)
- Eco-friendly Refrigerant: R290
- Integrated Humidity Sensor: Allows setting desired humidity level
- Coverage Area: Ideal for rooms up to 40 m²
- Low Noise Level: Approximately 39-43 dB
- Air Circulation: 190 m³/h
- Water Tank Capacity: 4 liters
- Fan Speeds: 2
- Special Functions: Clothes drying mode, Night mode, Automatic stop
3. Setup
Follow these steps for the initial setup of your dehumidifier:
- Unpacking: Carefully remove the dehumidifier from its packaging. Retain all packaging materials for future storage or transport. Ensure all accessories, such as the continuous drainage hose (if included), are present.
- Placement: Place the dehumidifier upright on a firm, level surface in the area where dehumidification is desired. For optimal performance, ensure there is at least 20 cm (8 inches) of clear space around all sides of the unit to allow for proper airflow. Avoid placing it directly against walls or furniture.
- Power Connection: Plug the power cord into a properly grounded 230V electrical outlet. Ensure the outlet is suitable for the dehumidifier's power requirements (420W).
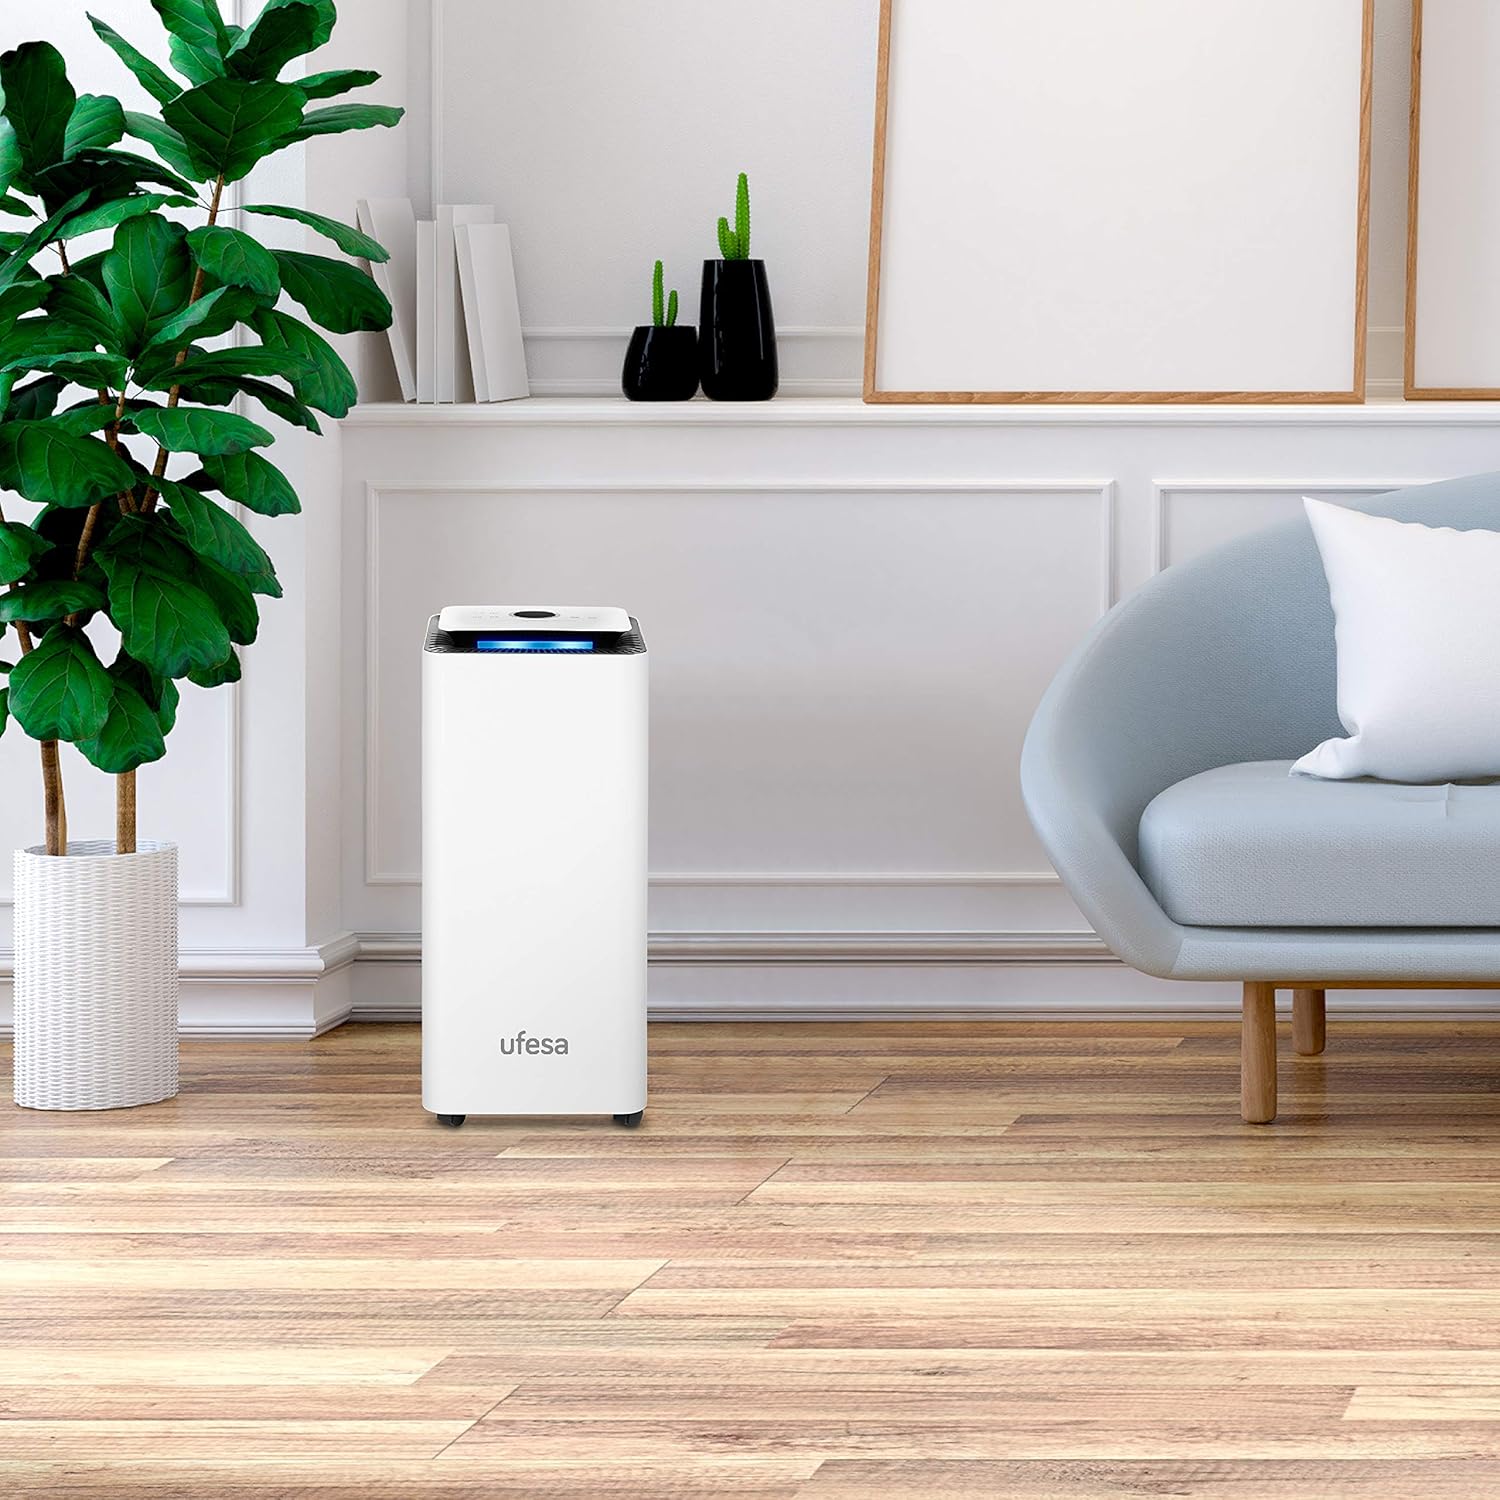
Figure 3.1: Proper placement of the dehumidifier in a room for effective operation.
4. Operating Instructions
4.1 Control Panel
The Ufesa DH5020 features an intuitive control panel for easy operation.

Figure 4.1: Detailed view of the control panel.
Familiarize yourself with the following buttons and indicators:
- Power Button: Turns the unit on or off.
- Mode Button: Cycles through different operating modes (e.g., Dehumidification, Clothes Drying, Night Mode).
- Humidity Setting Buttons (+/-): Adjusts the desired humidity level.
- Fan Speed Button: Selects between two fan speeds (High/Low).
- Timer Button: Sets the operating time.
- Full Tank Indicator: Illuminates when the water tank is full and needs emptying.
4.2 Modes of Operation
- Dehumidification Mode: The standard operating mode. The unit will run until the set humidity level is reached or the tank is full.
- Clothes Drying Mode: Designed for continuous operation at a high fan speed to help dry laundry faster.
- Night Mode: Operates at a lower fan speed and reduced light indicators for quieter operation during sleep.
4.3 Setting Humidity Level
Press the humidity setting buttons to select your desired humidity level, typically between 40% and 60% relative humidity for comfort. The unit will automatically turn on and off to maintain this level.
4.4 Continuous Drainage
For extended operation without needing to empty the water tank, you can set up continuous drainage.
- Locate the drainage outlet on the back or side of the dehumidifier.
- Connect a suitable hose (often included) to the drainage outlet.
- Ensure the hose is sloped downwards to allow gravity to drain the water into a floor drain or a larger container.

Figure 4.2: Connecting the continuous drainage hose.
5. Maintenance
Regular maintenance ensures optimal performance and longevity of your dehumidifier.
5.1 Cleaning the Air Filter
The dehumidifier is equipped with an active carbon filter. A dirty filter can reduce efficiency and airflow. Clean the filter every two weeks or more frequently depending on usage.
- Turn off and unplug the dehumidifier.
- Locate and remove the air filter from the back or side of the unit.
- Use a vacuum cleaner to remove dust and debris from the filter. For a more thorough cleaning, wash the filter with warm, soapy water.
- Rinse the filter thoroughly and allow it to air dry completely before reinserting it into the dehumidifier.
5.2 Emptying the Water Tank
When the water tank is full, the dehumidifier will automatically shut off and illuminate the 'Full Tank' indicator. Empty the tank regularly.

Figure 5.1: The removable water tank.
- Gently pull out the water tank from the front of the unit.
- Carefully carry the tank to a sink or drain and empty the collected water.
- Rinse the tank with clean water periodically to prevent mold or mildew growth.
- Slide the empty tank back into the dehumidifier until it clicks into place. The unit will resume operation.
5.3 Storage
If storing the dehumidifier for an extended period:
- Empty the water tank and ensure it is completely dry.
- Clean the air filter.
- Wrap the power cord neatly.
- Store the unit in a cool, dry place, preferably in its original packaging.
6. Troubleshooting
Before contacting customer support, please refer to the following table for common issues and their solutions.
| Problem | Possible Cause | Solution |
|---|---|---|
| Dehumidifier does not turn on. | No power; Power cord not plugged in; Water tank full or not properly inserted. | Check power outlet; Ensure power cord is securely plugged in; Empty and reinsert water tank correctly. |
| No water collected. | Humidity level too low; Room temperature too low; Air filter clogged; Unit too small for room size. | Adjust desired humidity lower; Ensure room temperature is above 5°C; Clean air filter; Consider a larger unit for the space. |
| Unit is noisy. | Unit not on a level surface; Air filter clogged; Internal components vibrating. | Place on a level surface; Clean air filter; If noise persists, contact customer support. |
| Frost appears on coils. | Room temperature too low. | This is normal in low temperatures. The unit has an auto-defrost function. If it persists, increase room temperature. |
7. Specifications
Detailed technical specifications for the Ufesa DH5020 Dehumidifier.
| Attribute | Value |
|---|---|
| Brand | Ufesa |
| Model Number | DH5020 (DH5010 as per some specifications) |
| Color | White |
| Dimensions (L x W x H) | 50 x 50 x 28 cm (approx. 31P x 31l x 66.5H cm as per some specifications) |
| Weight | 10 Kilograms |
| Dehumidification Capacity | 20 Liters/24h |
| Power | 420 Watts |
| Voltage | 230V |
| Material | Plastic |
| Auto-shutoff Function | Yes |
| Number of Speeds | 2 |
| Noise Level | 39 dB (typical, up to 43 dB) |
| Water Tank Volume | 4 Liters |
| Recommended Use | Domestic |
| Floor Area Coverage | Up to 40 square meters |
| Refrigerant | R290 |
| Air Circulation | 190 m³/h |
8. Warranty and Support
For warranty information, please refer to the documentation provided with your purchase or the retailer's terms and conditions. Ufesa products typically come with a manufacturer's warranty covering defects in materials and workmanship.
If you encounter any issues not covered in the troubleshooting section or require further assistance, please contact Ufesa customer support. You can usually find contact details on the official Ufesa website or on your product packaging.
Please retain your proof of purchase for any warranty claims.