
VLAND YAA-DG-0299
VLAND Projector Headlights User Manual
Model: YAA-DG-0299 | Brand: VLAND
Introduction
This manual provides comprehensive instructions for the installation, operation, and maintenance of your VLAND Projector Headlights. Designed for Dodge Challenger models from 2008 to 2014, these headlights feature sequential indicator halos, DRL (Daytime Running Lights), and support D2S/D2H bulbs (not included) for high and low beams. Please read this manual thoroughly before installation and use to ensure proper function and safety.

Image: VLAND Projector Headlights with a Dodge Challenger.
Safety Information
- Always disconnect the vehicle's battery before performing any electrical work.
- Wear appropriate personal protective equipment, including safety glasses and gloves.
- Ensure all connections are secure and properly insulated to prevent short circuits.
- If you are unsure about any step, consult a qualified automotive technician.
- Keep all original packaging, labels, and user manuals for future reference, especially for warranty claims.
Package Contents
Your VLAND Projector Headlights package should include the following:
- VLAND Projector Headlight Assemblies (Passenger & Driver Sides)
- Necessary wiring harnesses and connectors
- User Manual (this document)
- Note: D2S/D2H/H7 bulbs and ballasts (for Xenon bulbs) are NOT included and must be purchased separately.
Product Overview
The VLAND Projector Headlights are designed to enhance both the aesthetics and functionality of your Dodge Challenger. Key features include:
- Sequential Indicator Halo: The lights feature an amber sequential indicator halo for a distinctive turn signal effect.
- White DRL: Integrated white Daytime Running Lights provide enhanced visibility.
- Dual Beam Lens: Utilizes a dual beam projector lens for both high and low beam functions.
- Durable Construction: Waterproof (IP67), dust-proof, and shock-proof design ensures longevity.
- SAE/DOT Certified: Thoroughly tested to meet federal quality and international standards, making them street legal.

Image: Visual representation of headlight features including DRL, dual beam, and sequential turn signals.
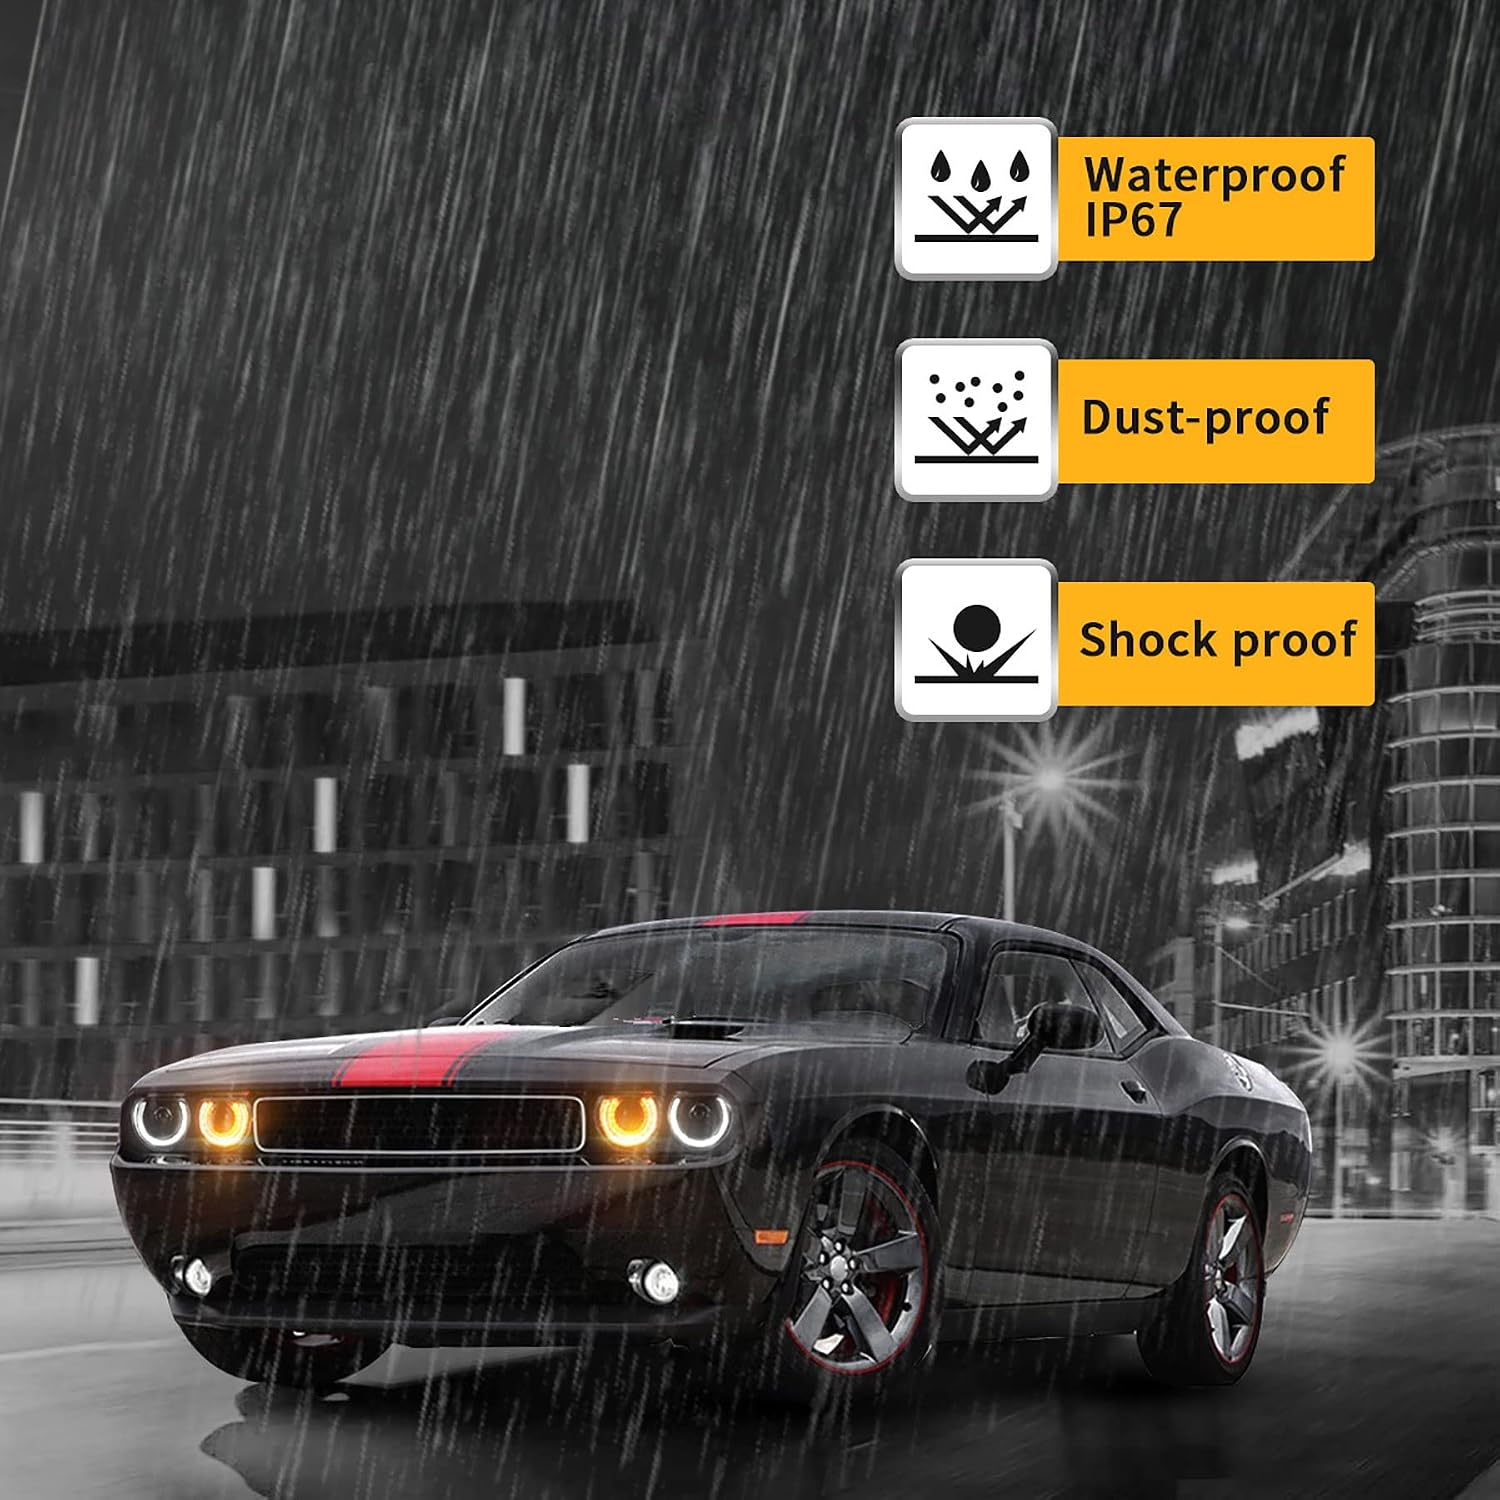
Image: Icons indicating waterproof, dust-proof, and shock-proof features.

Image: Information on thorough testing and LED display features, with a note on bulb types.
Installation
These headlights are designed for OEM direct fitment, requiring no vehicle modifications or drilling for installation. However, careful attention to wiring is essential.
1. Bulb Installation
The headlight assemblies require D2S/D2H/H7 bulbs (not included). Ensure you select the correct bulb type for your desired light output. If using Xenon bulbs, a ballast will be needed.
Video: "How to Install D2S Led Bulbs for VLAND Headlight Assemblies" by VLAND US. This video demonstrates the process of installing D2S LED bulbs into the VLAND headlight assembly, including securing the bulb and connecting the wiring.
Key steps for bulb installation:
- Carefully remove the bulb holder from the headlight assembly.
- Insert the new D2S/D2H/H7 bulb into the holder, ensuring it is seated correctly.
- Reinsert the bulb and holder into the headlight assembly, twisting to secure it.
- Connect the bulb's wiring to the appropriate connectors.

Image: Detailed view of the headlight assembly's rear, showing the bulb hole, adjusting screws, and various electrical plugs for different editions.
2. Electrical Connections
The new headlight will plug into the factory main plug. The parking/turn signal light will use the factory mount for the factory light. Remove the original marker bulb and plug the LED wire into that plug socket.
Important Installation Tip: Pay close attention to connecting the 'PLUG FOR DRL&TURN SIGNAL' correctly. If the DRLs do not light up after installation, check this plug and try plugging it in both orientations, as polarity can sometimes be an issue.

Image: Close-up of the 'PLUG FOR DRL&TURN SIGNAL' connection point on the headlight assembly, highlighting the importance of correct connection for DRL functionality.
After installation, it is recommended to adjust the headlight beam. The assembly includes up/down and left/right adjusting screws for precise alignment.
Operating Instructions
- Daytime Running Lights (DRL): The white DRL halos will illuminate when the vehicle's ignition is on, provided your vehicle supports DRL functionality. For vehicles without factory DRL, the halos will activate when the light knob is set to the running light option.
- Sequential Turn Signals: When the turn signal is activated, the amber halo will illuminate in a sequential pattern, providing a modern and distinct indication.
- High/Low Beams: Operate the high and low beams using your vehicle's standard headlight controls.

Image: Depiction of the sequential turn signal in action, showing the amber light flowing across the halo.
Maintenance
- Cleaning: Clean the headlight lenses regularly with a soft cloth and mild automotive-grade cleaner. Avoid abrasive materials or harsh chemicals that could damage the lens.
- Inspection: Periodically inspect the wiring and connections for any signs of wear, corrosion, or damage.
- Bulb Replacement: If a bulb fails, replace it with the correct type (D2S/D2H/H7) following the installation steps.
Troubleshooting
| Problem | Possible Cause | Solution |
|---|---|---|
| DRLs not lighting up | Incorrect connection of 'PLUG FOR DRL&TURN SIGNAL' or vehicle does not have DRL feature. | Ensure the 'PLUG FOR DRL&TURN SIGNAL' is connected correctly; try plugging it in both orientations. If your car doesn't have DRL, turn the light knob to the running light option. |
| Headlight beam is misaligned | Improper adjustment after installation. | Use the up/down and left/right adjusting screws on the back of the headlight assembly to align the beam. It is easier to do this before fully reassembling the bumper. |
| Bulb not illuminating | Incorrect bulb type, loose connection, or faulty bulb/ballast. | Verify the bulb type (D2S/D2H/H7) is correct. Check all electrical connections for tightness. Test with a known good bulb or ballast. |
| Sequential turn signal not working | Wiring issue or faulty LED strip. | Check the turn signal wiring connections. If the issue persists, contact VLAND support. |
Specifications
- Brand: VLAND
- Model Number: YAA-DG-0299
- Compatible Vehicle: 2008-2014 Dodge Challenger (Base Coupe, R/T, Rallye Redline, RT, SE, SRT, SRT8, SXT)
- Bulb Style (Recommended): D2S/D2H/H7 (Not Included)
- Special Features: Sequential Turn Signal, Projector Headlights, DRL
- Wattage: 35 watts
- Lens Color: Clear
- Lens Material: Polycarbonate
- Safety Rating: DOT Certified
- Item Weight: 17.21 pounds
Warranty and Support
VLAND products found to be defective are covered for a period of One Year following the original purchase date.
For any questions or issues after purchase, please retain all boxes, labels, and this user manual. In the event merchandise is damaged, becomes defective, or needs to be returned, please contact VLAND support. Be prepared to provide the product label, video, and picture proof that clearly shows the defect.
For further assistance, visit the official VLAND store or contact their customer service directly.
VLAND US Contact Information: Please refer to your purchase platform or VLAND's official website for the most current contact details.
Related documentsYAA-DG-0299

Ask a question about this manual
Ask about setup, troubleshooting, compatibility, parts, safety, or missing instructions. Manuals+ will review the question and use this page’s manual context to help answer it.