
Introduction
Thank you for purchasing the Possini Euro Design Delaney Mini Pendant Light. This manual provides detailed instructions for the safe installation, operation, and maintenance of your new lighting fixture. Please read all instructions carefully before beginning installation and retain this manual for future reference.

Image: The Possini Euro Design Delaney Mini Pendant Light, featuring a black square cage, burnished brass accents, and a clear glass orb shade.
Safety Information
WARNING: Risk of electric shock. Disconnect power at the fuse box or circuit breaker before installation or servicing. Consult a qualified electrician if you are unsure about the installation process.
- Ensure all electrical connections comply with local codes and ordinances, as well as the National Electric Code (NEC).
- Do not install this fixture in wet or damp locations. This product is designed for indoor use only.
- Use only the specified bulb type and wattage. Exceeding the maximum wattage may cause overheating and damage to the fixture.
- Handle glass components with care to prevent breakage.
- Wear safety glasses and gloves during installation.
Package Contents
Verify that all components are present and undamaged before beginning installation. If any parts are missing or damaged, do not attempt to install the fixture.
- Pendant Light Fixture (Black square cage, burnished brass accents, clear glass orb shade)
- Ceiling Canopy
- Downrods (One 6-inch, three 12-inch)
- Mounting Hardware (Crossbar, mounting screws, wire nuts)
- 10-feet of electrical wire
Tools Required (Not Included)
- Phillips Head Screwdriver
- Flat Head Screwdriver
- Wire Strippers
- Electrical Tape
- Ladder
- Safety Glasses
Setup and Installation
Follow these steps carefully to install your pendant light fixture.
Step 1: Prepare for Installation
- Turn off power at the main circuit breaker or fuse box to avoid electrical shock.
- Carefully unpack all components and lay them out on a clean, flat surface.
- Review the parts list to ensure all components are present.
Step 2: Install Mounting Hardware
- Attach the mounting crossbar to the junction box in the ceiling using the provided mounting screws. Ensure it is securely fastened.
- Thread the fixture wires through the center hole of the crossbar.

Image: Close-up of the ceiling canopy and mounting hardware, showing how it attaches to the ceiling junction box.
Step 3: Assemble Downrods and Fixture
- Determine the desired hanging height for your pendant light. Select the appropriate combination of downrods (one 6-inch, three 12-inch) to achieve this height.
- Thread the fixture's electrical wire through the selected downrods and connect them securely.
- Attach the assembled downrod to the top of the fixture body and the bottom of the ceiling canopy.

Image: The pendant light with its dimensions indicated: 8 1/2 inches high and 8 inches wide.
Step 4: Wire the Fixture
- Connect the fixture's black wire to the house's black (hot) wire using a wire nut.
- Connect the fixture's white wire to the house's white (neutral) wire using a wire nut.
- Connect the fixture's ground wire (bare copper or green) to the house's ground wire and the mounting crossbar using a wire nut.
- Ensure all wire connections are secure and tuck them neatly into the junction box.
Step 5: Secure the Canopy and Install Bulb
- Carefully push the ceiling canopy up against the ceiling, covering the junction box. Secure it with the provided screws.
- Insert one maximum 60-watt candelabra base (E12) bulb (not included) into the socket. Do not overtighten.
- Restore power at the circuit breaker or fuse box.
- Test the light fixture to ensure proper operation.
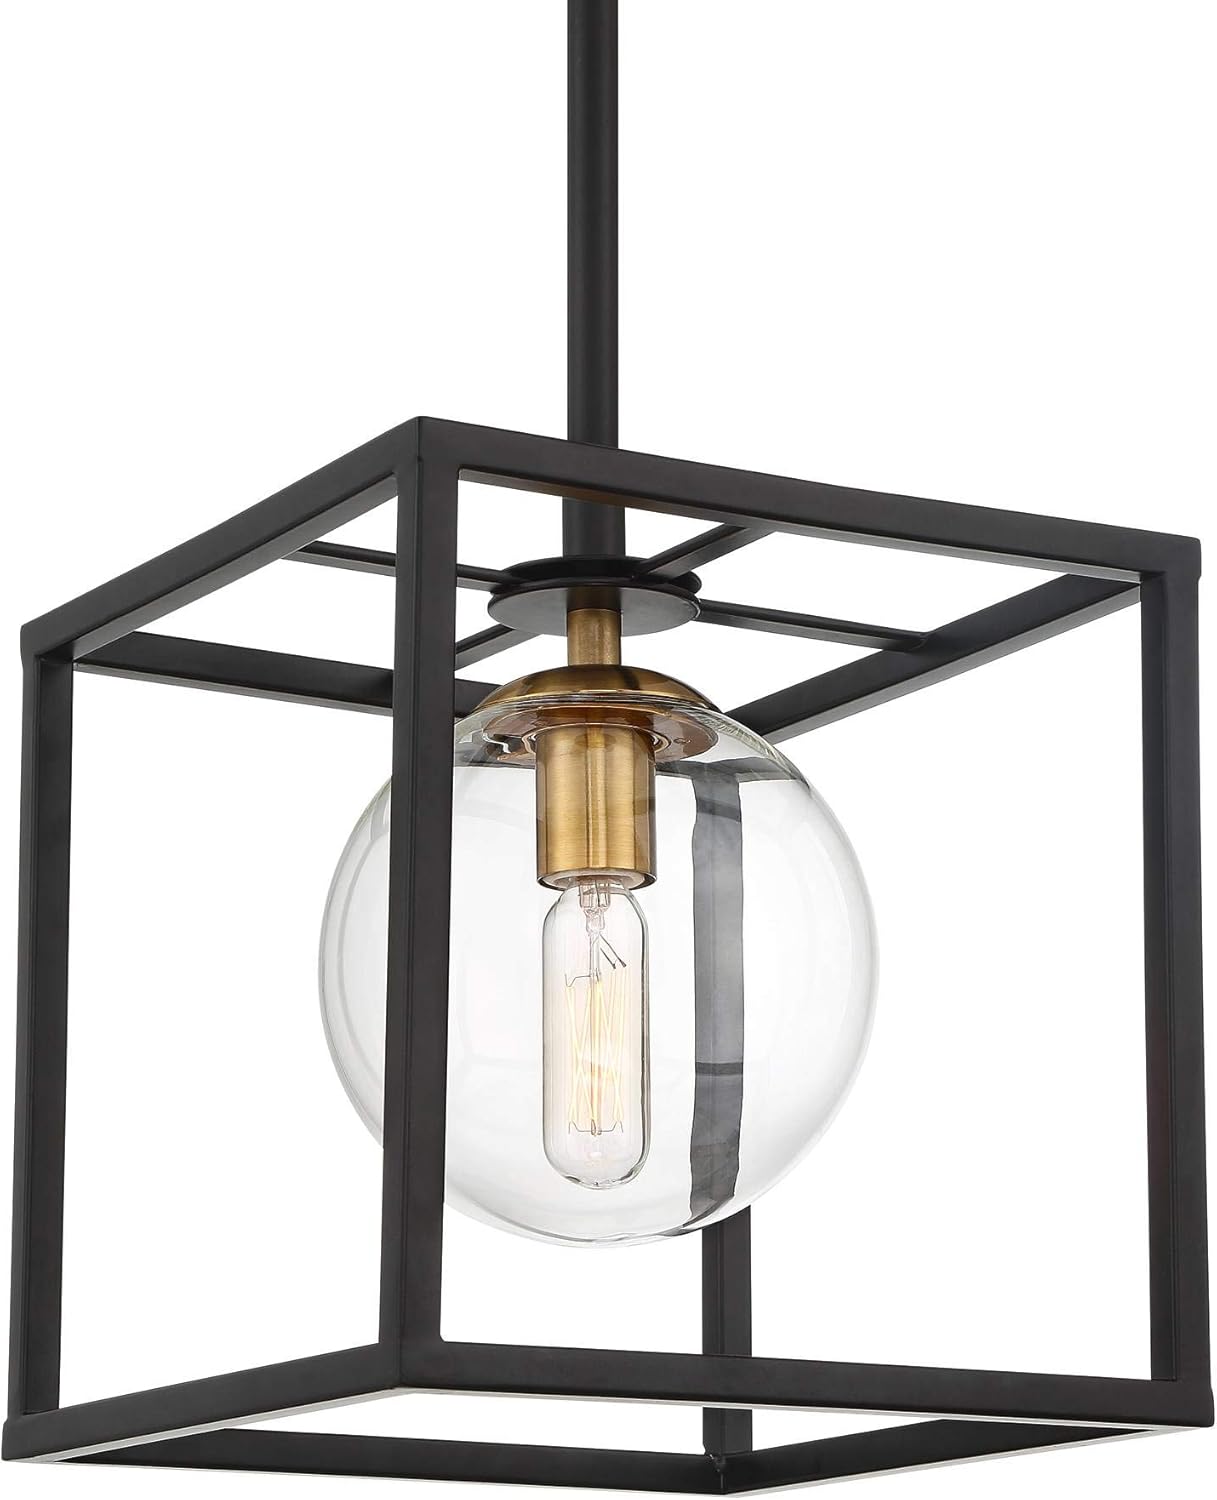
Image: A detailed view of the pendant light's clear glass orb and the candelabra base bulb inside, highlighting the burnished brass socket.
Operating Instructions
This pendant light operates via a standard wall switch (not included). Simply toggle the wall switch to turn the light on or off.
Bulb Replacement
To replace the bulb:
- Turn off power to the fixture at the circuit breaker.
- Allow the bulb to cool completely before touching it.
- Carefully unscrew the old bulb from the socket.
- Screw in a new maximum 60-watt candelabra base (E12) bulb.
- Restore power and test the light.
Maintenance
Regular maintenance will help preserve the appearance and functionality of your pendant light.
- Cleaning: Turn off power before cleaning. Wipe the fixture with a soft, dry cloth. Do not use abrasive cleaners, solvents, or polishes as they may damage the finish. For the glass shade, a mild glass cleaner applied to a cloth (not directly to the fixture) can be used.
- Bulb: Replace bulbs as needed following the instructions in the Operating section.
Troubleshooting
If your pendant light is not functioning correctly, refer to the following common issues and solutions:
| Problem | Possible Cause | Solution |
|---|---|---|
| Light does not turn on. | 1. Power is off. 2. Bulb is faulty or loose. 3. Incorrect wiring. | 1. Check circuit breaker/fuse box. Ensure wall switch is ON. 2. Replace bulb or ensure it is screwed in tightly. 3. Turn off power and recheck wiring connections. Consult an electrician if unsure. |
| Light flickers. | 1. Loose bulb. 2. Loose wiring connection. 3. Incompatible dimmer switch (if applicable). | 1. Tighten bulb. 2. Turn off power and check wiring connections. 3. Ensure dimmer switch is compatible with the bulb type. |
Specifications
| Feature | Detail |
|---|---|
| Model Number | 64T29 |
| Dimensions (Fixture) | 8 1/2" High x 8" Wide x 8" Deep |
| Canopy Width | 5 1/2" |
| Weight | 3.52 lbs |
| Bulb Type | Candelabra Base (E12) |
| Max Wattage | 60 Watts |
| Voltage | 120 Volts |
| Material | Metal, Glass |
| Finish | Black, Burnished Brass |
| Included Components | Downrods (6" and 12"), Wire |
| Installation Type | Semi Flush Mount |
| Indoor/Outdoor Usage | Indoor |
Warranty
This Possini Euro Design product is covered by a Limited 1-year manufacturer's warranty. This warranty covers defects in materials and workmanship under normal use. It does not cover damage resulting from improper installation, accidents, misuse, abuse, or unauthorized modifications. Please retain your proof of purchase for warranty claims.
Support
For technical assistance, missing parts, or warranty inquiries, please contact the manufacturer, Lamps Plus, or the retailer where the product was purchased. Have your model number (64T29) and proof of purchase ready when contacting support.