Introduction
The Sakura 4A Intelligent Battery Charger SS5419 (Model CE-4000) is designed for efficient and safe charging of 6V and 12V lead-acid vehicle batteries. This intelligent charger provides a 4.0 Amp output and is suitable for a wide range of battery capacities: 1.2-30 Ah for 6V batteries and 1.2-120 Ah for 12V batteries. It helps maintain battery health, recharges depleted batteries, and prevents common issues associated with flat batteries. Its advanced display provides clear information on charging status and battery condition.
Safety Information
Please read and understand all safety instructions before operating this battery charger. Failure to follow these instructions may result in electric shock, fire, or serious injury.
- Always wear eye protection and gloves when working with batteries.
- Ensure the charging area is well-ventilated to prevent the accumulation of explosive gases.
- Do not charge frozen, damaged, or non-rechargeable batteries.
- Connect and disconnect the battery clamps in the correct order to avoid sparks.
- Keep the charger and battery out of reach of children and pets.
- Do not expose the charger to rain or excessive moisture.
- If the power cord is damaged, it must be replaced by the manufacturer or a qualified service agent to avoid hazards.
Package Contents
Verify that all items are present in the package:
- Sakura 4A Intelligent Battery Charger (SS5419 / CE-4000)
- Battery Clamps (Red/Positive and Black/Negative)
- Mains Power Plug

Image: The included red positive and black negative battery clamps.
Product Overview and Features
The Sakura 4A Intelligent Battery Charger is equipped with several features for effective battery maintenance:
- Compatibility: Charges 6V DC and 12V DC 6-cell lead-acid batteries.
- Connection: Features hard-wire clamps for secure connection to battery terminals.
- Battery Capacity Range: Suitable for 1.2-30 Ah (6V) and 1.2-120 Ah (12V) batteries.
- Digital Display: Provides clear information including:
- 6V and 12V standard modes
- Cold mode (for charging in low temperatures or AGM batteries)
- Battery level indicator
- Reverse polarity connection indicator
- Faulty battery indicator
- Clamp indicator (for connection status)
- Battery voltage indicator
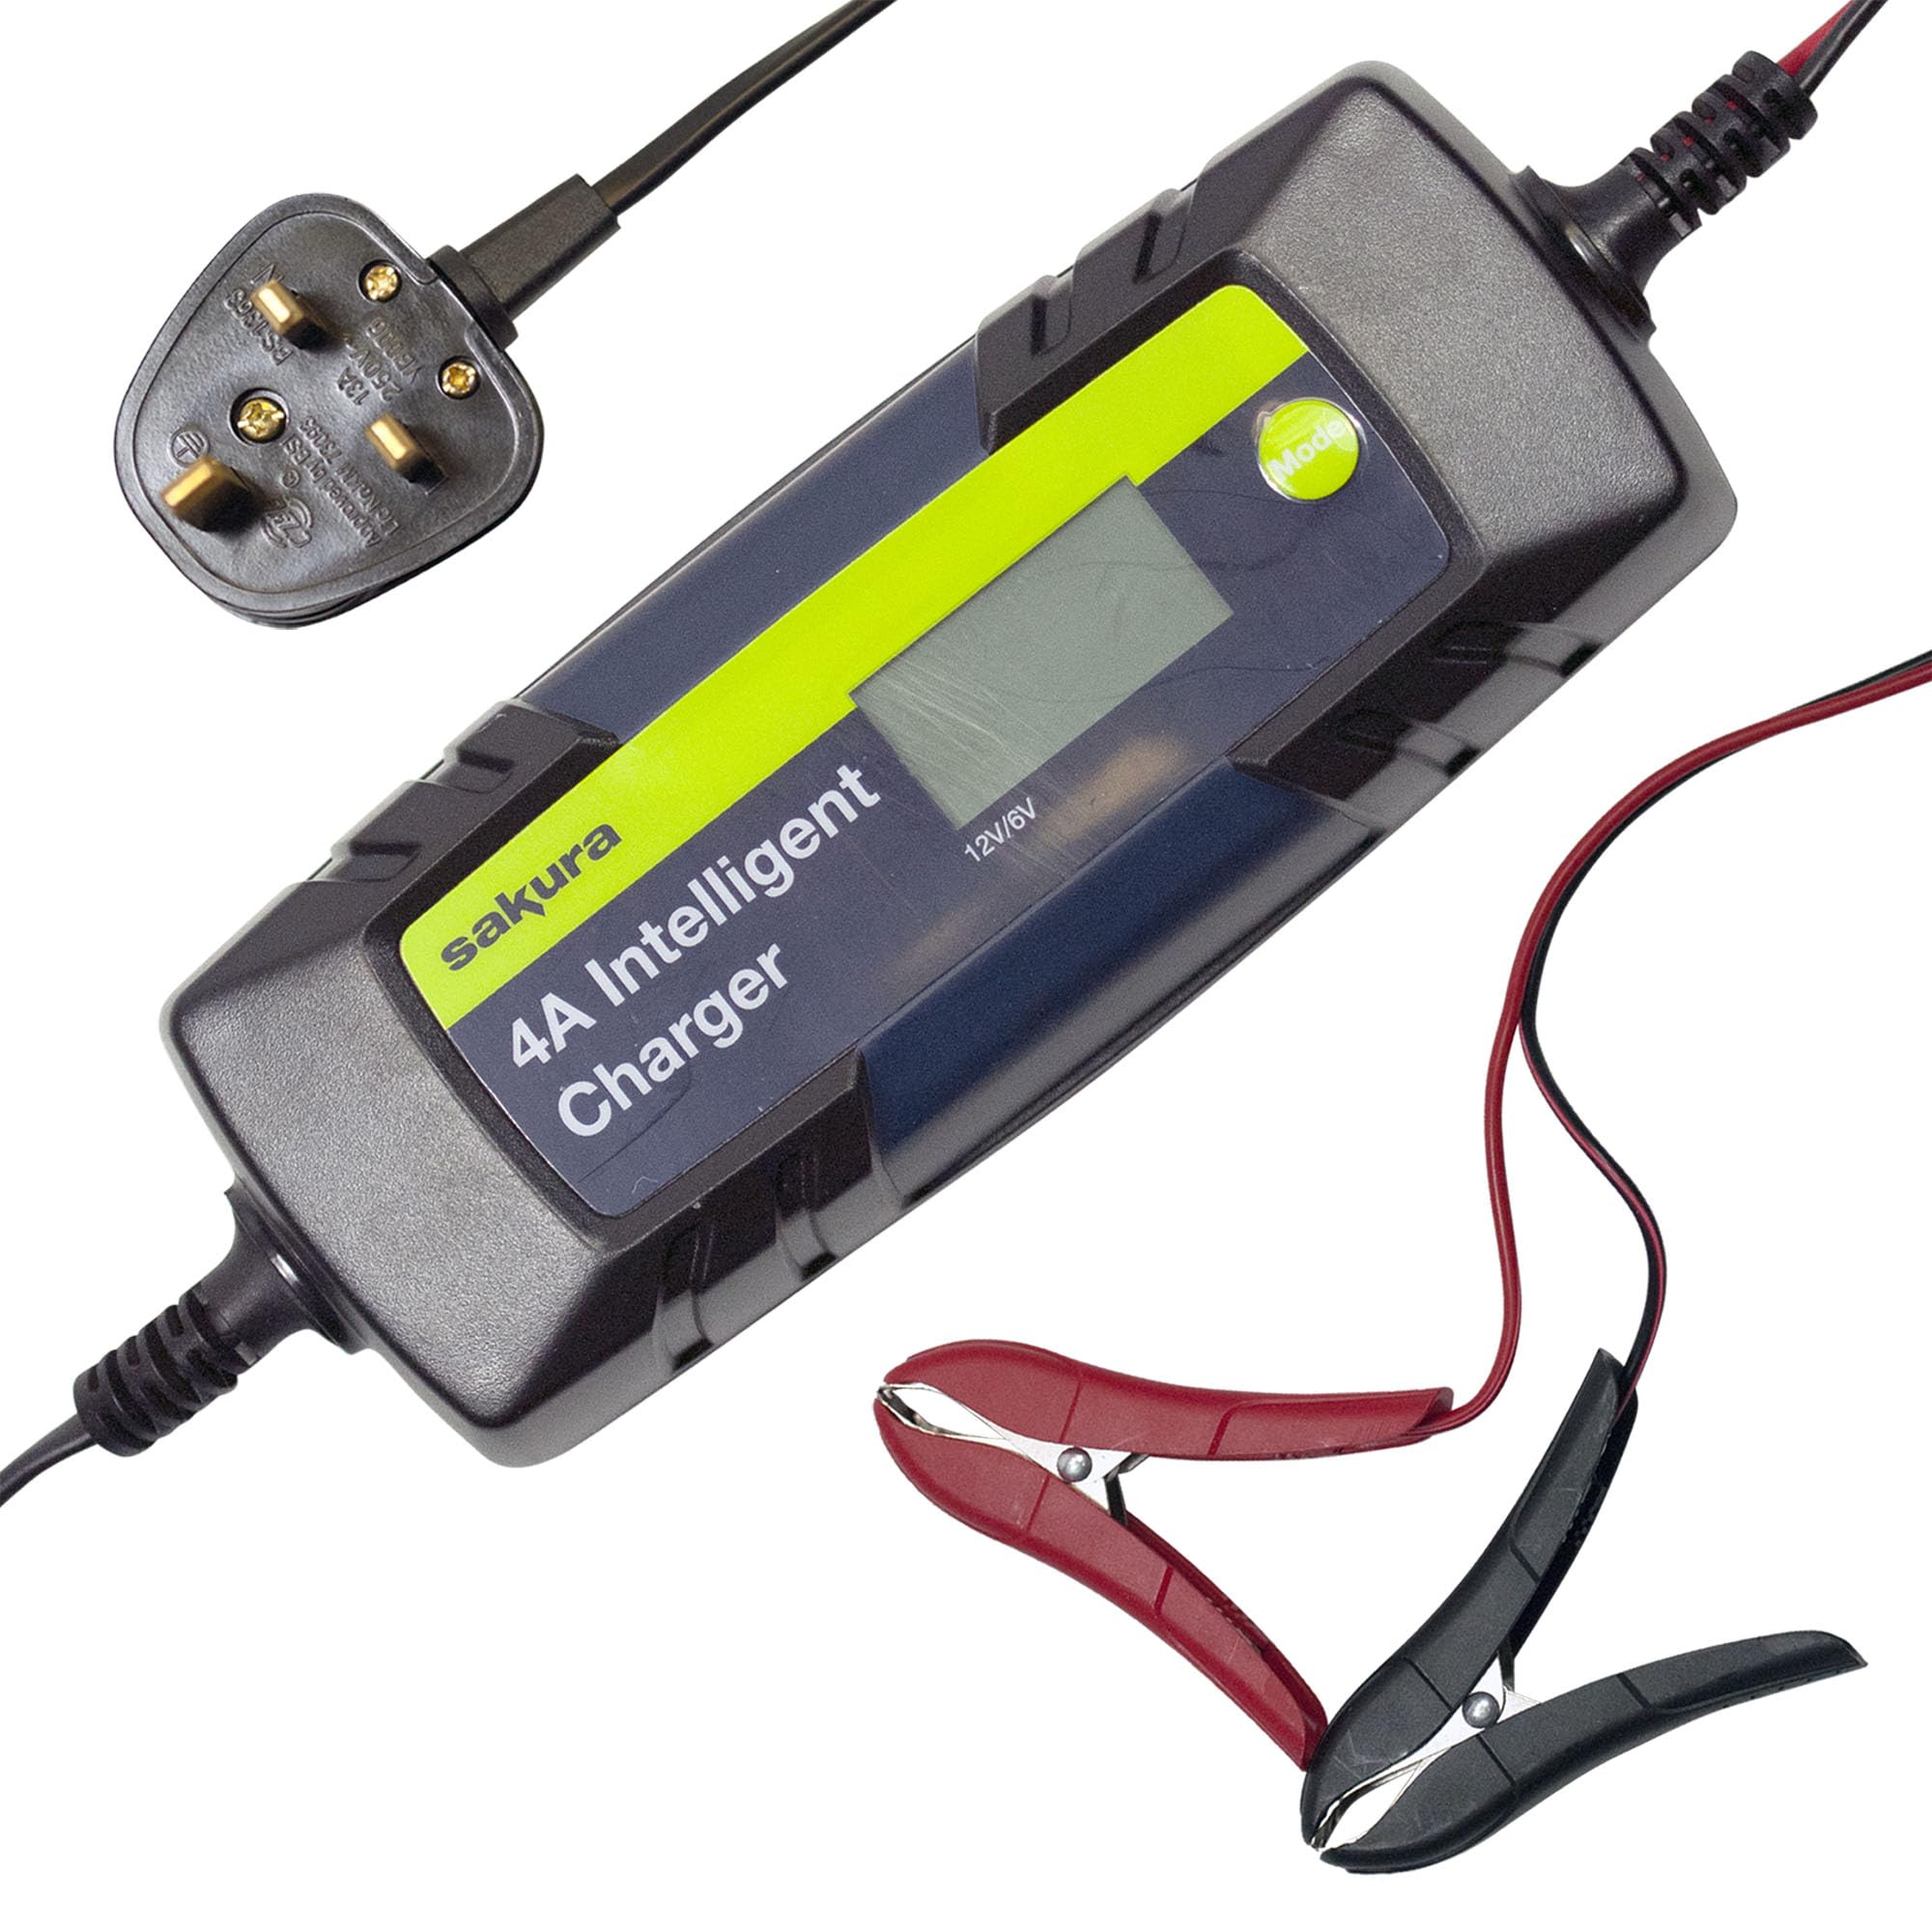
Image: Front view of the Sakura 4A Intelligent Charger, showing the display and 'Mode' button.
Setup
- Preparation: Ensure the charger is unplugged from the mains power outlet before making any connections to the battery.
- Identify Terminals: Locate the positive (+) and negative (-) terminals on your vehicle battery. The positive terminal is usually marked with a plus sign (+) and is larger, while the negative terminal is marked with a minus sign (-).
- Connect Positive Clamp: Connect the red positive (+) clamp of the charger to the positive (+) battery terminal. Ensure a firm and secure connection.
- Connect Negative Clamp: Connect the black negative (-) clamp of the charger to the negative (-) battery terminal. Ensure a firm and secure connection.
- Verify Connections: Double-check that both clamps are securely attached to the correct battery terminals.

Image: The Sakura charger connected to a vehicle battery within the engine compartment.
Operating Instructions
- Power On: After securely connecting the clamps to the battery, plug the charger into a suitable mains power outlet. The charger will perform a self-test and typically display the current battery voltage.
- Select Charging Mode: Press the 'Mode' button on the charger to cycle through the available charging modes. Select the appropriate mode for your battery type and voltage (e.g., 6V Standard, 12V Standard, 12V Cold/AGM). The display will indicate the selected mode.
- Monitor Charging: The display will show the charging progress, battery level, and other relevant indicators. The charger will automatically adjust the charging current and voltage as needed.
- Charging Completion: Once the battery is fully charged, the charger will automatically switch to a maintenance (trickle charge) mode or indicate a full charge, preventing overcharging.
- Disconnecting: To safely disconnect the charger, first unplug it from the mains power outlet. Then, disconnect the black negative (-) clamp from the battery, followed by the red positive (+) clamp.

Image: The charger's digital display showing a charging status, possibly indicating amperage or voltage.
Maintenance
- Cleaning: Keep the charger unit clean and dry. Wipe with a soft, damp cloth if necessary. Do not use harsh chemicals or abrasive cleaners.
- Storage: Store the charger in a cool, dry place away from direct sunlight and extreme temperatures when not in use.
- Inspection: Before each use, inspect the power cord, charging cables, and clamps for any signs of damage, fraying, or corrosion. Do not use the charger if any components are damaged.
Troubleshooting
- Charger Not Turning On:
Solution: Ensure the charger is securely plugged into a functional mains power outlet. Check the power outlet with another device. - Reverse Polarity Indicator On:
Solution: This indicates the positive and negative clamps are connected incorrectly. Immediately unplug the charger from the mains, then disconnect the clamps and reconnect them to the correct battery terminals (red to positive, black to negative). - Faulty Battery Indicator On:
Solution: This suggests the battery may be severely damaged or beyond repair. The charger cannot safely charge this battery. Consult a professional for battery assessment or replacement. - No Charging Progress / Slow Charging:
Solution: Ensure the correct charging mode (6V or 12V, Standard or Cold/AGM) is selected for your battery type. Check that the battery clamps have a good, clean connection to the battery terminals. For very large or deeply discharged batteries, charging may take a significant amount of time. - Clamp Indicator On:
Solution: This indicates a poor or no connection to the battery. Ensure the clamps are securely attached to the battery terminals and that there is no corrosion preventing a good contact.
Specifications
| Brand | Sakura |
| Model Number | SS5419 (CE-4000) |
| Output Voltage | 6V DC / 12V DC |
| Rated Current | 4 Amperes |
| Suitable Battery Capacity (6V) | 1.2 Ah - 30 Ah |
| Suitable Battery Capacity (12V) | 1.2 Ah - 120 Ah |
| Dimensions (Package) | 28.3 x 15.4 x 6.2 cm |
| Weight | 730 g |
| Components Included | Charger, battery clamps, plug |
Warranty and Support
For detailed warranty information, technical support, or service inquiries regarding your Sakura 4A Intelligent Battery Charger, please refer to the product packaging or contact Sakura customer service directly. Contact details can typically be found on the product box or the manufacturer's official website.