labwork 146-0657
labwork Carburetor Rebuild Kit Instruction Manual
Model: 146-0657 (Replaces 146-0478, 146-6100)
Brand: labwork
Introduction
This instruction manual provides essential information for the proper installation and maintenance of your labwork Carburetor Rebuild Kit. This kit is designed to restore optimal performance to compatible Onan engines by replacing worn or damaged carburetor components. Please read all instructions carefully before beginning any work. Professional installation is recommended for best results and to ensure safety.
Product Contents
The labwork Carburetor Rebuild Kit includes the following components:
- 1x Air Horn Gasket
- 4x Set Screws
- 1x Float Valve
- 1x Float Assembly
- 1x Float Pin
- 2x Gaskets (additional)
- 2x O-rings
- 1x Fuel Filter
- 2x Rubber Tubes

Image: Overview of all components included in the labwork Carburetor Rebuild Kit.

Image: Detailed view of the air horn gasket and main carburetor gasket.

Image: The float assembly, crucial for fuel level regulation within the carburetor.
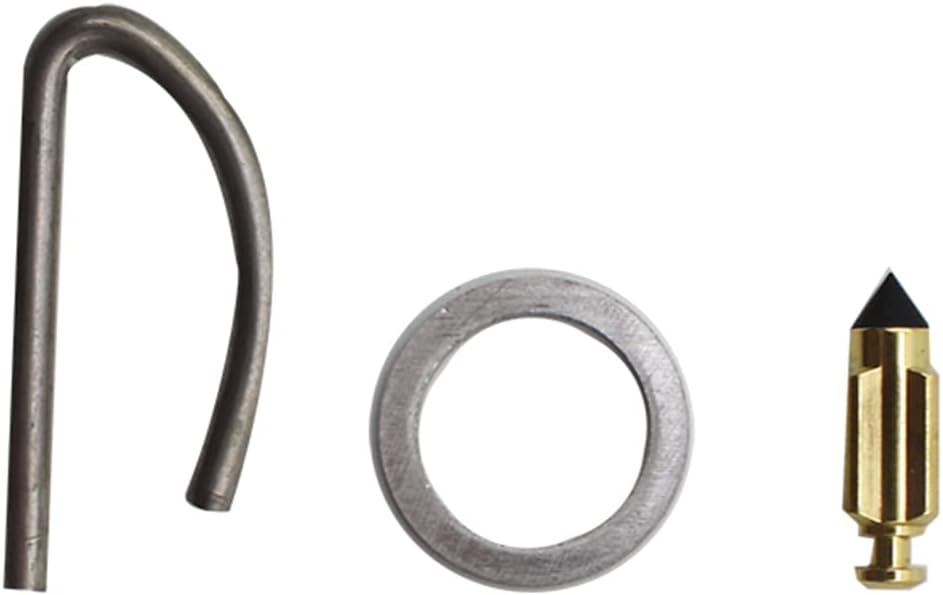
Image: Individual components including the float valve, float pin, and an O-ring.
Compatibility
This rebuild kit is compatible with the following Onan engine models and part numbers:
- Onan Engine P126G, P128G, P220G, P224G
- Onan Engine OL16, OL18, OL20
- Onan Engine LX720, LX770, LX790
- Industrial Engines B48G-GA020, B48G-GA19.9
Replaces part numbers: 146-6100, 146-0479, 146-0414, 146-0496, 146-0657, B48G, P220G, FE362-81.
Important: Please verify that this kit's part numbers and compatibility match your specific engine model before proceeding with installation.
Installation (Operating)
Carburetor rebuilding requires mechanical aptitude and specific tools. If you are not confident in your ability to perform this repair, it is highly recommended to seek assistance from a qualified mechanic.
General Steps for Carburetor Rebuild:
- Safety First: Ensure the engine is cool and disconnected from its power source (e.g., battery, spark plug wire). Work in a well-ventilated area.
- Disassembly: Carefully remove the carburetor from the engine. Document or photograph the disassembly process to aid reassembly.
- Cleaning: Thoroughly clean all carburetor components. Use a carburetor cleaner and compressed air to clear all passages and jets. Inspect for any damage or excessive wear.
- Component Replacement: Replace old gaskets, O-rings, the float valve, float pin, and float assembly with the new parts from this kit. Ensure all screws are tightened to the manufacturer's specifications.
- Fuel Filter and Lines: Replace the fuel filter and rubber fuel lines as provided in the kit to ensure clean fuel delivery.
- Reassembly: Reassemble the carburetor, referring to your documentation from disassembly.
- Installation: Reinstall the carburetor onto the engine, ensuring all connections are secure and leak-free.
- Testing: After installation, start the engine and check for proper operation, fuel leaks, and adjust idle and mixture settings as needed according to your engine's service manual.
Always refer to your specific engine's service manual for detailed, model-specific instructions and torque specifications.
Maintenance
Regular maintenance of your carburetor is crucial for engine longevity and performance. After installing this rebuild kit, consider the following:
- Fuel Quality: Always use fresh, clean fuel. Stale or contaminated fuel is a primary cause of carburetor issues.
- Fuel Stabilizer: If the engine will be stored for an extended period, use a fuel stabilizer to prevent fuel degradation and gumming in the carburetor.
- Air Filter: Ensure the air filter is clean and properly installed to prevent dirt and debris from entering the carburetor.
- Periodic Inspection: Periodically inspect fuel lines, gaskets, and connections for signs of wear or leaks.
Troubleshooting
If you encounter issues after installing the rebuild kit, consider these common troubleshooting steps:
- Engine Not Starting: Check for proper fuel flow, spark, and air intake. Ensure all carburetor passages are clear and the float level is correct.
- Rough Idling/Poor Performance: This can indicate incorrect fuel-air mixture settings, vacuum leaks (check gaskets and O-rings), or partially clogged jets.
- Fuel Leaks: Re-check all gasket and O-ring installations. Ensure the float valve is seating correctly and the float is not stuck.
- Engine Surging: Often caused by lean fuel mixture or a partially restricted fuel supply.
For persistent issues, consult a professional mechanic or your engine's service manual.
Specifications
| Attribute | Detail |
|---|---|
| Brand | labwork |
| Manufacturer Part Number | 146-0657 |
| Item Weight | 2.89 ounces |
| Package Dimensions | 6.38 x 4.21 x 1.54 inches |
| ASIN | B07X5NTXSR |
Important Notes and Disclaimer
This kit is intended for the repair and maintenance of specified carburetor models. Any modifications or improper installation may lead to engine damage or personal injury. The manufacturer is not responsible for damages resulting from incorrect installation or misuse of this product. Always wear appropriate safety gear when working on engines.
Warranty and Support
For questions regarding this labwork product, including compatibility or installation assistance, please contact the seller or manufacturer directly. Information regarding specific warranty terms may be available through your point of purchase or the official labwork website.
You can visit the official labwork store for more products and support: labwork Store on Amazon
Ask a question about this manual
Ask about setup, troubleshooting, compatibility, parts, safety, or missing instructions. Manuals+ will review the question and use this page’s manual context to help answer it.