1. Introduction
This manual provides essential instructions for the safe and efficient installation, operation, and maintenance of your TOPRING 51.425 Airflo 400 1/2 inch FR+L Integrated Air Compressor Filter-Regulator-Lubricator. Please read this manual thoroughly before using the product and retain it for future reference.
2. Safety Information
Always observe general safety precautions when working with compressed air systems. Failure to follow these instructions may result in personal injury or equipment damage.
- Ensure the air supply is shut off and depressurized before installation or maintenance.
- Wear appropriate personal protective equipment (PPE), including eye protection.
- Do not exceed the maximum working pressure of 150 PSI.
- Avoid contact with certain chemicals (e.g., carbon tetrachloride, chloroform, ethyl acetate, nitric acid, sulfuric acid, aniline, kerosene, and other organic solvents) as they can damage polycarbonate components.
- Avoid direct sunlight exposure to the unit.
- Use only recommended lubricants (Turbine Oil Class 50VG or Spindle Oil for ISO VG32).
3. Product Overview
The TOPRING 51.425 Airflo 400 is an integrated Filter-Regulator-Lubricator (FR+L) unit designed to prepare compressed air for various pneumatic tools and equipment. It filters contaminants, regulates air pressure, and adds lubrication to the air stream.
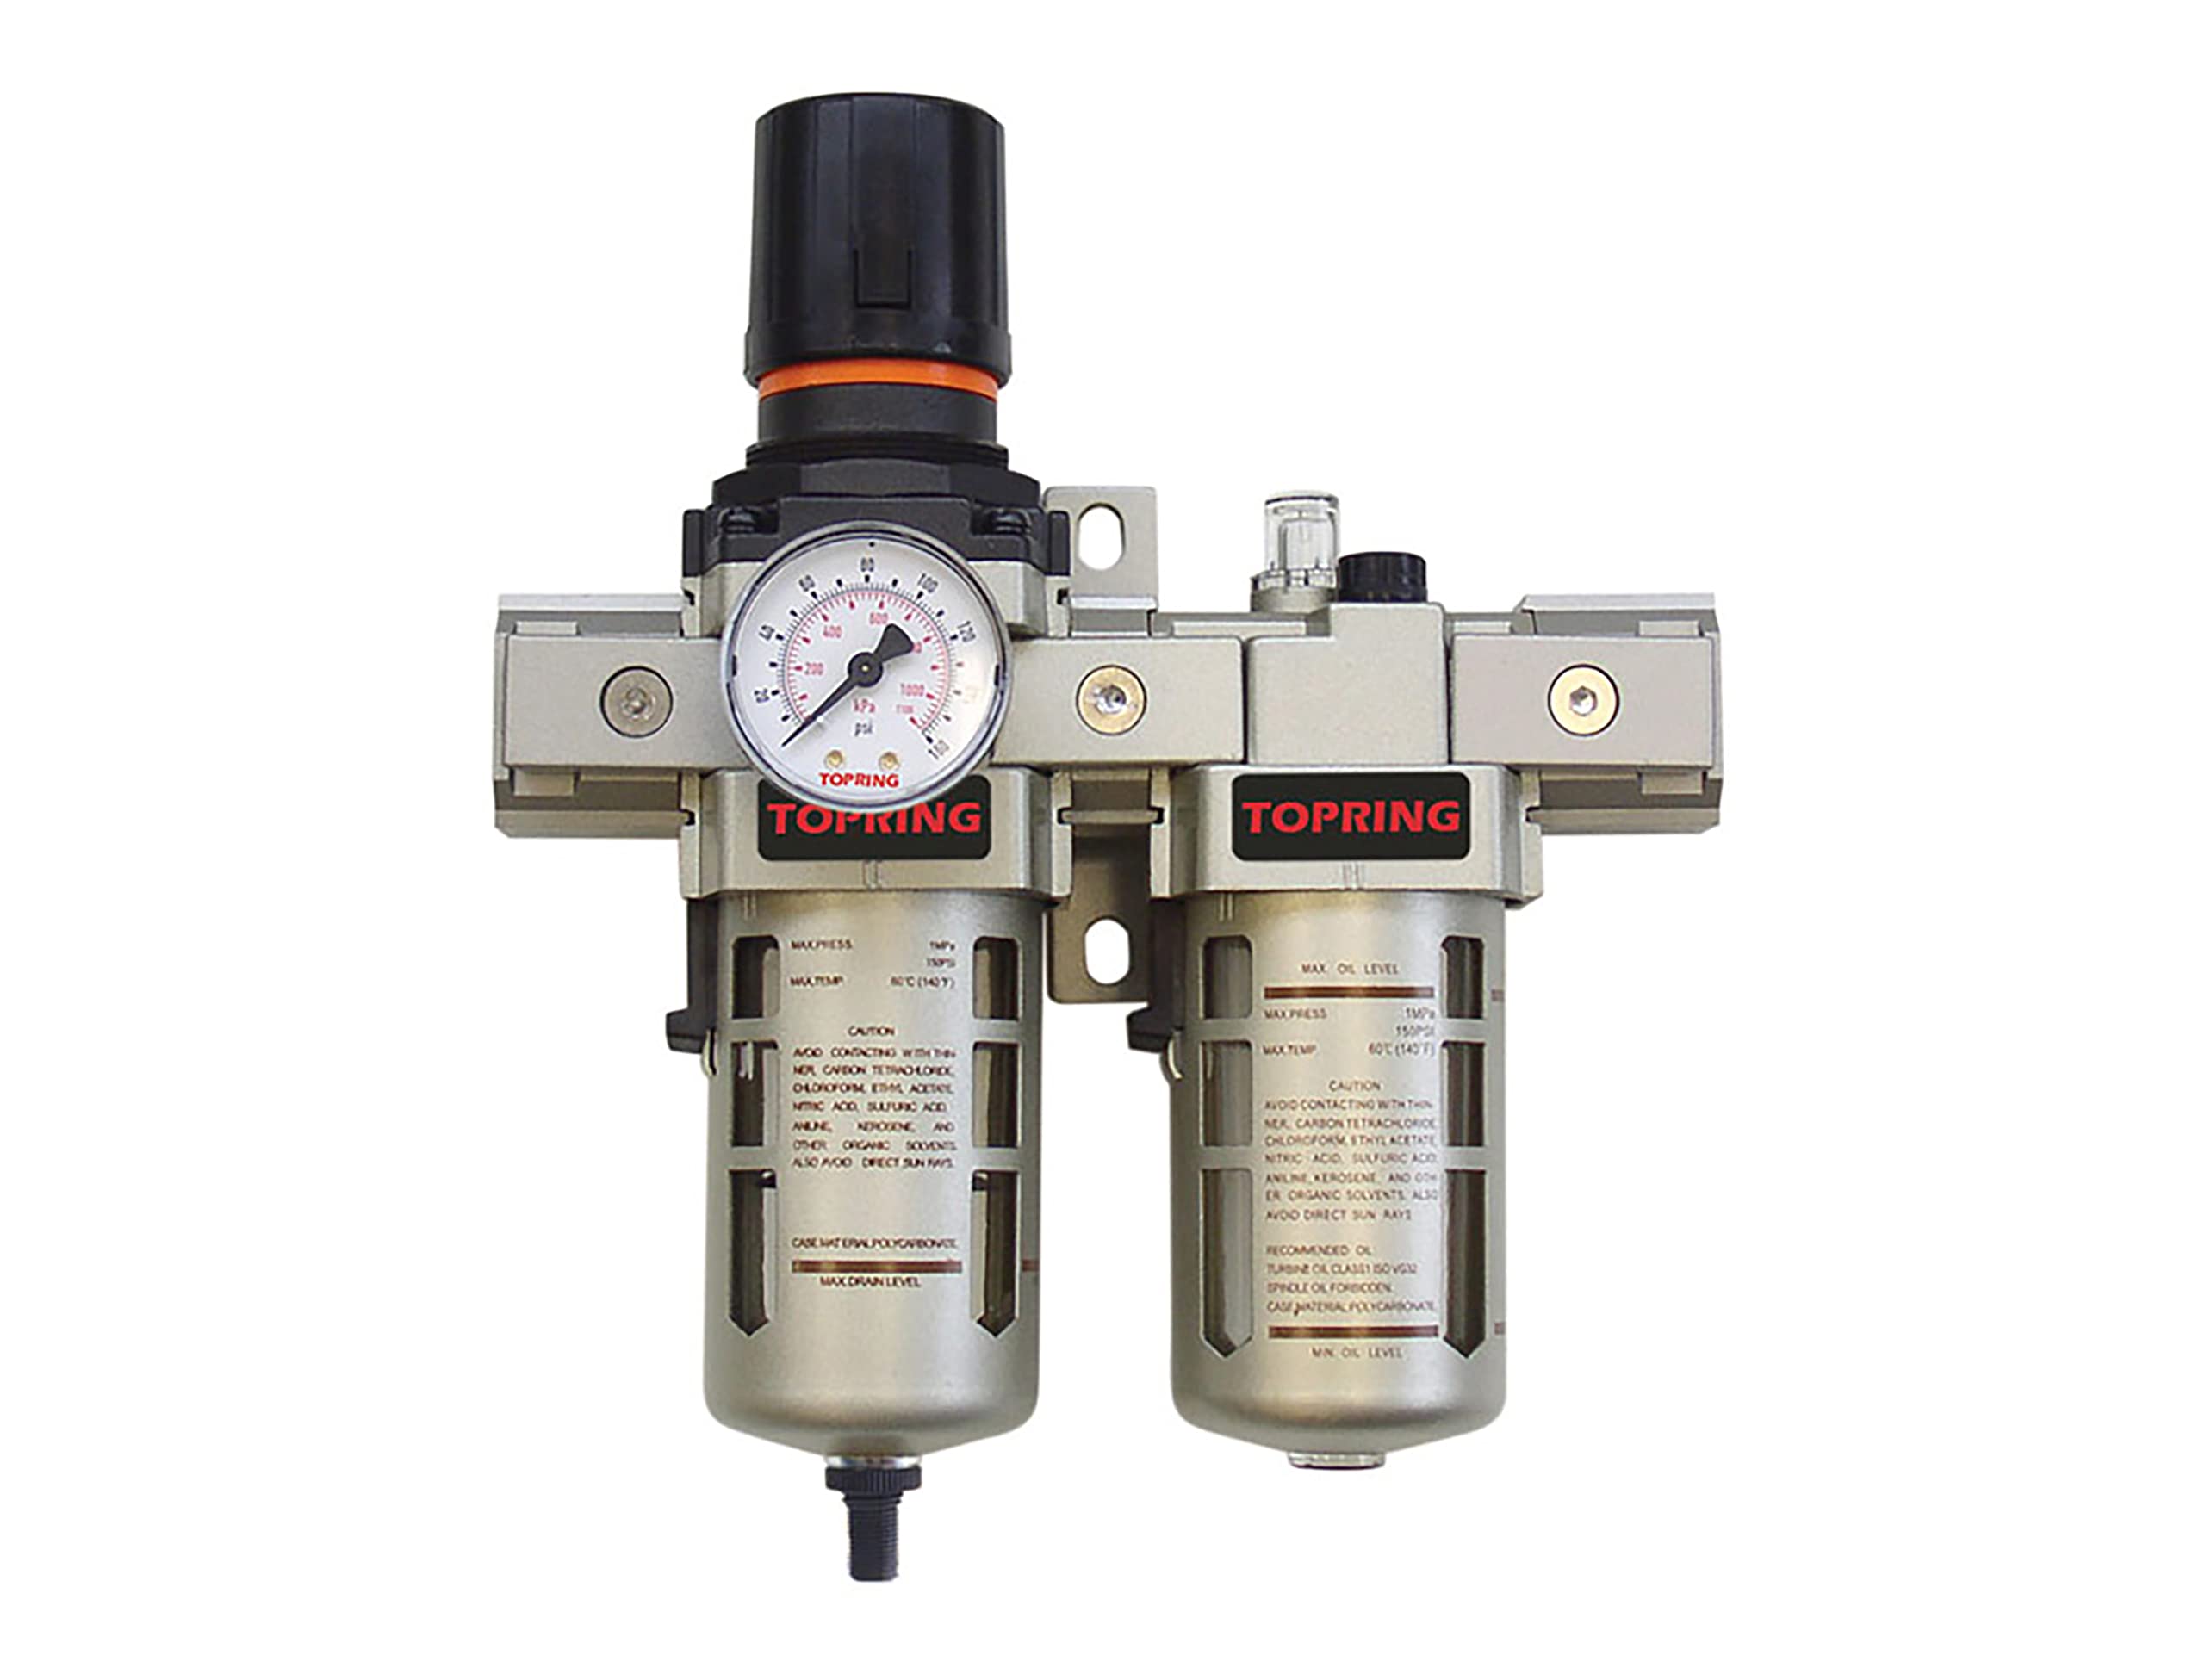
Figure 1: TOPRING 51.425 Airflo 400 FR+L Unit. This image displays the integrated filter, regulator with pressure gauge, and lubricator components. The filter and lubricator bowls are visible at the bottom, with the pressure gauge centrally located on the regulator. The unit features a semi-automatic drain mechanism.
Key Components:
- Filter: Removes particulate matter and moisture from the compressed air. Features a 5-micron centrifugal filtration element and a semi-automatic drain.
- Regulator: Controls and maintains a constant output air pressure. Equipped with a pressure gauge for monitoring and an adjustable knob.
- Lubricator: Injects a fine mist of oil into the air stream to lubricate downstream pneumatic tools. Features an oil level indicator and a fill port.
- Pressure Gauge: Displays the regulated output pressure in PSI and kPa.
- Semi-Automatic Drain: Allows for manual draining of accumulated moisture from the filter bowl by pulling a ring.
4. Setup
4.1 Installation
- Ensure the air supply is off and depressurized.
- Mount the FR+L unit securely using the provided mounting bracket.
- Connect the air supply line to the inlet port (typically marked "IN" or with an arrow indicating flow direction). The port size is 1/2 inch NPT.
- Connect the output line to your pneumatic equipment from the outlet port (typically marked "OUT").
- Install the pressure gauge into the designated port (1/4 inch NPT). Apply thread sealant as needed.
- Ensure all connections are tight and leak-free.
4.2 Initial Lubricator Fill
- Unscrew the lubricator fill plug.
- Fill the lubricator bowl with the recommended oil (Turbine Oil Class 50VG or Spindle Oil for ISO VG32) up to the "MAX OIL LEVEL" mark.
- Securely replace the fill plug.
5. Operation
5.1 Pressure Regulation
- Pull the regulator knob upwards to unlock it.
- Turn the knob clockwise to increase pressure or counter-clockwise to decrease pressure. Observe the pressure gauge for the desired setting (Pressure Range: 5-125 PSI).
- Push the knob downwards to lock the setting.
5.2 Semi-Automatic Drain
The filter bowl accumulates moisture. To drain, simply pull the ring at the bottom of the filter bowl. Release the ring to close the drain. Perform this regularly to prevent water from entering your air tools.
5.3 Lubricator Adjustment
The lubricator dispenses oil proportional to airflow. Adjust the oil drip rate by turning the adjustment screw on top of the lubricator. Observe the drip sight glass to set the appropriate lubrication level for your tools.
6. Maintenance
6.1 Filter Element Replacement
- Shut off air supply and depressurize the system.
- Unscrew the filter bowl.
- Remove the old filter element and clean the bowl.
- Install a new 5-micron filter element.
- Reattach the filter bowl, ensuring a proper seal.
6.2 Lubricator Oil Refill
Regularly check the oil level in the lubricator bowl. Refill as described in Section 4.2 when the oil level approaches the "MIN OIL LEVEL" mark.
6.3 Bowl Cleaning
Periodically clean the filter and lubricator bowls. Use only mild soap and water. Avoid harsh chemicals that can damage the polycarbonate material.
7. Troubleshooting
| Problem | Possible Cause | Solution |
|---|---|---|
| No airflow or low pressure output | Air supply off; Regulator knob not adjusted; Clogged filter; Leaks in system. | Check air supply; Adjust regulator; Replace filter element; Check for and seal leaks. |
| Water in air tools | Filter drain not operated; Over-saturated filter element. | Regularly drain filter bowl; Replace filter element. |
| No lubrication or insufficient lubrication | Lubricator oil level low; Lubricator adjustment too low. | Refill lubricator oil; Adjust lubricator drip rate. |
8. Specifications
| Feature | Specification |
|---|---|
| Model | 51.425 |
| Port Size | 1/2 in. (F) NPT |
| Pressure Range | 5-125 PSI |
| Maximum Airflow (at 100 PSI) | 105 SCFM |
| Maximum Working Pressure | 150 PSI |
| Working Temperature | 5 to 60 °C (41 to 140 °F) |
| Pressure Gauge Port Size | 1/4 in. (F) NPT |
| Filtration | 5 micron, Centrifugal |
| Filter Bowl Capacity | 45 ml |
| Lubricator Capacity | 130 ml |
| Drain Type | Semi-Automatic |
| Included Components | Modular Piping Adapters, Pressure Gauge, Mounting Bracket |
9. Warranty and Support
For warranty information or technical support, please contact TOPRING customer service. Refer to your purchase documentation or the TOPRING official website for contact details and specific warranty terms applicable to your region.