Introduction
This manual provides comprehensive instructions for the installation, operation, and maintenance of your Cable Matters Mini 8-Port Patch Panel. This compact 10-inch patch panel is designed to provide a professional and organized solution for structured cabling in home and small office network environments, supporting high-speed data transmission and Power over Ethernet (PoE) applications.
Setup
Proper setup ensures optimal performance and longevity of your patch panel.
1. Unpacking and Inspection
Carefully unpack the patch panel and all included accessories. Verify that all components listed in the 'Included Components' section are present and free from damage. If any items are missing or damaged, contact Cable Matters support.
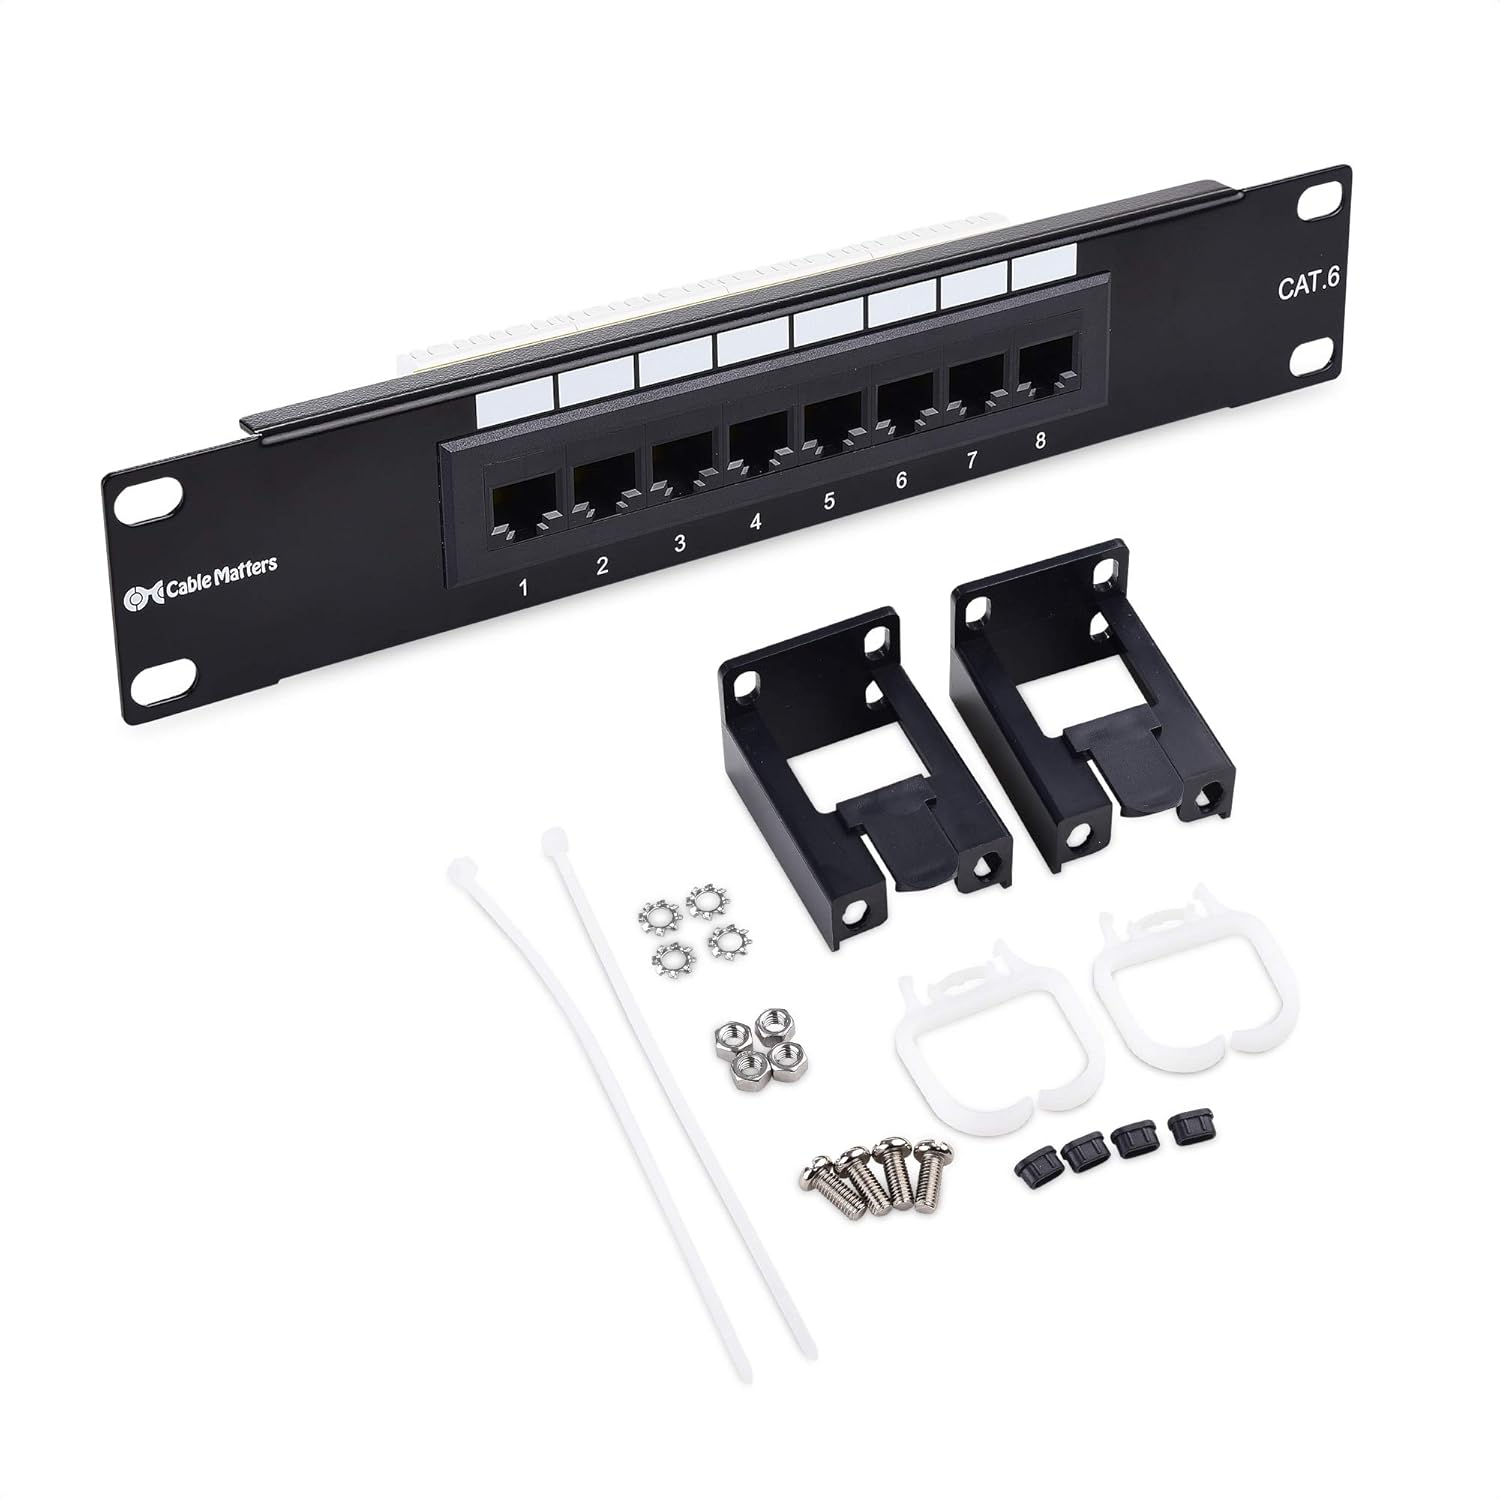
Image: The 8-port patch panel shown with its complete set of accessories, including wall mount brackets, screws, D-rings, and cable ties.
2. Mounting the Patch Panel
The patch panel is designed for easy wall mounting using the included snap-on 89D brackets and screws. Choose a secure location, such as a network closet or under a stairwell, that allows for proper cable routing and ventilation.
- Attach the two 89D mounting brackets to the sides of the patch panel using the provided screws.
- Position the assembled patch panel on the desired mounting surface.
- Mark the drilling points through the bracket holes.
- Drill pilot holes if necessary, then secure the patch panel to the surface using the appropriate mounting screws.

Image: The 8-port patch panel with its 89D mounting brackets securely attached, ready for installation.
3. Cabling and Termination
This patch panel supports UTP 22~26 AWG solid or stranded cables and is compatible with Cat 6a, Cat 6, Cat 5e, and Cat 5 cables. The rear of the panel features color-coded IDC termination blocks for easy wiring.

Image: A detailed view of the rear of the patch panel, highlighting the color-coded IDC termination blocks for precise cable wiring.
- Prepare your network cables by stripping the outer jacket to expose the twisted pairs.
- Refer to the color-coded diagrams on the IDC blocks, which support both T568A and T568B wiring standards. Ensure you consistently use one standard throughout your installation.
- Using a 110 or Krone impact tool, punch down each wire into its corresponding slot on the IDC block. Ensure a firm connection and trim any excess wire.
- Utilize the integrated cable tie slots and included zip ties to manage and secure the terminated cables, preventing strain and maintaining a neat appearance.
Operating
Once installed and terminated, the patch panel facilitates organized network connectivity.
1. Connecting Devices
The front of the patch panel features 8 RJ45 ports, clearly labeled for easy identification. Connect your network devices (e.g., computers, routers, switches, IP cameras) to these ports using standard Ethernet patch cables.
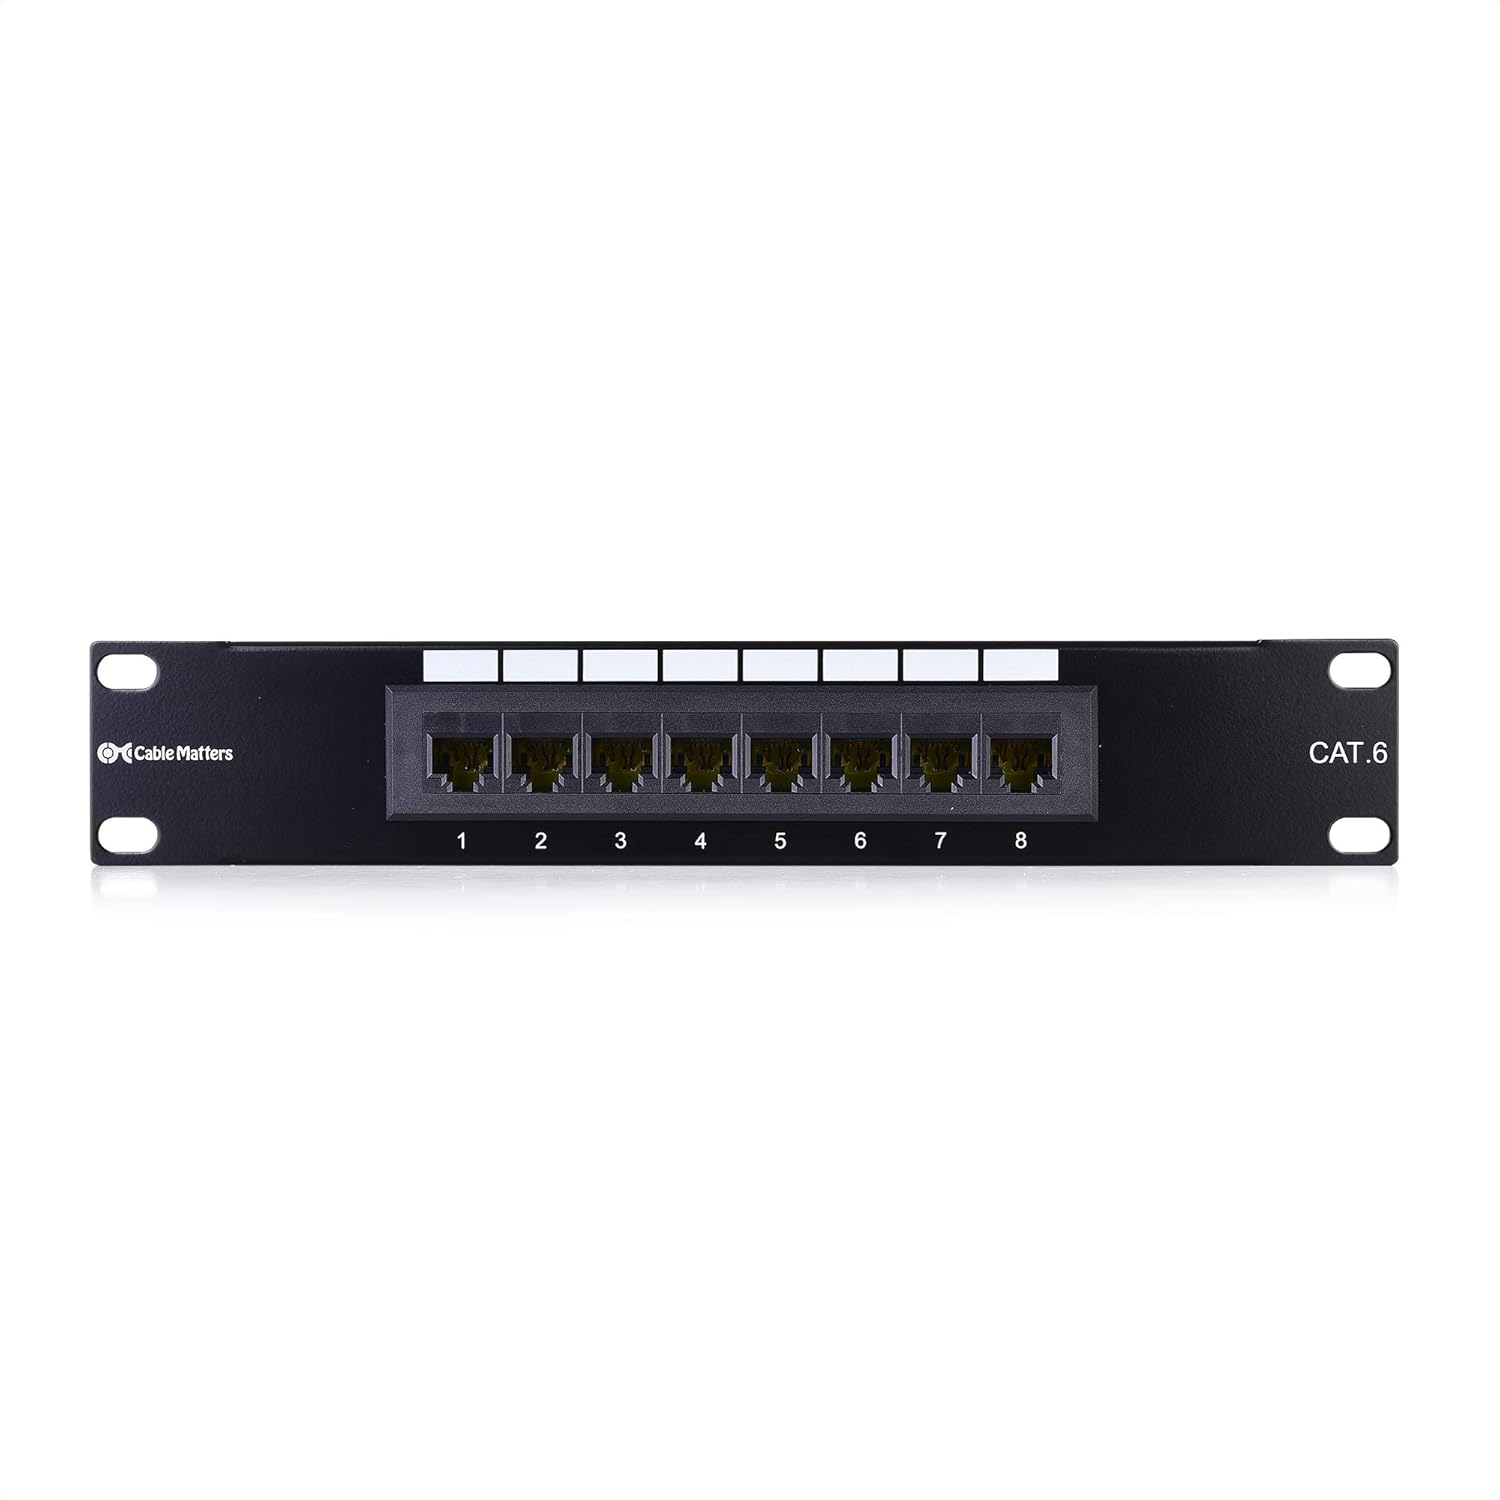
Image: The front of the 8-port patch panel, displaying the numbered RJ45 ports for network connections.
2. Network Performance
This patch panel is designed to support 10 Gigabit Ethernet performance, ensuring high-speed data transmission for demanding applications such as video/audio streaming and large file transfers. It also supports Power over Ethernet (PoE), PoE+, and PoE++ for powering compatible devices directly through the Ethernet cable.

Image: A graphic illustrating the patch panel's capability for 10 Gigabit per second data transmission, confirming its CAT 6 performance.
Maintenance
The Cable Matters Mini 8-Port Patch Panel is constructed from durable black-painted steel with gold-plated RJ45 contacts for superior connectivity and longevity. Minimal maintenance is required.
Cleaning
To clean the patch panel, gently wipe the exterior surfaces with a dry, soft cloth. Avoid using abrasive cleaners, solvents, or excessive moisture, as these can damage the finish or internal components.
Cable Management
Periodically inspect cable connections to ensure they remain secure and properly managed. Re-secure any loose cables using the integrated tie slots and zip ties to prevent strain on the ports and maintain an organized setup.
Troubleshooting
If you encounter issues with your patch panel, consider the following common troubleshooting steps:
No Network Connectivity
- Check Cable Connections: Ensure all Ethernet cables are securely plugged into both the patch panel ports and the connected devices/network equipment.
- Verify Termination: Inspect the IDC termination blocks on the rear of the patch panel. Confirm that all wires are correctly punched down and that the T568A or T568B wiring standard has been consistently applied. A loose or incorrect punch-down is a common cause of connectivity issues.
- Test Cables: Use a cable tester to verify the integrity of the individual patch cables and the terminated runs connected to the patch panel.
- Check Network Equipment: Ensure your router, switch, or other network devices are powered on and functioning correctly.
Slow Network Speed
- Cable Quality: Ensure you are using appropriate cable types (e.g., Cat 6 or Cat 6a for 10 Gigabit performance) for your network requirements.
- Termination Quality: Poorly terminated cables can degrade performance. Re-check punch-downs for proper contact.
- Network Congestion: High network traffic or issues with other network devices can affect speed.
PoE Device Not Powering On
- PoE Source: Ensure your switch or injector connected to the patch panel is a PoE-enabled device and is providing sufficient power.
- Device Compatibility: Verify that the connected device is PoE compatible and meets the power requirements (PoE, PoE+, or PoE++).
- Cable Length/Quality: Excessive cable length or low-quality cables can lead to power loss.
Specifications
| Feature | Detail |
|---|---|
| Item Weight | 0.36 Kilograms (12.6 ounces) |
| Case Material | Metal |
| Interface Type | RJ45 |
| Data Transfer Rate | 10 Gigabits Per Second |
| Manufacturer | Cable Matters |
| UPC | 818707026793 |
| Package Dimensions | 11.34 x 3.35 x 2.05 inches |
| Item Model Number | 180098-Cat6 |
| Number of Ports | 8 |
| Included Components | Wall mount brackets, mounting screws, 2x D-Rings, cable ties, 2x Mounting Panel Brackets |
| Color | Black (with gold-plated contacts) |
| Compatible Devices | Laptop, Desktop, Router |
Compliance and Support
This Cable Matters Mini 8-Port Patch Panel is UL listed (E486099), RoHS and CE compliant, and verified by 3P & ETL, ensuring reliable performance and safety standards are met.
Warranty Information
For detailed warranty information, please refer to the official Cable Matters website or contact their customer support directly.
Customer Support
If you require further assistance, technical support, or have questions regarding your product, please visit the Cable Matters official website for contact information and resources.
You can also refer to the official User Manual (PDF) for additional details: Download User Manual (PDF)


