
Introduction
This manual provides detailed instructions for the safe and efficient operation, maintenance, and care of your BBday Electric Meat Grinder THMGF500A. Designed for versatility, this powerful appliance handles various meat and food grinding tasks, including making sausages and Kubbe, with ease. Please read all instructions carefully before first use and retain this manual for future reference.
Important Safety Instructions
- Always ensure the appliance is unplugged before assembling, disassembling, or cleaning.
- Keep hands and utensils away from moving parts during operation to prevent injury. Use the food pusher provided.
- Do not operate the appliance with a damaged cord or plug, or after the appliance malfunctions or has been damaged in any manner.
- This appliance is not intended for use by persons (including children) with reduced physical, sensory or mental capabilities, or lack of experience and knowledge, unless they have been given supervision or instruction concerning use of the appliance by a person responsible for their safety.
- Do not immerse the motor unit in water or any other liquid.
- Ensure all parts are correctly assembled and locked in place before operating.
- Do not grind bones, nuts, or other hard foods as this may damage the motor or components.
- For optimal performance and safety, meat should be semi-frozen (below 35°F but above 32°F) before grinding. This prevents mushy results and reduces strain on the motor.
- WARNING: All parts cannot be washed by dishwasher. Hand wash only.
Product Components
Your BBday Electric Meat Grinder comes with several components designed for various food preparation tasks. Familiarize yourself with each part:
- Motor Unit: The main body housing the powerful 350W (2000W Max) copper motor. Features ON/OFF and Reverse (REV) buttons.
- Milling Tube (Grinding Head): The metal housing where meat is processed.
- Food Tray: Stainless steel tray for holding meat before grinding.
- Metal Feed Screw (Auger): Transports meat through the milling tube.
- Cutter Blade: Sharp blade that cuts the meat against the cutting plate.
- Cutting Plates: Three different sizes (coarse, medium, fine) for various grinding textures.
- Fixing Ring: Secures the cutting plate and cutter blade in place.
- Food Pusher: Used to safely guide meat into the milling tube.
- Sausage Funnels: Attachments for making sausages.
- Kubbe Attachment: For preparing Kubbe.

Image: Overview of the BBday Electric Meat Grinder and its included accessories, including three cutting plates, sausage funnels, and a Kubbe attachment.
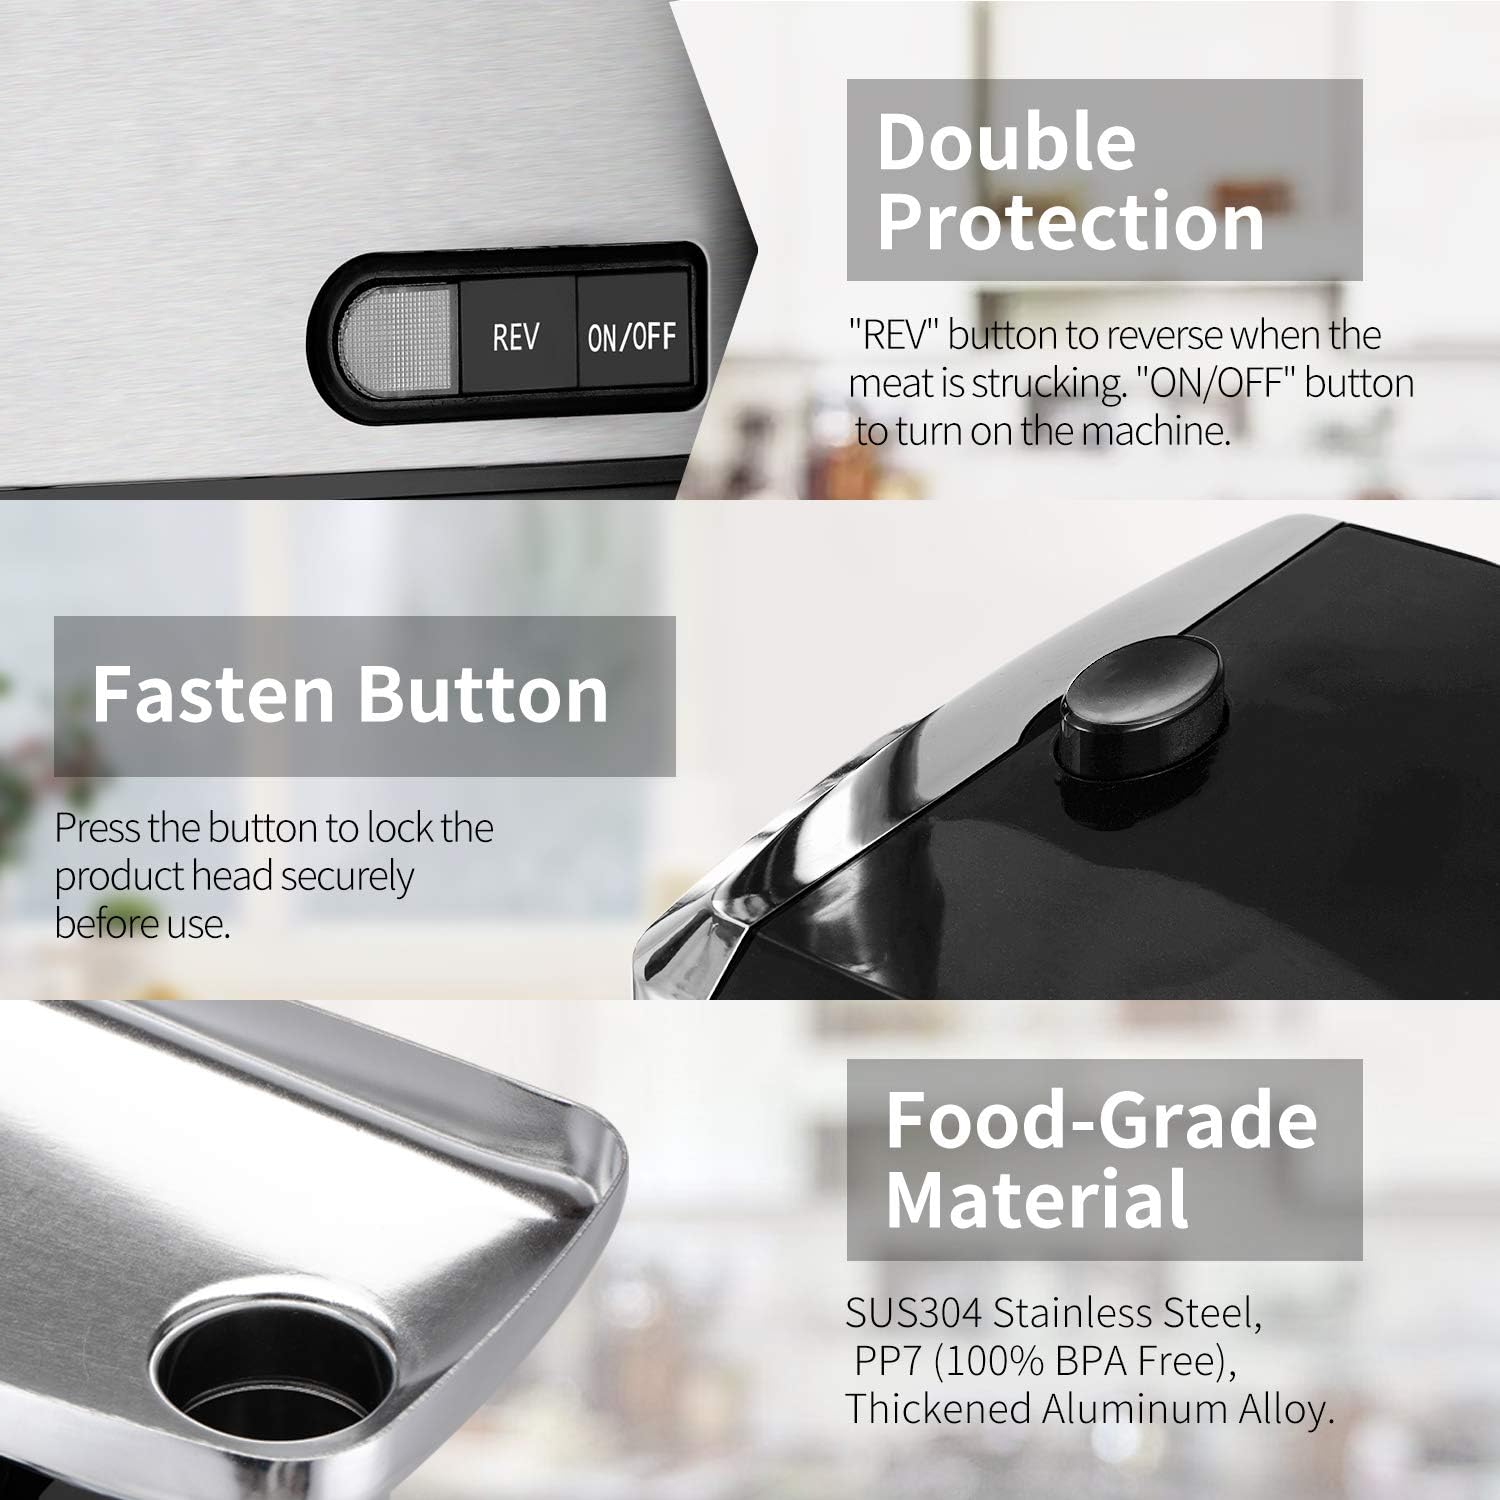
Image: Detail of the control panel featuring the ON/OFF switch and the reverse (REV) button for clearing blockages.

Image: Stainless steel accessories including different sized cutting plates and the cutter blade.
Setup and Assembly
Follow these steps to correctly assemble your meat grinder before use:
- Ensure the motor unit is unplugged from the power outlet.
- Insert the milling tube into the inlet on the motor unit. Secure it by pressing the fasten button and rotating until it locks into position.
- Place the metal feed screw (auger) inside the milling tube.
- Fit the cutter blade onto the metal feed screw, ensuring the sharp edges face outwards towards the cutting plate.
- Select the desired cutting plate (coarse, medium, or fine) and place it over the cutter blade, aligning the notch on the plate with the pin on the milling tube.
- Screw the fixing ring onto the end of the milling tube until all components are securely held in place. Do not overtighten.
- Place the food tray on top of the milling tube.
Video: This video demonstrates the step-by-step assembly process for the BBday Electric Meat Grinder, including how to attach the milling tube, insert the feed screw and cutter blade, and secure the cutting plate and fixing ring.

Image: Visual guide for correct assembly of the cutter blade and cutting plate within the milling tube.
Operating Instructions
Once assembled, your meat grinder is ready for use. Ensure meat is prepared correctly for best results.
Preparing Meat for Grinding:
- Cut meat into small pieces (approximately 1-inch cubes) that fit easily into the feed tube.
- Remove any bones, large gristle, or tough tendons.
- For best results, chill the meat in the freezer for 15-30 minutes until it is firm but not frozen solid. This helps achieve a cleaner grind and prevents smearing.
Grinding Meat:
- Place a bowl or container under the output of the milling tube to collect the ground meat.
- Plug the appliance into a suitable power outlet.
- Turn the appliance ON.
- Place prepared meat pieces onto the food tray.
- Using the food pusher, gently feed the meat into the milling tube. Do not force the meat.
- If the grinder becomes clogged, press the "REV" (Reverse) button to clear the blockage. Once cleared, switch back to ON to continue grinding.
- After grinding, turn the appliance OFF and unplug it.

Image: The electric meat grinder actively processing meat, demonstrating its efficiency.

Image: Examples of meat ground using the three different cutting plates: coarse, medium, and fine.
Making Sausages and Kubbe:
To make sausages or Kubbe, replace the cutting plate and cutter blade with the appropriate attachments after grinding your meat. Refer to the assembly steps for attaching these accessories.

Image: The meat grinder showcasing its versatility with sausage funnels and Kubbe attachment for diverse culinary creations.
Maintenance and Cleaning
Proper cleaning and maintenance will extend the life of your meat grinder.
- Always unplug the appliance before cleaning.
- Disassemble all removable parts: food tray, milling tube, feed screw, cutter blade, cutting plate, fixing ring, and any attachments used.
- Wash all disassembled parts (except the motor unit) by hand using warm, soapy water. Use a brush to remove any stubborn meat residue from the cutting plates and milling tube.
- DO NOT wash any parts in a dishwasher. Dishwasher detergents and high temperatures can cause discoloration, corrosion, or damage to the metal components.
- Rinse all parts thoroughly with clean water.
- Immediately dry all metal parts with a soft cloth to prevent rust and oxidation. Ensure they are completely dry before storage.
- Wipe the motor unit with a damp cloth. Never immerse the motor unit in water.
- Store the clean and dry components in a safe place.

Image: Illustration of disassembled meat grinder parts, emphasizing the instruction for hand washing only and drying thoroughly.
Troubleshooting
If you encounter issues with your meat grinder, refer to the following common problems and solutions:
| Problem | Possible Cause | Solution |
|---|---|---|
| Motor does not start. | Not plugged in; power switch off; power outage. | Check power connection; ensure switch is ON; check household power. |
| Meat is not grinding smoothly or motor strains. | Meat is too warm/soft; too much meat fed at once; bones/gristle present; components incorrectly assembled. | Chill meat to semi-frozen state; feed smaller pieces; ensure meat is boneless/gristle-free; reassemble components correctly. Use the "REV" button to clear blockages. |
| Ground meat is mushy. | Meat is too warm; dull blade. | Ensure meat is chilled to semi-frozen before grinding. Check if the cutter blade is sharp and correctly installed. |
| Loud noise during operation. | Loose components; foreign object inside. | Turn OFF and unplug. Check all components are securely fastened. Inspect for any foreign objects. |
Product Specifications
- Brand: BBday
- Model: THMGF500A
- Power: 350W (2000W Max)
- Voltage: 120 Volts
- Material: Stainless Steel, Thickened Aluminum Alloy, PP7 (100% BPA Free)
- Product Dimensions: 12.4"L x 6.3"W x 8.5"H
- Item Weight: 7.5 Pounds
- Functions: Meat Grinding (Coarse, Medium, Fine), Sausage Stuffing, Kubbe Making
- ASIN: B07WLS4RZC
- GTIN/UPC: 799060024971

Image: An internal view of the motor, illustrating its 100% copper construction for powerful and low-noise operation.
Warranty and Support
For warranty information, technical support, or customer service inquiries, please refer to the contact details provided with your purchase documentation or visit the official BBday website. Keep your purchase receipt as proof of purchase for any warranty claims.