
Introduction
This manual provides comprehensive instructions for the safe and effective use of your BestEquip 3 Point Ballast Box. This heavy-duty steel attachment is designed to add stability and balance to Category 1 tractors, especially when operating with heavy front-end loads. It also offers convenient storage options and an integrated hitch receiver for enhanced utility.
Product Features
- Heavy-Duty Steel Construction: The ballast box is constructed from robust alloy steel, ensuring exceptional durability and a long service life. It is powder-coated for additional protection against corrosion and wear.
- High Capacity: Designed to support up to 800 lbs of ballast weight, significantly improving tractor stability. It also provides 5 cu.ft. of internal volume for tool storage, including integrated tube holders for long-handled implements.
- Standard 3-Point Category 1 Hitch: Engineered to fit standard 3-point Category 1 tractors, ensuring broad compatibility with various makes and models.
- Convenient Design: Features lower lift pins and a top link pin for straightforward installation. A sliding front door allows for easy filling, emptying, and access to the internal storage compartment.
- Versatile Filling Materials: Can be filled with a variety of dense materials such as sand, steel, concrete, gravel, or rocks to achieve the desired counterweight.

This image illustrates the types of materials that can be used to fill the ballast box for counterweight.

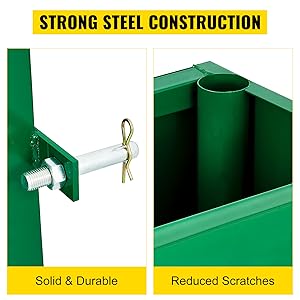
Details of the heavy-duty steel construction, showing the robust design and attachment points.
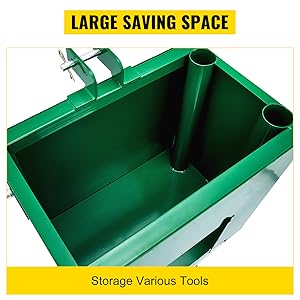
The interior of the ballast box, demonstrating its volume for tool storage and the built-in tubes for long-handled implements.
Installation and Setup
The BestEquip 3 Point Ballast Box is designed for easy attachment to Category 1 tractors. Follow these steps for proper installation:
- Ensure your tractor is parked on a level surface with the engine off and parking brake engaged.
- Align the ballast box's lower lift pins with your tractor's lower lift arms.
- Secure the lower lift pins using the provided linchpins or cotter pins.
- Connect the top link pin of the ballast box to your tractor's top link arm.
- Adjust the top link to ensure the ballast box is level and securely attached.
- Verify all connections are tight and secure before operating the tractor.
The ballast box mounted on a tractor, illustrating how it provides stability and balance during operation.
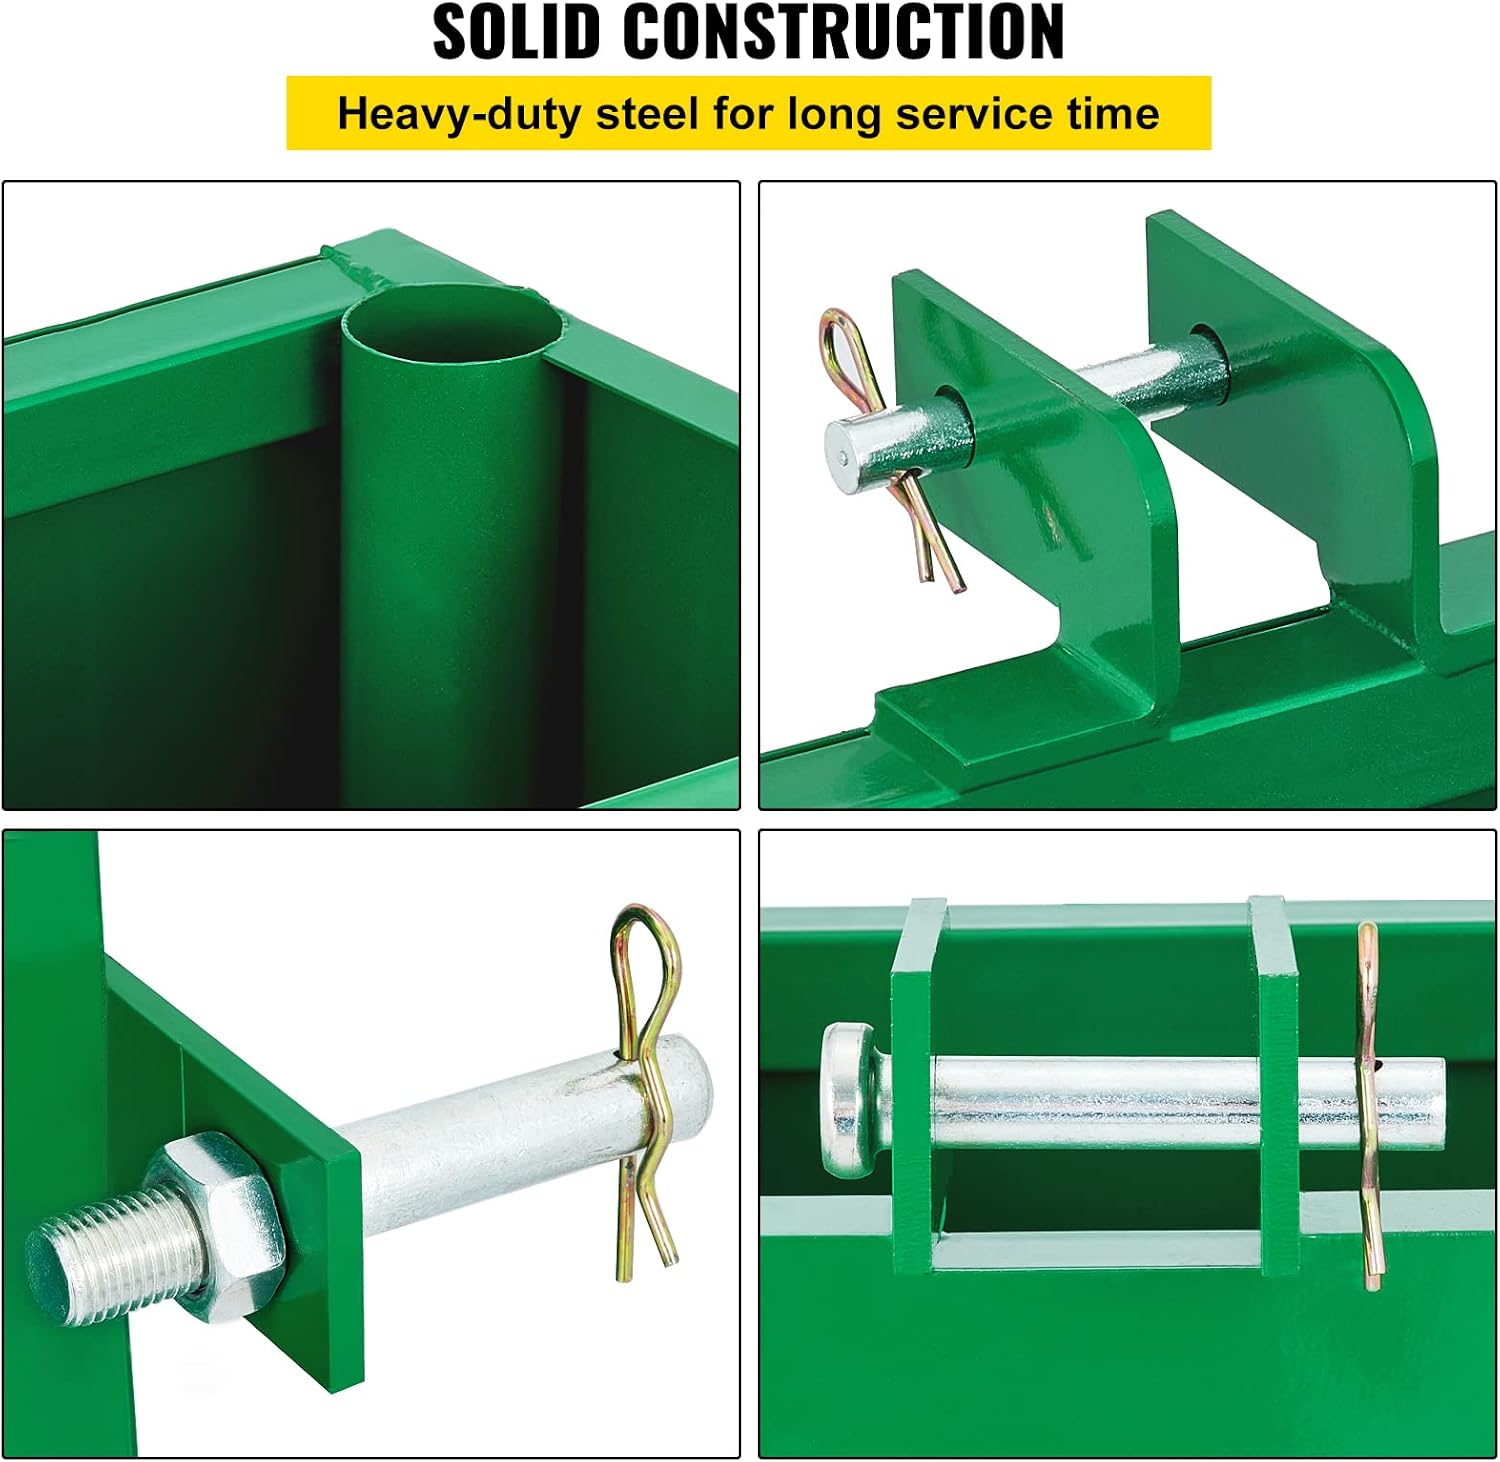
A detailed view of the attachment pins and how they connect to the tractor's 3-point hitch.
Operation
Filling the Ballast Box
The ballast box can be filled with various dense materials to provide counterweight. Common materials include sand, gravel, concrete, or steel scraps. Always ensure the material is contained and will not spill during operation.
- Open the sliding front door to access the interior of the box.
- Carefully fill the box with your chosen ballast material, ensuring even distribution for optimal balance.
- Close and securely latch the sliding front door before operating the tractor.
- Do not exceed the maximum capacity of 800 lbs.
Using the Integrated Tool Holders
The ballast box features integrated tube holders for convenient transport of long-handled tools such as shovels or rakes.
- Insert tool handles into the designated tube holders.
- Ensure tools are securely placed and will not dislodge or interfere with tractor operation.
Utilizing the Hitch Receiver
A standard 2-inch hitch receiver is integrated into the design, allowing you to tow small trailers or other implements without removing the ballast box.
- Insert your hitch into the receiver.
- Secure the hitch with a hitch pin (not included).
- Always verify the trailer's weight does not exceed the tractor's towing capacity and local regulations.

A close-up of the sliding front door, which allows for easy access to fill or empty the ballast material.

The interior of the ballast box, demonstrating its volume for tool storage and the built-in tubes for long-handled implements.
Maintenance
Proper maintenance will extend the lifespan and ensure the continued performance of your ballast box.
- Regular Cleaning: Clean the ballast box regularly to remove dirt, debris, and any corrosive materials that may accumulate.
- Inspect for Damage: Periodically inspect the steel structure, welds, and powder coating for any signs of damage, cracks, or rust. Address any issues promptly to prevent further deterioration.
- Check Pins and Connections: Ensure all attachment pins and connections remain secure and free from excessive wear. Replace worn pins as necessary to maintain safe operation.
- Lubrication: Keep the sliding door mechanism clean and lubricated with a suitable lubricant for smooth and effortless operation.
- Storage: When not in use, store the ballast box in a dry, protected area to shield it from harsh weather conditions and prolong its lifespan.
Troubleshooting
Common Issues and Solutions
- Issue: Pins do not fit properly into tractor's 3-point hitch.
Solution: Verify the ballast box is designed for a Category 1 hitch. Ensure the correct pins (lower lift pins and top link pin) are being used for their respective positions. Some minor adjustments or filing of the pins or hitch points may be required for a snug fit. - Issue: Sliding door does not align or close securely.
Solution: Check for any obstructions or debris in the door tracks. Inspect the door and frame for bends or damage. Ensure the box is on a level surface during inspection and operation. - Issue: Welds appear weak or damaged.
Solution: If welds show signs of cracking, separation, or significant damage, discontinue use immediately. Operating with compromised welds can be hazardous. Contact customer support for assistance. - Issue: 2-inch receiver is undersized or difficult to use.
Solution: Some users have reported the receiver being slightly undersized. Minor filing or grinding of the receiver's interior or the hitch insert may be necessary for proper fitment.
Specifications
| Feature | Detail |
|---|---|
| Model | 3 Point Ballast Box |
| Capacity | Up to 800 lbs (ballast) |
| Volume | 5 cu.ft. (tool storage) |
| Hitch Type | Standard 3-Point Category 1 |
| Material | Alloy Steel |
| Finish | Powder Coated |
| Color | Green |
| Overall Size | 23" x 14.5" x 26" (59 x 37 x 66 cm) |
| Item Weight | 64.9 pounds |
| Included Components | 1 x Ballast Box |
| Manufacturer | BestEquip |
| ASIN | B07WHHR2S9 |

A diagram showing the key dimensions of the ballast box for reference.
Warranty and Support
For warranty information, technical support, or any product-related inquiries, please contact BestEquip customer support.
Visit the official BestEquip website for additional resources and contact details: www.vevor.com/support