1. Introduction
This manual provides comprehensive instructions for the installation, operation, and maintenance of your Alpine S-A60M Mono Car Audio Amplifier. The S-A60M is a Class-D amplifier designed to deliver reliable power for your car audio subwoofer system. For optimal performance and safety, please read this manual thoroughly before installation and use.
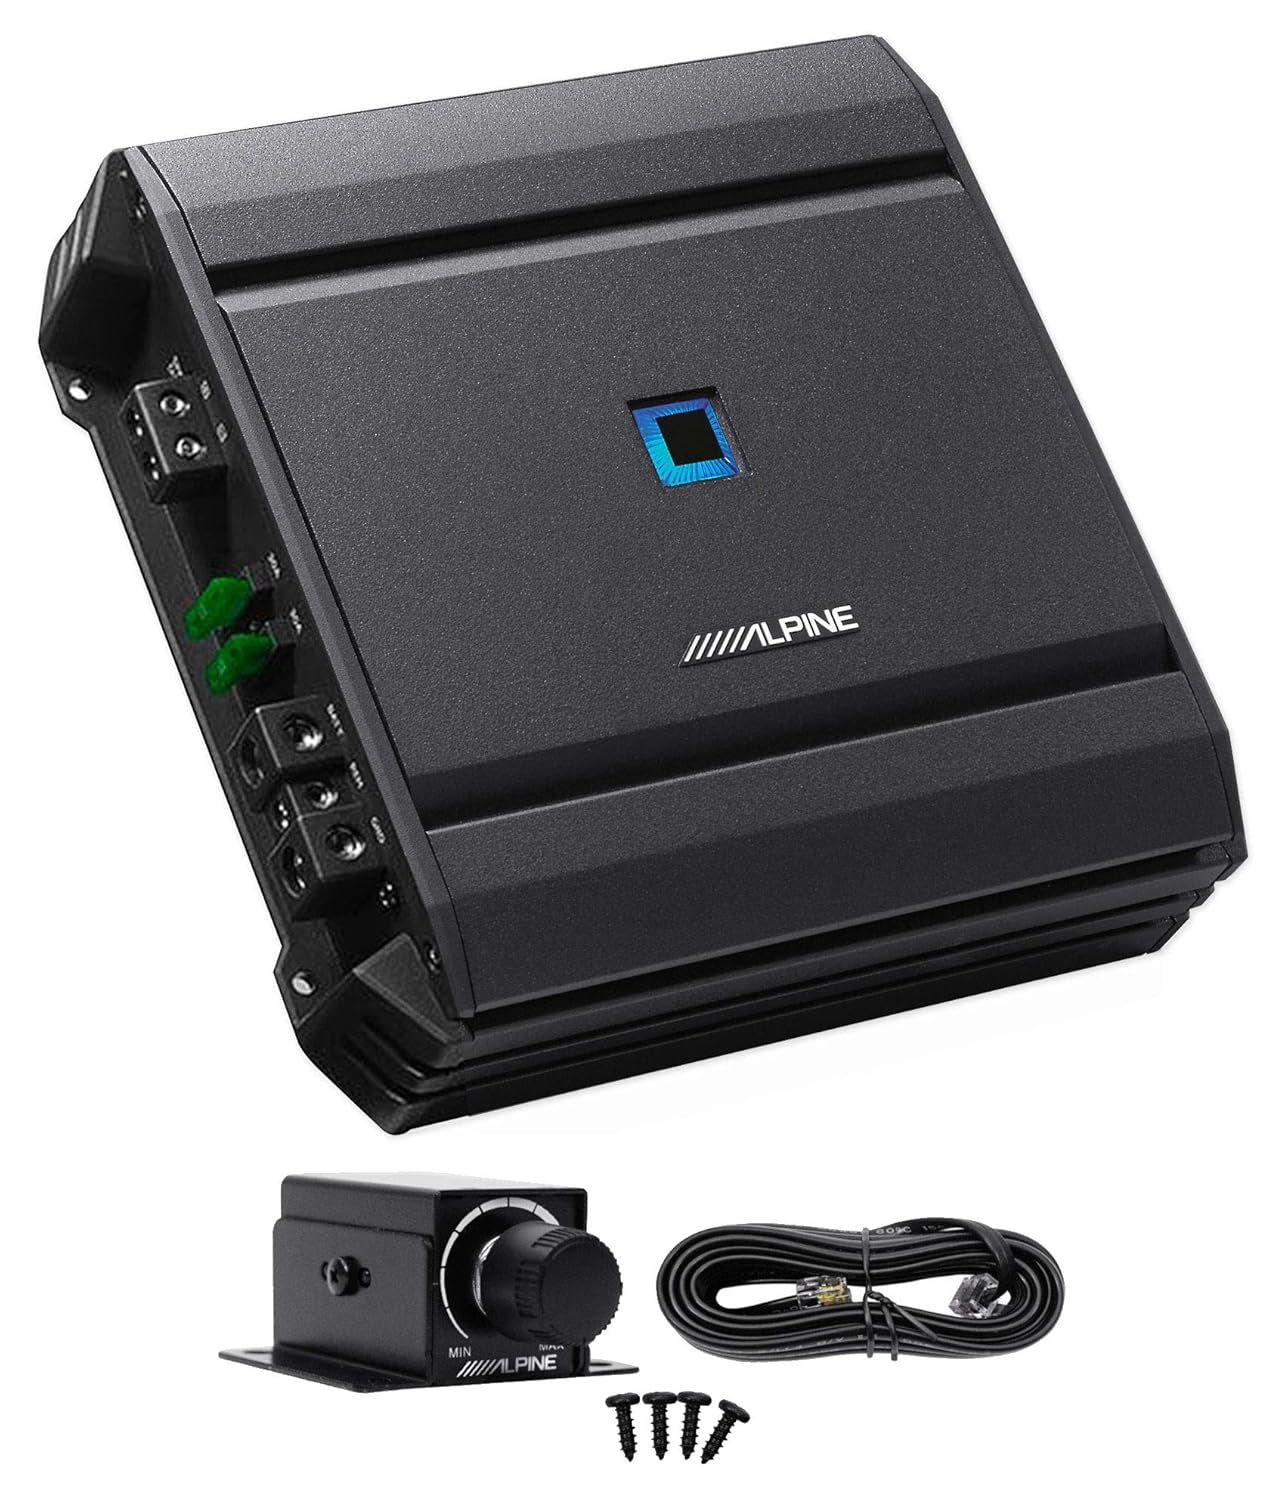
Image 1.1: Alpine S-A60M Mono Car Audio Amplifier with optional RUX-KNOB.2 remote bass control knob and wiring accessories.
2. Safety Information
Always observe the following safety precautions to prevent injury or damage to the amplifier or vehicle:
- Disconnect the vehicle's negative battery terminal before starting any installation.
- Ensure proper grounding to the vehicle chassis.
- Use appropriate gauge wiring for power and ground connections as specified in the installation section.
- Protect all wiring from sharp edges and pinch points.
- Do not mount the amplifier in locations exposed to direct sunlight, excessive heat, moisture, or dust.
- Securely mount the amplifier to prevent it from coming loose during sudden stops or impacts.
- Avoid operating the amplifier at excessively high volume levels for prolonged periods, which can damage hearing or speakers.
- If you are unsure about any part of the installation process, consult a qualified professional.
3. Setup and Installation
Proper installation is crucial for the performance and longevity of your amplifier. Follow these steps carefully.
3.1 Power Supply Wiring
Refer to the diagram below for correct power supply connections. Always use the specified wire gauges and ensure all connections are secure.

Image 3.1: Power Supply Wiring Diagram. This diagram illustrates the correct method for connecting the amplifier to the vehicle's power system, including the battery, fuse, and ground connections. Ensure the fuse capacity matches the amplifier's requirements.
Important: The total fuse capacity of the amplifier must be installed and the specified wire length. For detailed information, refer to the "Power Supply" section in the owner's manual. Always connect the power wire directly to the positive battery terminal and the ground wire to a clean, unpainted metal surface on the vehicle chassis.
- Battery (BATT): Connect to the positive (+) terminal of the vehicle battery via an appropriate fuse.
- Remote (REM): Connect to the remote turn-on output of your head unit.
- Ground (GND): Connect to a clean, unpainted metal part of the vehicle chassis.
- Speaker Output (SPK OUT): Connect to your subwoofer(s).

Image 3.2: Amplifier Power and Speaker Output Terminals. This image displays the terminals for power input (BATT, REM, GND) and speaker output (SPK OUT) on the Alpine S-A60M amplifier, along with the integrated fuses.
3.2 Audio Input Connections
The S-A60M supports both low-level (RCA) and high-level (speaker wire) inputs.
- Low-Level Input (RCA): Connect RCA cables from your head unit's subwoofer or full-range pre-outs to the amplifier's INPUT (L/R) terminals.
- High-Level Input: If your head unit does not have RCA outputs, connect speaker wires from your head unit's speaker outputs directly to the amplifier's high-level input terminals (if available, or use a line output converter).

Image 3.3: Amplifier Input and Control Panel. This image highlights the various input and control settings on the Alpine S-A60M, including the input level switch, gain control, low-pass filter, bass equalizer, and the port for the optional remote bass control.
4. Operating the Amplifier
Once installed, adjust the amplifier settings for optimal sound performance.
4.1 Input Level Adjustment
- Set the INPUT LEVEL switch to "LO" for low-level (RCA) inputs or "HI" for high-level inputs.
- Adjust the GAIN control to match the output of your head unit. Start with the gain at minimum, play a familiar track, and slowly increase the gain until distortion is heard, then back off slightly.
4.2 LP Filter (Low-Pass Filter)
The LP Filter allows only frequencies below the set point to pass through to the subwoofer. This is essential for proper subwoofer integration.
- Adjust the LP FILTER knob to set the desired crossover frequency (e.g., 80Hz-120Hz is common for subwoofers).
4.3 Bass EQ
The Bass EQ provides a boost to specific bass frequencies.
- Adjust the BASS EQ knob to increase or decrease bass output. Use sparingly to avoid distortion and speaker damage.
4.4 Remote Bass Control (Optional RUX-KNOB.2)
If you have the optional Alpine RUX-KNOB.2 remote bass control, connect it to the REMOTE BASS CONTROL port on the amplifier. This allows for convenient, on-the-fly adjustment of subwoofer output from the driver's seat.
5. Maintenance
Regular maintenance ensures the longevity and optimal performance of your amplifier.
- Cleaning: Periodically wipe the amplifier's exterior with a soft, dry cloth. Avoid using harsh chemicals or abrasive cleaners.
- Connections: Annually check all power, ground, and speaker connections to ensure they are secure and free from corrosion. Loose connections can lead to poor performance or damage.
- Ventilation: Ensure the amplifier's cooling fins are free from obstructions to allow for proper heat dissipation.
6. Troubleshooting
If you experience issues with your amplifier, consult the following table before seeking professional assistance.
| Symptom | Possible Cause | Solution |
|---|---|---|
| No power/No sound | Blown fuse, loose power/ground connection, remote wire not connected, amplifier in protection mode. | Check fuses (on amplifier and in power line), verify all power and ground connections, ensure remote wire is connected to head unit's remote output, check for overheating or short circuits. |
| Distorted sound | Gain set too high, improper input level switch setting, damaged speaker, poor signal source. | Reduce gain, ensure INPUT LEVEL switch matches input type (LO/HI), check speaker wiring and condition, test with a different audio source. |
| No bass output | LP Filter set too high/low, Bass EQ set too low, subwoofer wiring issue. | Adjust LP Filter to appropriate frequency, increase Bass EQ if desired (with caution), verify subwoofer connections and impedance. |
| Amplifier overheats | Insufficient ventilation, improper impedance load, gain set too high. | Ensure adequate airflow around the amplifier, verify speaker impedance matches amplifier's capabilities, reduce gain setting. |
7. Specifications
Detailed technical specifications for the Alpine S-A60M amplifier.
- Model Number: S-A60M
- CTA-2006-B Power Rating:
- 330W RMS x 1 (4ohm, 14.4V, 1% THD+N)
- 600W RMS x 1 (2ohm, 14.4V, 1% THD+N)
- Signal-to-Noise Ratio (S/N): >85dB (ref: 1W into 4 ohm), >105dB (ref: rated power into 4 ohm)
- Total Harmonic Distortion + Noise (THD+N): 0.03% (ref 1W into 4 ohm)
- Frequency Response: 10Hz-400Hz (+/-3 dB)
- Damping Factor: >1000
- Voltage: 14.4 Volts (DC)
- Maximum Supply Voltage: 14.4 Volts (DC)
- Minimum Supply Voltage: 14.4 Volts (DC)
- Mounting Type: Surface Mount
- Package Dimensions: 10.2 x 9.7 x 3.8 inches
- Weight: 6.8 Pounds
- Remote Bass Knob Compatible: Yes (requires RUX-KNOB.2, sold separately)
8. Warranty and Support
Alpine products are designed and manufactured to the highest quality standards. For specific warranty information regarding your S-A60M amplifier, please refer to the warranty card included with your product or visit the official Alpine website.
For technical support, service inquiries, or to locate an authorized Alpine dealer, please visit the official Alpine website or contact their customer service department. Keep your purchase receipt as proof of purchase for warranty claims.
Alpine Electronics of America, Inc.
www.alpine-usa.com


