
Power Stop JBR1740
Power Stop JBR1740 Autospecailty Stock Replacement Rear Brake Rotor User Manual
Model: JBR1740 | Brand: Power Stop
Introduction
This manual provides comprehensive instructions for the installation, maintenance, and troubleshooting of your Power Stop JBR1740 Autospecailty Stock Replacement Rear Brake Rotor. Designed for Mazda CX-3 models from 2016-2018, this rotor offers a direct, bolt-on upgrade without the need for modifications. It features G3000 metallurgy and a non-directional, 100% mill-balanced surface for optimal performance and durability. Please read this manual thoroughly before proceeding with installation or maintenance.
Product Overview
The Power Stop JBR1740 Autospecailty Stock Replacement Rear Brake Rotor is engineered to meet OE specifications, providing a reliable and affordable solution for improved braking performance. Its design ensures a direct fit and proper vane count, eliminating the need for special modifications.
Key Features:
- Bolt-on Upgrade: Designed for direct replacement of stock brakes, requiring no modifications.
- Non-directional Surface: Features a non-directional rotor surface with 100% mill balance for consistent performance.
- OE Specification: Engineered to OE specifications with a direct OE fit and vane count.
- Affordable Solution: Provides a fast, easy, and affordable solution for enhanced braking.
- Quality Metallurgy: Cast using the finest G3000 metallurgy with strict OE tolerances.
What's in the Box:
- 1 x Power Stop JBR1740 Autospecailty Stock Replacement Rear Brake Rotor

Figure 1: Top view of the Power Stop JBR1740 Autospecailty Stock Replacement Rear Brake Rotor, showcasing its precision-machined surface and central hub.
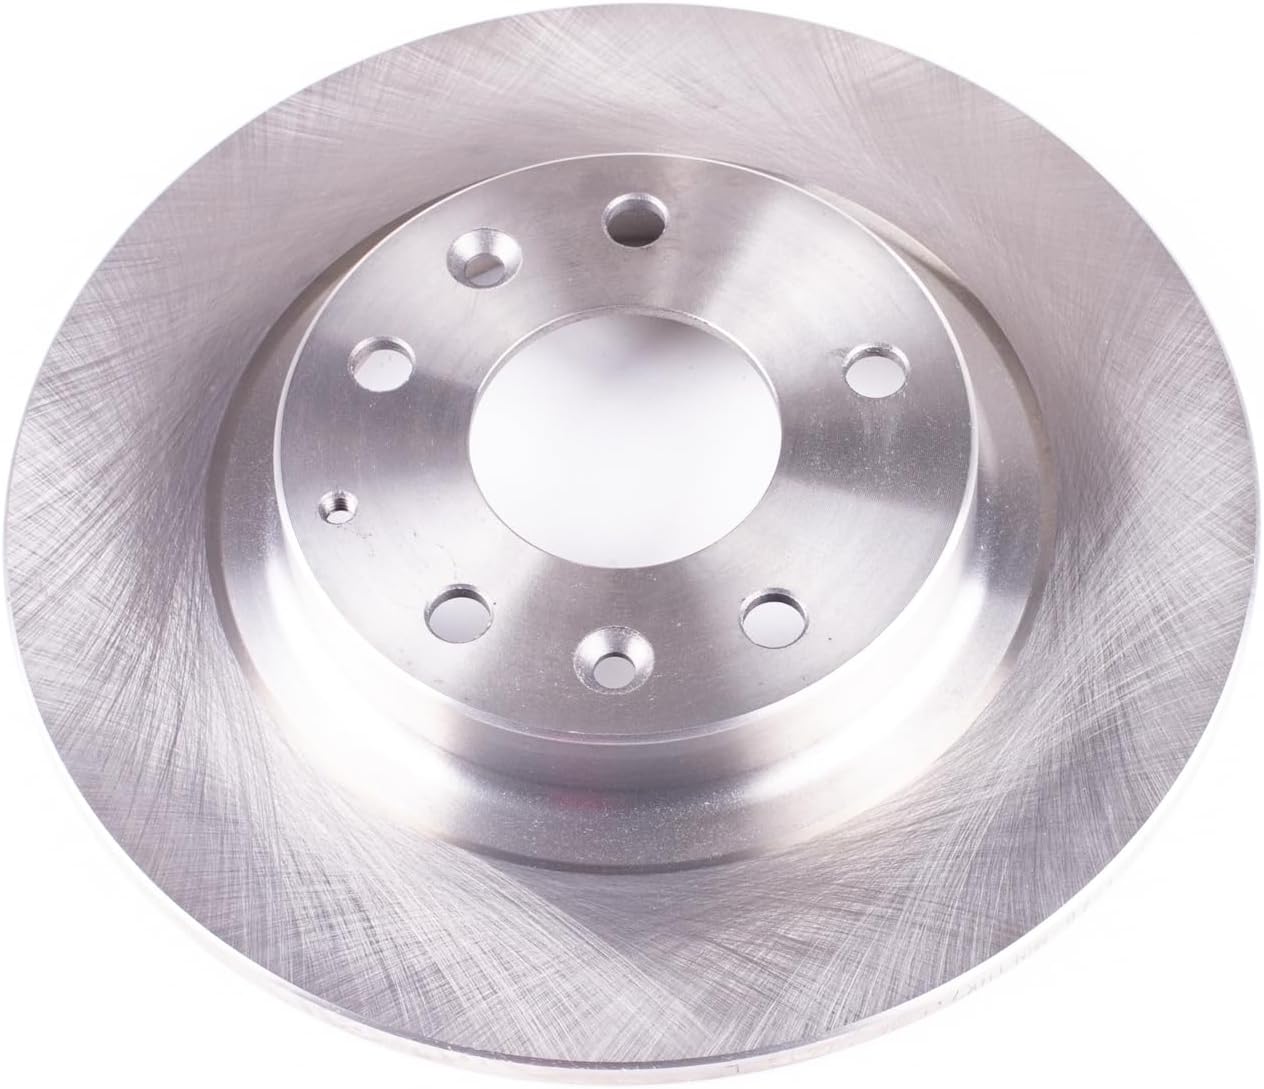
Figure 2: Angled view of the Power Stop JBR1740 Brake Rotor, highlighting the ventilation channels and mounting holes.
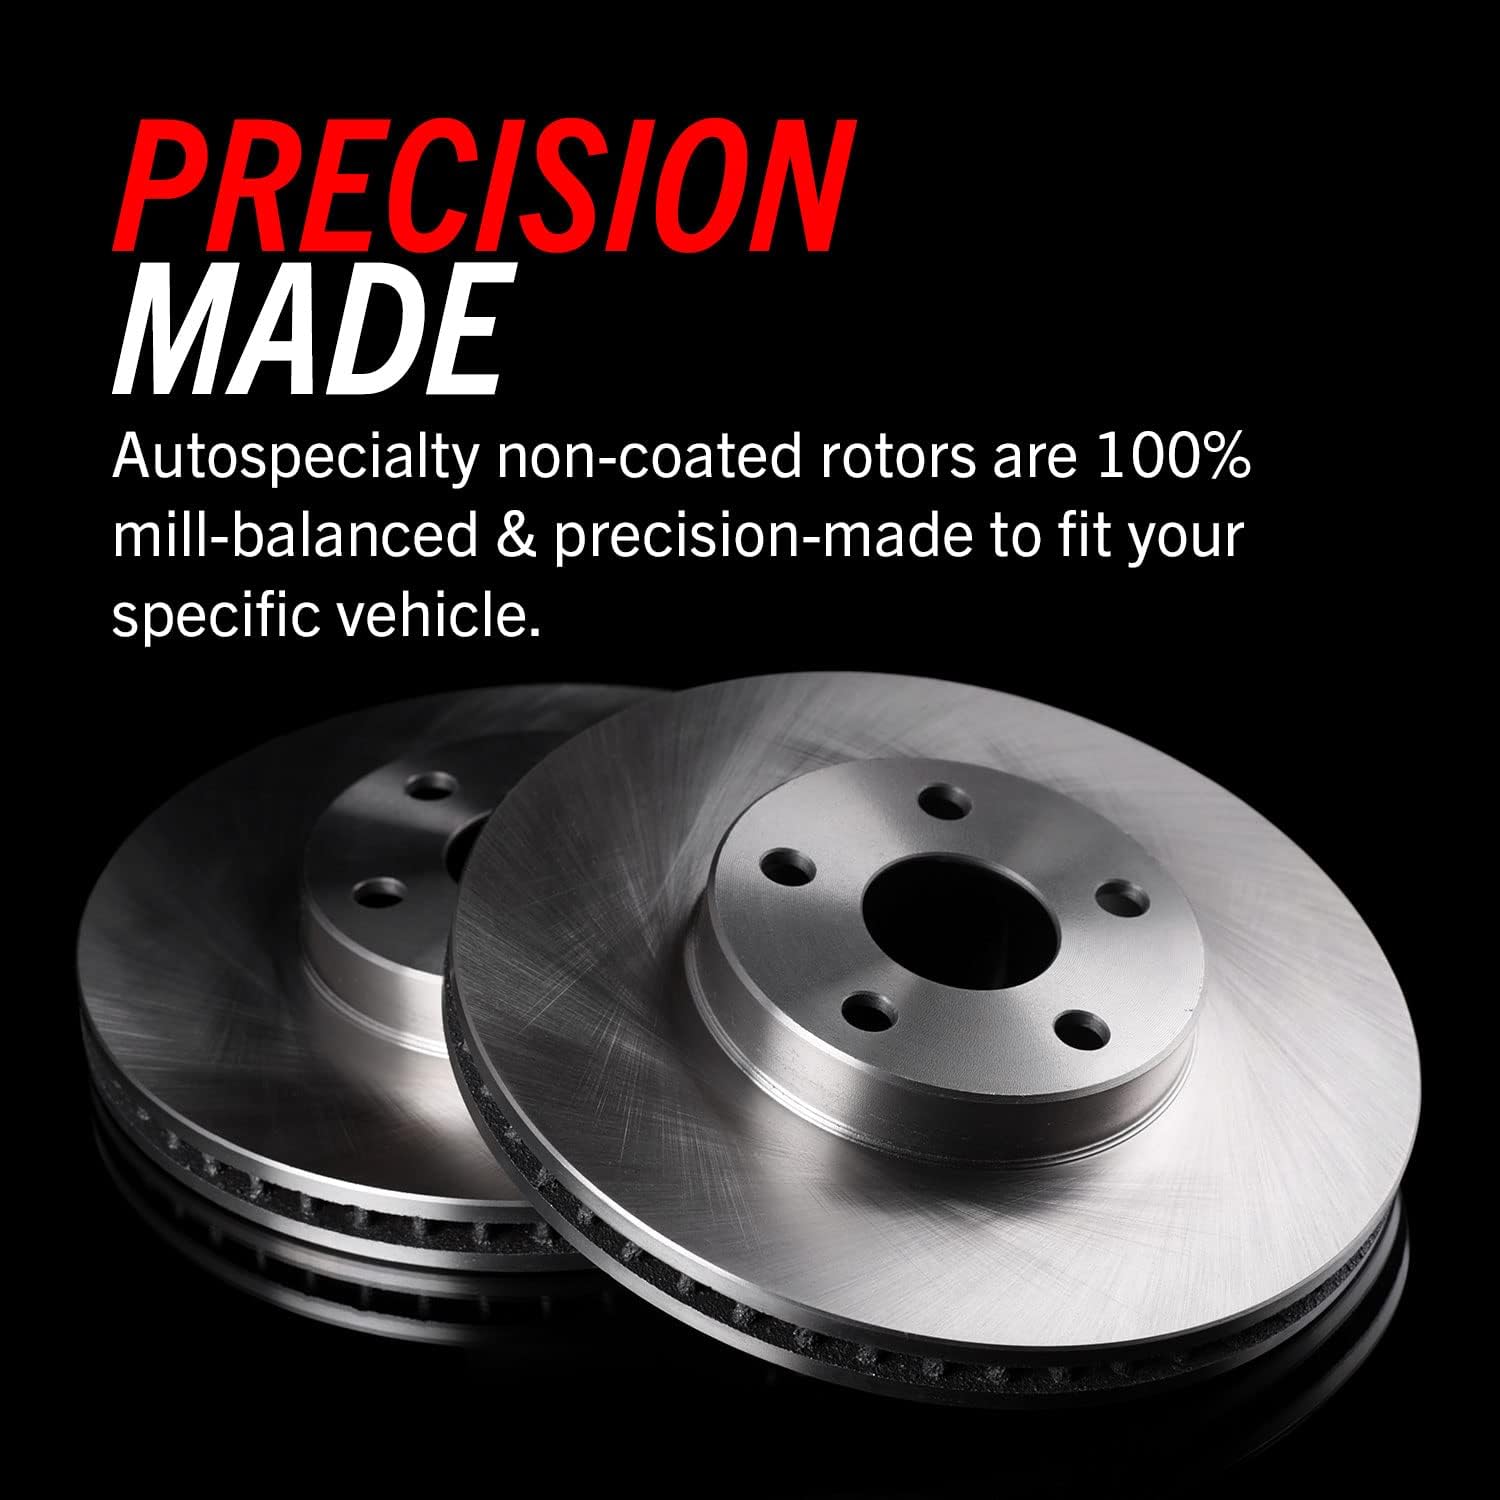
Figure 3: Image emphasizing that Autospecialty non-coated rotors are 100% mill-balanced and precision-made for specific vehicle fitment.

Figure 4: Image indicating the product is recommended as an affordable stock replacement brake kit for daily-driven vehicles.
Installation Guide
Safety First: Always wear appropriate personal protective equipment (PPE) including safety glasses and gloves. Ensure the vehicle is securely supported on jack stands on a level surface. Consult your vehicle's service manual for specific torque specifications and additional safety procedures.
Tools Required:
- Jack and Jack Stands
- Lug Wrench
- Socket Set and Ratchet
- Brake Caliper Compression Tool
- Wire Brush
- Brake Cleaner
- Torque Wrench
- Anti-seize Lubricant (optional, for hub)
Step-by-Step Installation:
- Prepare the Vehicle: Park the vehicle on a level surface, engage the parking brake, and loosen the lug nuts on the rear wheels. Jack up the rear of the vehicle and secure it with jack stands. Remove the lug nuts and the wheel.
- Remove Brake Caliper: Locate the two bolts securing the brake caliper to the caliper bracket. Use the appropriate socket to remove these bolts. Carefully slide the caliper off the rotor and support it with a wire or bungee cord to avoid stressing the brake hose. Do not let the caliper hang by the brake hose.
- Remove Caliper Bracket: Remove the two larger bolts that secure the caliper bracket to the steering knuckle. Once removed, set the bracket aside.
- Remove Old Rotor: The old brake rotor should now slide off the wheel hub. If it's stuck, gently tap around the hub area with a rubber mallet.
- Clean Hub Surface: Use a wire brush to thoroughly clean any rust or debris from the wheel hub mounting surface. This ensures the new rotor sits flush. Apply a thin layer of anti-seize lubricant to the hub surface if desired, avoiding the lug studs.
- Install New Rotor: Carefully slide the new Power Stop JBR1740 brake rotor onto the wheel hub. Ensure it sits flat against the hub.
- Reinstall Caliper Bracket: Reattach the caliper bracket to the steering knuckle and tighten the bolts to the manufacturer's specified torque.
- Install New Brake Pads (Recommended): While replacing rotors, it is highly recommended to install new brake pads. Insert the new brake pads into the caliper bracket.
- Compress Caliper Piston: Use a brake caliper compression tool to push the caliper piston back into its bore. This creates space for the new, thicker brake pads and rotor.
- Reinstall Caliper: Carefully slide the caliper back over the new pads and rotor. Reinstall the caliper bolts and tighten them to the manufacturer's specified torque.
- Reinstall Wheel: Mount the wheel back onto the hub, hand-tighten the lug nuts, lower the vehicle, and then fully tighten the lug nuts to the manufacturer's specified torque in a star pattern.
- Repeat for Other Side: Repeat the entire process for the other rear wheel.
- Pump Brake Pedal: Before driving, pump the brake pedal several times until it feels firm. This seats the caliper pistons against the new pads and rotor. Check brake fluid level.

Figure 5: A mechanic's hands working on installing brake components, demonstrating the hands-on nature of the installation process.

Figure 6: A newly installed brake rotor on a vehicle's hub, showing the secure fitment before caliper reinstallation.
Operating & Break-In Procedure
While brake rotors do not have "operating" instructions in the traditional sense, proper break-in is crucial for optimal performance and longevity of both the new rotors and brake pads.
Brake Pad and Rotor Break-In (Bedding) Procedure:
This procedure helps transfer a thin, even layer of brake pad material onto the rotor surface, which is essential for proper braking performance and to prevent premature wear or noise.
- Find a safe, open area where you can safely accelerate and brake without interruption.
- Make 5-6 moderate stops from 40 mph down to 10 mph. Allow approximately 30 seconds between stops for the brakes to cool slightly. Do not come to a complete stop during these initial cycles.
- Make 2-3 hard stops from 50 mph down to 10 mph. Again, allow approximately 30 seconds between stops.
- After the last stop, drive for several minutes at a moderate speed without applying the brakes to allow them to cool down completely. Avoid heavy braking or coming to a complete stop with the brakes engaged immediately after the bedding process, as this can imprint pad material unevenly onto the hot rotor.
During the break-in period, you may notice some smoke or a burning smell. This is normal. After the bedding process, the brakes should feel firmer and more responsive.
Maintenance
Regular inspection and proper maintenance are key to ensuring the longevity and safe operation of your Power Stop brake rotors.
Routine Checks:
- Visual Inspection: Periodically inspect the rotor surface for signs of excessive wear, deep grooves, cracks, or discoloration (blue spots indicate overheating).
- Brake Pad Wear: Always check brake pad thickness when inspecting rotors. Worn pads can damage rotors.
- Rotor Thickness: Consult your vehicle's service manual for the minimum allowable rotor thickness. Rotors that are too thin should be replaced.
- Cleanliness: Keep the rotor surface free from oil, grease, or other contaminants. Use a dedicated brake cleaner if necessary.
Important Considerations:
- Avoid sudden, hard braking immediately after driving through deep water, as this can cause thermal shock and warp rotors.
- Ensure proper tire rotation and wheel balancing to prevent uneven wear on brake components.
- If you experience persistent brake noise, vibration, or reduced braking performance, have your brake system inspected by a qualified technician immediately.
Troubleshooting
This section addresses common issues you might encounter with your brake rotors. If you experience problems not listed here, consult a professional mechanic.
| Symptom | Possible Cause | Solution |
|---|---|---|
| Brake Pulsation/Vibration | Uneven pad material transfer (improper break-in), rotor run-out, warped rotor (less common with modern rotors), loose wheel bearings, worn suspension components. | Re-perform break-in procedure. Inspect for proper installation. Check wheel bearings and suspension. If rotor is warped or has excessive run-out, replacement may be necessary. |
| Squealing/Grinding Noise | New pads/rotors (normal during break-in), worn brake pads (metal-on-metal), foreign object lodged in caliper, glazed pads/rotors, improper lubrication of caliper components. | Ensure proper break-in. Inspect pads for wear and replace if necessary. Check for debris. Clean and lubricate caliper slide pins. |
| Reduced Braking Performance | Improper break-in, contaminated pads/rotors (oil/grease), air in brake lines, worn master cylinder, faulty brake booster. | Perform break-in. Clean rotors/pads with brake cleaner. Bleed brake lines. Inspect other brake system components. |
| Excessive Brake Dust | Normal for some pad compounds, especially during break-in. | Clean wheels regularly. Consider low-dust brake pad options for future replacements if desired. |
Specifications
| Attribute | Detail |
|---|---|
| Brand | Power Stop |
| Model Number | JBR1740 |
| Product Dimensions | 11.7 x 11.7 x 1.8 inches |
| Item Weight | 8.6 pounds |
| Position | Rear |
| Exterior Finish | Cast |
| Country of Origin | China |
| UPC | 889906402435 |
| Vehicle Service Type | Cars (Specifically Mazda CX-3 2016-2018) |

Figure 7: Close-up view of the cross-hatched finish on the rotor surface, designed for optimal pad break-in.

Figure 8: Detailed view of the internal vane structure of the brake rotor, crucial for heat dissipation.
Warranty and Support
Power Stop stands behind the quality of its products. For specific warranty information regarding your JBR1740 Autospecailty Stock Replacement Rear Brake Rotor, please refer to the warranty card included with your purchase or visit the official Power Stop website.
For technical support, installation assistance, or any product-related inquiries, please contact Power Stop customer service:
- Website: www.powerstop.com
- Customer Service: Refer to the website for contact numbers or email support.
When contacting support, please have your product model number (JBR1740) and purchase information readily available.
Ask a question about this manual
Ask about setup, troubleshooting, compatibility, parts, safety, or missing instructions. Manuals+ will review the question and use this page’s manual context to help answer it.