1. Introduction
This manual provides essential information for the proper installation, operation, and maintenance of your CNCMOTOK 415H-110L Heavy Duty Drive Chain. Designed for durability and performance, this chain is suitable for various motorized applications. Please read these instructions carefully before use to ensure safety and optimal product longevity.
2. Product Features
The CNCMOTOK 415H-110L chain is engineered with the following characteristics:
- Exquisite Workmanship: Precision-engineered for reliable performance.
- Durability: Constructed from robust metal for extended service life.
- Wide Applicability: Compatible with a range of motorized vehicles.
- Long Service Life: Designed to withstand demanding conditions.
- Stable Property: Maintains consistent performance under load.
- Easy to Operate: Straightforward installation and maintenance.
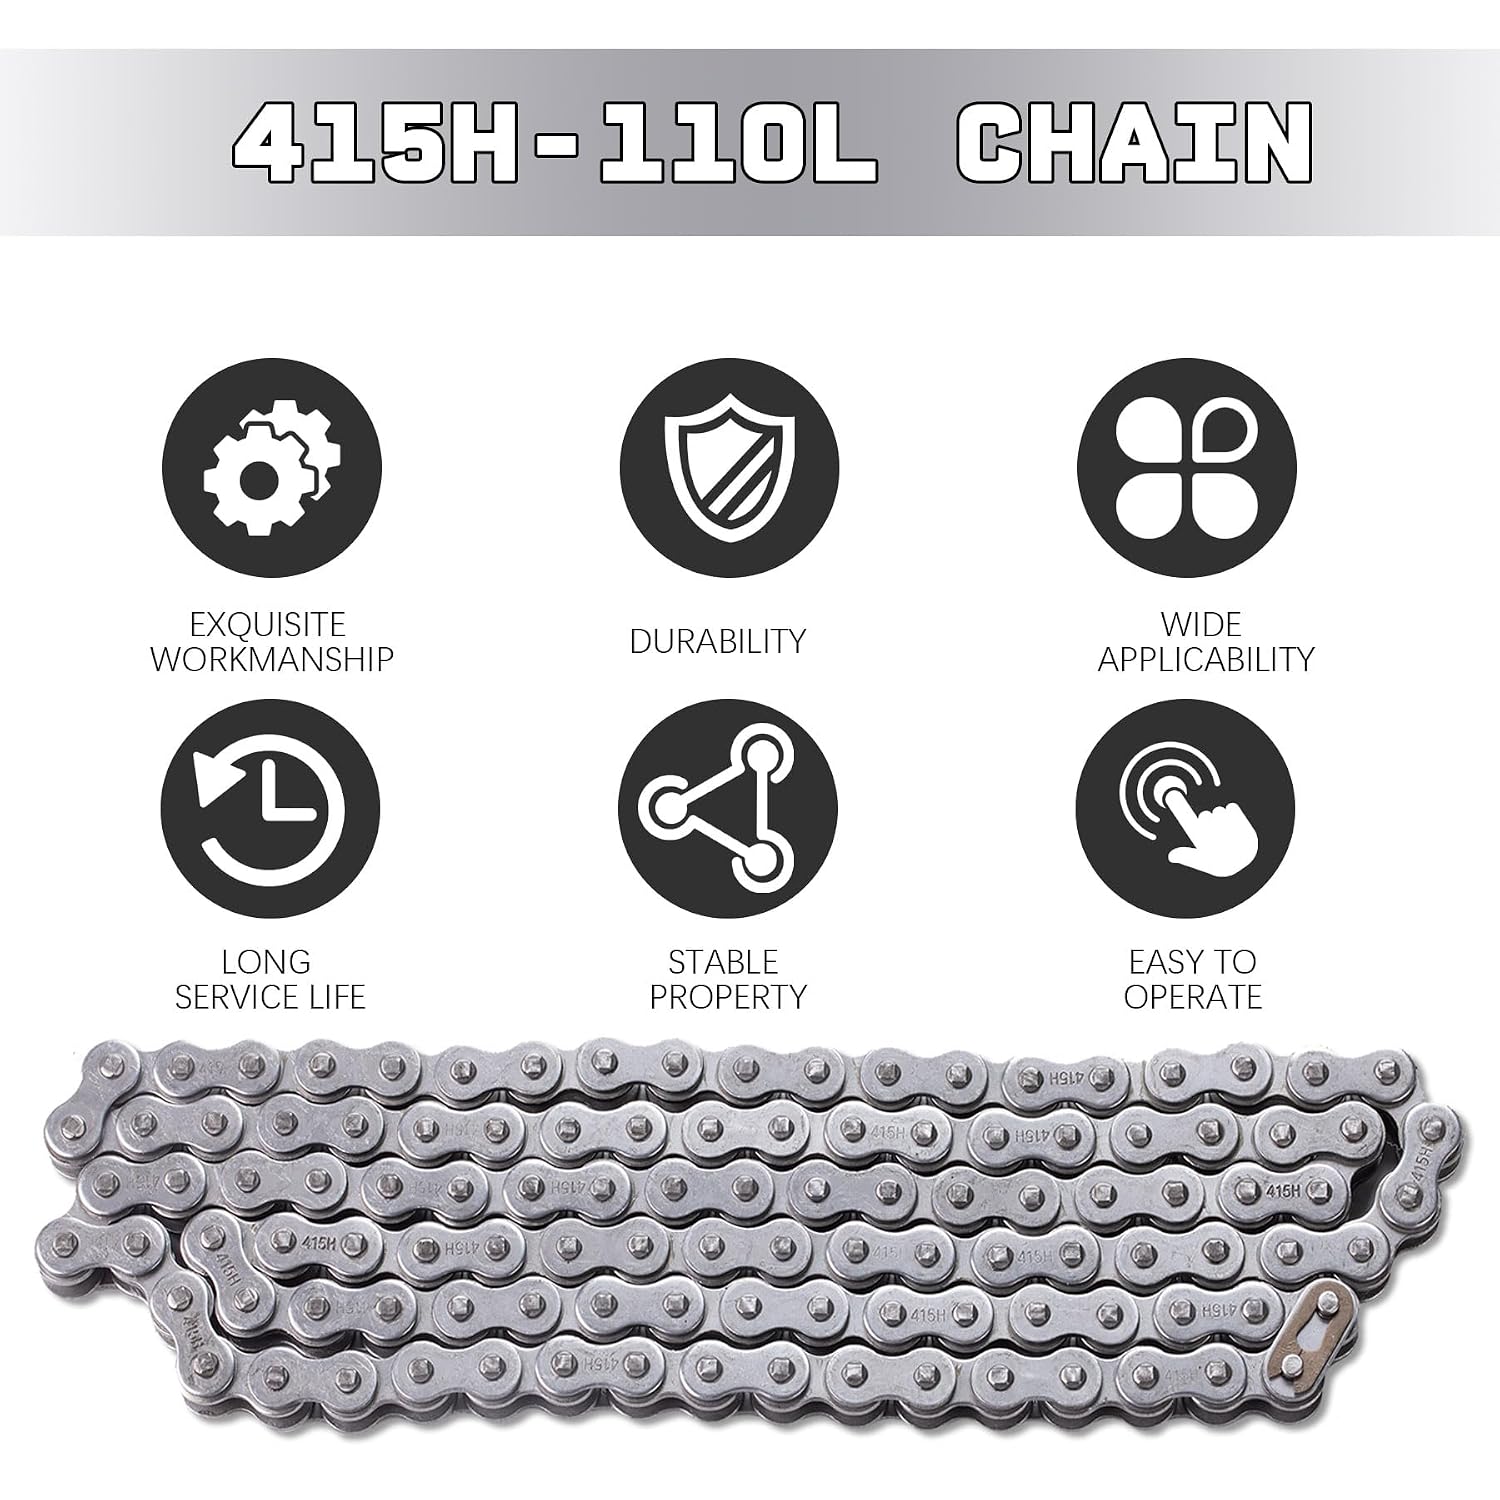
Figure 2.1: Key features of the 415H-110L drive chain.
3. Package Contents
Upon opening the package, verify that all components are present and undamaged:
- 1-Piece 415H-110L Drive Chain
- 4-Pieces 415H Chain Connector Links

Figure 3.1: Contents included in the CNCMOTOK 415H-110L chain package.
4. Compatibility
This 415H-110L heavy-duty chain is compatible with a variety of motorized vehicles and engines:
- 415H Chain systems
- 49cc, 60cc, 66cc, and 80cc 2-Stroke Engine Motorized Bicycles
- Many Chinese brands of dirt bikes, pit bikes, motorcycles, ATVs, and mowers, including TaoTao, Buyang, Coolsports, Lifan, Kazuma, and SUNL.
- Some Honda dirt bikes that utilize a 428 chain (ensure proper fitment).

Figure 4.1: Examples of vehicle types compatible with the 415H-110L chain.
Chain and Connector Link Dimensions
Refer to the diagram below for detailed dimensions of the chain and connector links to ensure proper fitment and replacement.

Figure 4.2: Detailed dimensions of the 415H-110L chain and connector link.
5. Installation (Setup)
Proper installation is crucial for the safety and performance of your drive chain. If you are unsure about any step, consult a qualified mechanic.
- Safety First: Ensure the vehicle is stable and powered off. Wear appropriate safety gear, including gloves and eye protection.
- Remove Old Chain (if applicable): If replacing an existing chain, use a chain breaker tool to remove it.
- Measure and Cut (if necessary): Compare the new 415H-110L chain to the required length for your application. If shortening is needed, use a chain breaker tool to carefully remove excess links. Ensure the chain length allows for proper tensioning.
- Route the Chain: Carefully route the new chain around the drive sprocket and the driven sprocket.
- Connect the Chain: Use one of the provided 415H chain connector links to join the two ends of the chain.
- Insert the two pins of the connector link through the outer plates of one chain end.
- Place the inner plate of the other chain end onto the connector link pins.
- Secure the outer plate and retaining clip onto the pins. Ensure the open end of the retaining clip faces away from the direction of chain travel to prevent accidental dislodgement.
- Adjust Chain Tension: Adjust the axle or tensioner to achieve the correct chain tension. The chain should have a small amount of slack (typically 1/2 to 1 inch of vertical play) but not be too tight or too loose. Refer to your vehicle's specific manual for exact tension specifications.
- Final Check: Rotate the wheel manually to ensure the chain moves freely without binding or excessive noise. Double-check all connections and adjustments.

Figure 5.1: Proper connection of the 415H chain using a connector link.
6. Operation
Once the chain is correctly installed and tensioned, it is ready for operation. Always perform a quick visual inspection before each ride or use to ensure the chain is clean, lubricated, and properly tensioned. Listen for any unusual noises during operation, which could indicate an issue requiring attention.
7. Maintenance
Regular maintenance extends the life of your CNCMOTOK 415H-110L drive chain and ensures safe operation.
- Cleaning: Periodically clean the chain to remove dirt, grime, and old lubricant. Use a suitable chain cleaner and brush. Avoid harsh solvents that can damage O-rings (if present, though this chain is not specified as O-ring type).
- Lubrication: After cleaning, apply a high-quality chain lubricant evenly to all links. Allow the lubricant to penetrate before wiping off any excess. Lubricate more frequently in wet or dusty conditions.
- Inspection: Regularly inspect the chain for signs of wear, damage, or corrosion.
- Check for stretched links: A stretched chain will not mesh properly with sprockets and can lead to premature wear.
- Look for bent or cracked plates, loose pins, or damaged rollers.
- Inspect the connector link for proper seating and security of the retaining clip.
- Examine sprockets for excessive wear (hooked teeth). Worn sprockets can accelerate chain wear.
- Tension Adjustment: Re-check and adjust chain tension as needed. A chain that is too loose can derail, while a chain that is too tight can cause excessive wear on the chain, sprockets, and bearings.
8. Troubleshooting
Here are some common issues and their potential solutions:
| Problem | Possible Cause | Solution |
|---|---|---|
| Chain noise (squeaking, grinding) | Lack of lubrication, dirt/debris, improper tension, worn sprockets. | Clean and lubricate chain. Adjust tension. Inspect sprockets for wear and replace if necessary. |
| Chain derails or falls off | Chain too loose, worn sprockets, misaligned sprockets, damaged chain links. | Adjust chain tension. Inspect and replace worn or misaligned sprockets. Inspect chain for damage and replace if necessary. |
| Excessive chain wear or stretching | Lack of lubrication, improper tension (too tight or too loose), worn sprockets, heavy load/stress. | Ensure regular cleaning and lubrication. Maintain correct chain tension. Replace worn sprockets. Consider usage conditions. |
| Connector link issues (e.g., difficult to fit, comes loose) | Incorrect installation, retaining clip not fully seated, manufacturing variation. | Ensure pins are fully through plates and retaining clip is securely snapped into place with the open end facing away from chain travel. If issues persist, contact support. |
9. Specifications
Key technical specifications for the CNCMOTOK 415H-110L Drive Chain:
| Specification | Detail |
|---|---|
| Model | 415H-110L |
| Brand | CNCMOTOK |
| Material | Metal |
| Specification Met | ISO 606 |
| Item Length | 55 Inches |
| UPC | 788601479028 |
| GTIN | 788601479028 |
| Strand Type | Single |
| Load Capacity | 6.86E+3 N |
10. Warranty and Support
For warranty information or technical support regarding your CNCMOTOK 415H-110L Drive Chain, please contact the manufacturer directly. Keep your purchase receipt as proof of purchase.
Manufacturer: CNCMOTOK
For further assistance, please visit the CNCMOTOK Store on Amazon.