
Introduction
This manual provides detailed instructions for the installation and care of your E-YIIVIIL LCD Touch Screen Display Digitizer Assembly, compatible with Lenovo Yoga Tab 3 8.0 (models YT3-850M and YT3-850F). Please read these instructions carefully before beginning the installation process to ensure proper function and to prevent damage to your device or the replacement part.
Product Overview
The E-YIIVIIL LCD Display is a replacement part designed to restore the visual and touch functionality of your compatible Lenovo tablet. It features a high-resolution display and responsive touch digitizer.

Image: E-YIIVIIL LCD Display and included tool kit. This image shows the replacement LCD display unit alongside various tools provided for installation, including screwdrivers, prying tools, and adhesive strips.
Compatibility
This LCD Display Digitizer Assembly is specifically designed for the following Lenovo tablet models:
- Lenovo Yoga Tab 3 8.0 YT3-850M
- Lenovo Yoga Tab 3 8.0 YT3-850F
Please verify your tablet's model number before proceeding with installation to ensure proper fit and function.

Image: Visual representation of the display's compatibility with the Lenovo Yoga Tab 3 8.0. The image shows the replacement screen next to a Lenovo Yoga Tab 3 8.0 tablet, indicating a successful fit.
Package Contents
Upon opening the package, please ensure all the following items are present and in good condition:
- 1 x LCD Touch Screen Display Digitizer Assembly
- 1 x Set of Installation Tools (various screwdrivers, prying tools)
- 2 x 3M Adhesive Tapes
If any items are missing or damaged, please contact customer support immediately.
Safety Information
- Professional Installation Recommended: Replacing a tablet screen requires technical skill and specialized tools. Incorrect installation can cause damage to the device or the new screen.
- Handle with Care: The display assembly, especially the ribbon cables, is fragile. Avoid bending or applying excessive force.
- Power Off Device: Always power off your tablet and disconnect the battery before starting any repair.
- Static Electricity: Work in a static-free environment to prevent damage to electronic components.
- Eye Protection: Consider wearing eye protection during the repair process.
Installation Guide
This guide provides general steps. For detailed visual instructions, it is highly recommended to search for and watch relevant video tutorials on platforms like YouTube for your specific tablet model (Lenovo Yoga Tab 3 8.0 YT3-850M or YT3-850F).
Pre-Installation Checks:
- Inspect the New Screen: Before removing your old screen, carefully inspect the new LCD assembly for any visible damage.
- Test the New Screen: Connect the new screen's ribbon cable to the tablet's mainboard (without fully installing it) and power on the tablet to verify display and touch functionality. Do not remove any protective films or adhesive liners until the screen is fully tested and confirmed working.
- Gather Tools: Ensure you have all necessary tools, including those provided and potentially a heat gun or hairdryer for softening adhesive.
Step-by-Step Installation:
- Power Off Tablet: Ensure your Lenovo Yoga Tab 3 8.0 is completely powered off.
- Remove Back Cover: Carefully use a prying tool to open the tablet's back cover.
- Disconnect Battery: Locate and disconnect the battery connector from the mainboard to prevent short circuits.
- Remove Damaged Screen:
- Apply gentle heat to the edges of the damaged screen using a hairdryer or heat gun to soften the adhesive.
- Carefully use prying tools to separate the damaged screen from the tablet frame.
- Disconnect the screen's ribbon cable from the mainboard.
- Clean Frame: Remove all old adhesive residue from the tablet frame. Ensure the surface is clean and smooth for the new adhesive.
- Transfer Components (if necessary): Some small components (e.g., camera bracket, home button if applicable) might need to be transferred from the old screen to the new one. Refer to video tutorials for specifics.
- Apply New Adhesive: Apply the provided 3M adhesive tapes around the perimeter of the tablet frame where the screen will sit. Ensure not to cover any sensors or camera openings.
- Connect New Screen: Carefully connect the new LCD assembly's ribbon cable to the mainboard. Ensure it is seated correctly and securely.
- Position New Screen: Gently place the new screen into the tablet frame, aligning it precisely. Press firmly around the edges to secure it with the adhesive.
- Reconnect Battery: Reconnect the battery connector to the mainboard.
- Reassemble Tablet: Reattach the back cover of the tablet.
Post-Installation:
- Power On and Test: Power on your tablet and thoroughly test the display, touch functionality, and all other features (e.g., camera, sensors) to ensure everything is working correctly.
- Allow Adhesive to Cure: Avoid putting pressure on the screen or exposing it to extreme conditions for at least 24 hours to allow the adhesive to fully cure.
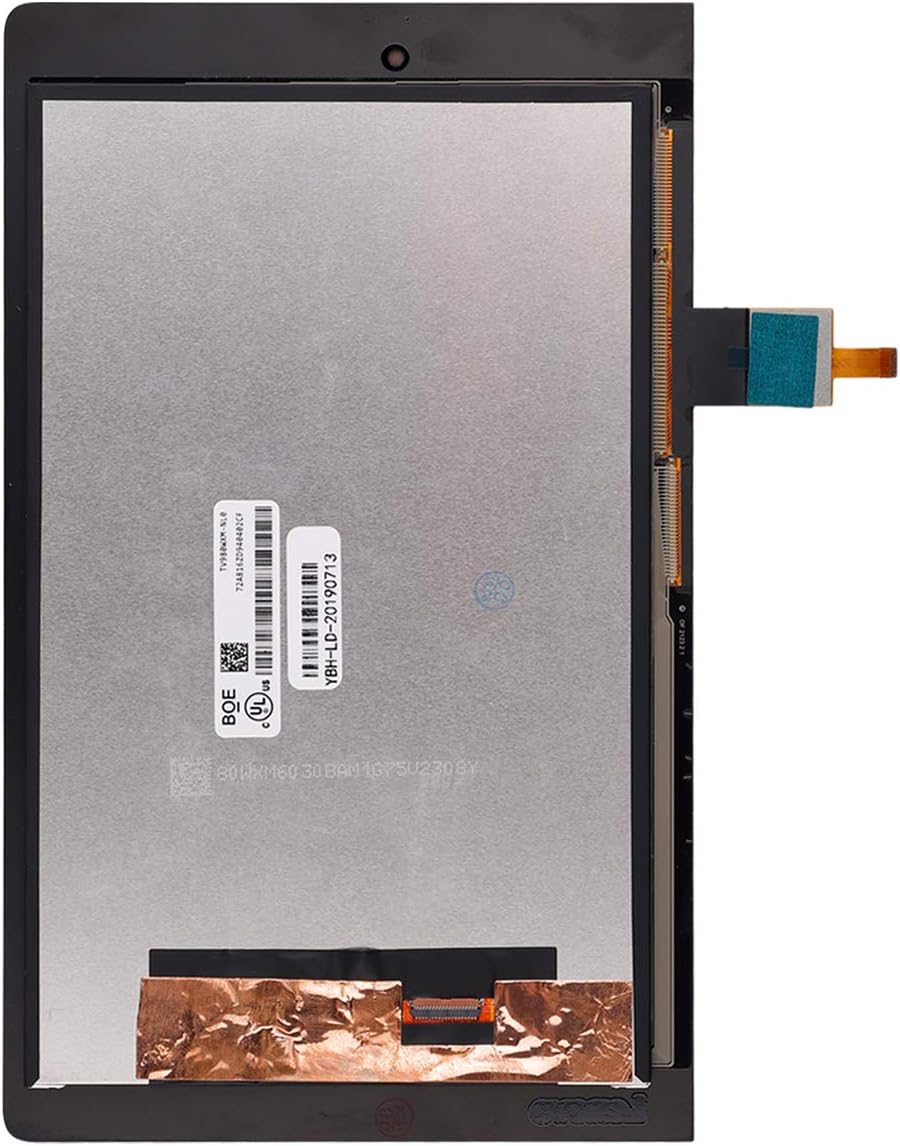
Image: Rear view of the LCD display assembly. This image highlights the back of the replacement screen, showing the circuit board and connection points for the ribbon cable.
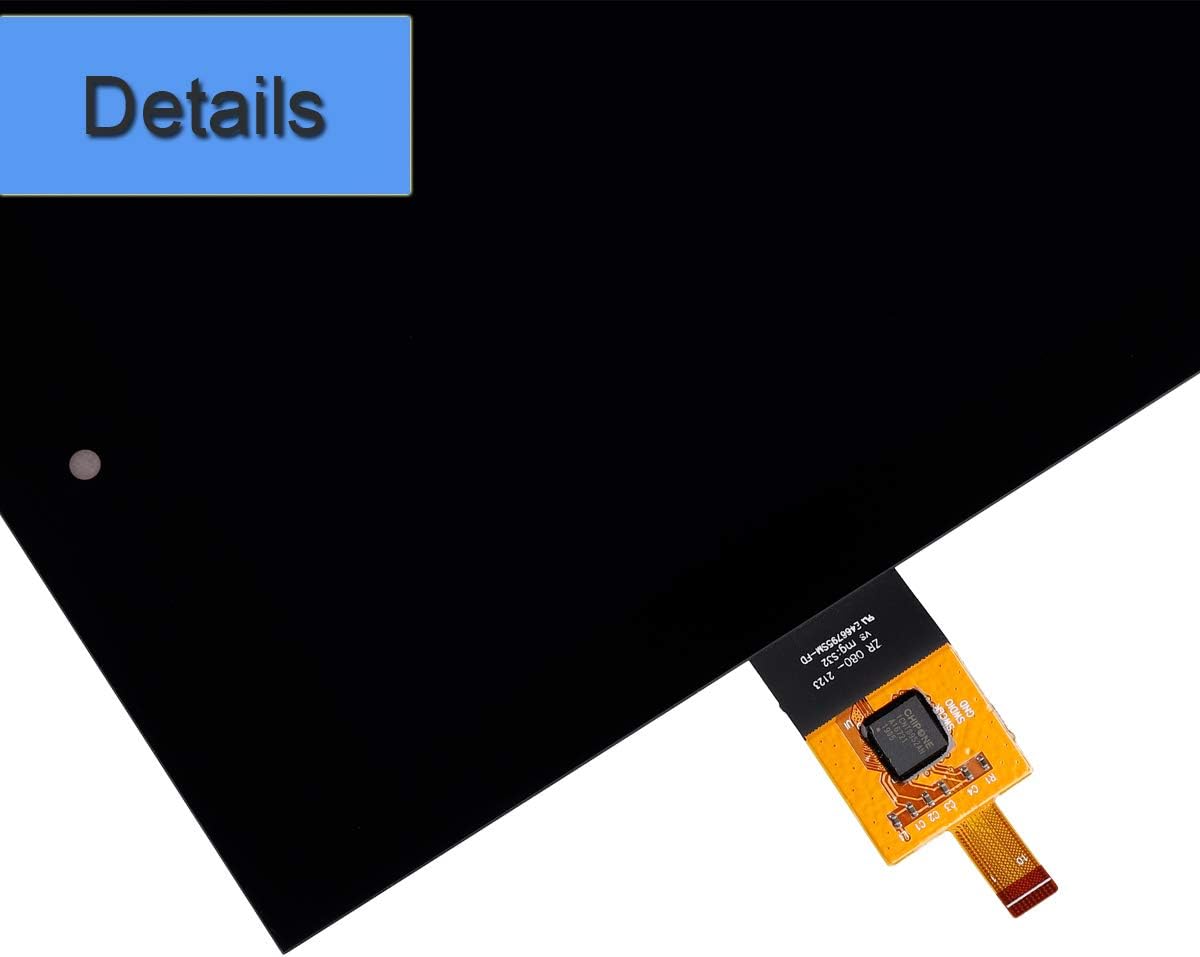
Image: Close-up of the LCD display's ribbon cable. This image provides a detailed view of the flexible ribbon cable and its connector, which attaches to the tablet's mainboard.
Care and Maintenance
To prolong the life of your new display and prevent future damage:
- Use a Screen Protector: Apply a high-quality screen protector to guard against scratches and minor impacts.
- Avoid Sharp Objects: Do not place your tablet near keys, coins, or other metal objects that can scratch the screen.
- Keep Away from Magnets: Strong magnetic fields can interfere with touch functionality.
- Use Quality Chargers: Avoid using low-quality or non-certified third-party chargers, as they can potentially damage the screen or other components.
- Prevent Drops: Handle your tablet carefully to avoid accidental drops, which are a common cause of screen damage.
- Clean Gently: Use a soft, lint-free cloth and a screen-safe cleaning solution (if necessary) to clean the display. Avoid harsh chemicals.
Troubleshooting
| Problem | Possible Cause | Solution |
|---|---|---|
| Screen not turning on / No display |
|
|
| Touchscreen unresponsive or erratic |
|
|
| Display issues (lines, discoloration) |
|
|
If you encounter persistent issues not listed here, or if the suggested solutions do not resolve the problem, please contact customer support for further assistance.
Specifications
- Screen Size: 8.0 inches
- Type: LCD Touch Screen Digitizer Assembly
- Glass: Corning Gorilla Glass
- Resolution: 1280x800 pixels
- Compatibility: Lenovo Yoga Tab 3 8.0 YT3-850M, YT3-850F
- Brand: E-YIIVIIL
Warranty and Support
This product is covered by a warranty against manufacturing defects. Please note that damage due to improper installation or misuse is not covered under warranty.
- Contact Support: If you have any questions, encounter issues during installation, or require technical assistance, please contact E-YIIVIIL customer support.
- Warranty Voidance: Abuse, improper operation, or leaving negative reviews/feedback without contacting support first may void the warranty.
- Response Time: Customer support typically responds within 24 hours.
For further assistance, please refer to the contact information provided with your purchase or visit the E-YIIVIIL Store on Amazon.