1. Introduction
Thank you for choosing the Calvas RM-L812 Universal TV Remote Control. This remote is designed to provide convenient control over various television brands. Please read this manual carefully to understand the features, setup, and operation of your new remote control. Proper use and maintenance will ensure long-lasting performance.
2. Product Overview
The Calvas RM-L812 is an infrared (IR) universal remote control. It features a comprehensive layout of buttons for power, channel, volume, navigation, and various TV functions. Its ergonomic design ensures comfortable handling.
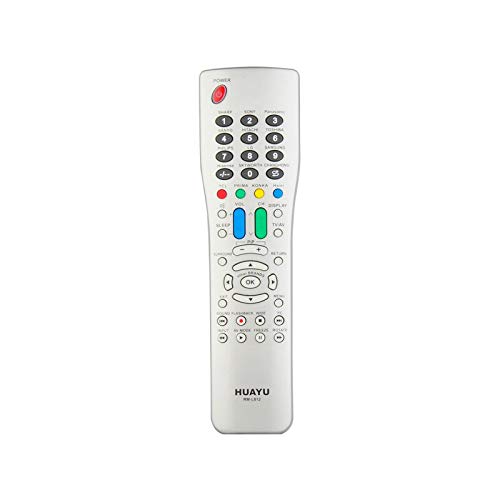
Figure 1: Calvas RM-L812 Universal TV Remote Control. This image shows a silver-colored remote control with a wide array of buttons, including numerical keys, channel and volume controls, navigation buttons, and colored function keys. The remote has a slightly curved, ergonomic shape.
Key Features:
- Universal Compatibility: Designed to control a wide range of television brands.
- Infrared (IR) Communication: Utilizes standard IR signals for reliable control.
- Dedicated Function Buttons: Includes buttons for power, volume, channel, mute, input, menu, and more.
- Ergonomic Design: Comfortable to hold and easy to operate.
3. Setup
3.1 Battery Installation
- Locate the battery compartment cover on the back of the remote control.
- Slide or lift the cover to open the compartment.
- Insert two AAA batteries (not included), ensuring the correct polarity (+ and -) as indicated inside the compartment.
- Replace the battery compartment cover, ensuring it clicks securely into place.
3.2 Programming the Remote Control
The Calvas RM-L812 is a universal remote and requires programming to control your specific TV. There are typically two main methods for programming universal remotes:
Method 1: Code Entry (Recommended)
- Turn on the TV you wish to control.
- Locate the programming code list for your TV brand (usually provided in a separate leaflet or online by the manufacturer of the remote).
- Press and hold the SET button (or a similar programming button) on the remote until the indicator light stays on.
- Enter the 3 or 4-digit code for your TV brand using the number buttons.
- If the code is correct, the indicator light will turn off. Test the remote by pressing the POWER button. If the TV turns off, the remote is programmed.
- If the TV does not respond, try the next code for your brand from the list.
Method 2: Auto Search
- Turn on the TV you wish to control.
- Press and hold the SET button (or a similar programming button) on the remote until the indicator light stays on.
- Point the remote at the TV and repeatedly press the POWER button (or CH+ button) slowly. Each press sends a different code.
- Stop pressing the button immediately when the TV turns off.
- Press the SET button again to save the code. The indicator light will turn off.
- Test the remote's functions. If some functions do not work, you may need to repeat the auto-search process to find a more compatible code.
Note: Specific programming instructions may vary slightly. Refer to the packaging or a dedicated code list for the most accurate programming steps for your specific TV model and remote version.
4. Operating Instructions
Once programmed, your Calvas RM-L812 remote control functions similarly to your original TV remote. Below are common button functions:
- POWER: Turns the TV on or off.
- CH+/CH-: Changes channels up or down.
- VOL+/VOL-: Increases or decreases the volume.
- MUTE: Mutes or unmutes the TV sound.
- Number Buttons (0-9): Directly enter channel numbers.
- INPUT/SOURCE: Selects different input sources (HDMI, AV, etc.).
- MENU: Accesses the TV's main menu.
- Navigation Buttons (Up, Down, Left, Right, OK/Enter): Navigate through TV menus and selections.
- EXIT: Exits the current menu or function.
- INFO: Displays program information.
Note: Some advanced functions or smart TV features may not be fully supported by a universal remote. Functionality depends on the TV model and the specific code used for programming.
5. Maintenance
5.1 Battery Replacement
When the remote control's performance degrades or the indicator light does not illuminate, it's time to replace the batteries. Follow the battery installation steps in Section 3.1. Always replace both batteries at the same time with new ones of the same type (AAA).
5.2 Cleaning
To clean the remote control, use a soft, dry cloth. For stubborn dirt, slightly dampen the cloth with water or a mild, non-abrasive cleaner. Do not use harsh chemicals or immerse the remote in water.
5.3 Storage
Store the remote control in a cool, dry place away from direct sunlight and extreme temperatures. If the remote will not be used for an extended period, it is recommended to remove the batteries to prevent leakage.
6. Troubleshooting
| Problem | Possible Cause | Solution |
|---|---|---|
| Remote not working at all. |
|
|
| TV not responding to commands. |
|
|
| Only some buttons work. |
|
|
7. Specifications
| Feature | Detail |
|---|---|
| Model: | RM-L812 |
| Brand: | Calvas |
| Usage: | TV |
| Wireless Communication: | Infrared (IR) |
| Channel: | 1 |
| Frequency: | 433 MHz |
| Application Support: | No |
| Compatible Devices: | Television |
| Special Feature: | Universal |
| Power Source: | 2 x AAA Batteries (not included) |
8. Warranty and Support
For warranty information and customer support, please refer to the product packaging or contact your retailer. Keep your purchase receipt as proof of purchase for any warranty claims.
For further assistance or technical inquiries, please visit the official Calvas website or contact their customer service department. Contact details are typically available on the product packaging or the brand's official online presence.