1. Introduction
Thank you for choosing the MoKo Smart WiFi Light Switch. This device transforms your traditional lighting system into an intelligent one, offering convenient control via smartphone application, voice commands, and automated scheduling. This manual provides essential information for safe installation, operation, and maintenance of your smart switch.

Image: Two MoKo Smart WiFi Light Switches, showcasing their sleek white design with a blue WiFi indicator light.
2. Important Safety Information
Please read all safety instructions carefully before installation and operation. Failure to follow these instructions may result in electric shock, fire, or other injuries.
- Professional Installation Recommended: If you are unsure about electrical wiring, consult a qualified electrician.
- Power Off Before Installation: Always turn off power at the circuit breaker before installing or servicing the switch.
- Neutral Wire Required: This smart switch requires a neutral wire for proper operation. If your existing wiring does not have a neutral wire, this product is not compatible.
- Indoor Use Only: Do not install in wet locations or outdoors.
- Operating Voltage: Ensure your electrical system matches the switch's operating voltage (240 Volts).
- Current Rating: Do not exceed the maximum current rating of 10 Amps.
3. Product Specifications
| Feature | Specification |
|---|---|
| Brand | MoKo |
| Model | B07VXVHDVD |
| Material | Acrylonitrile Butadiene Styrene (ABS) |
| Mounting Type | Wall Mount |
| Operation Mode | ON-OFF |
| Current Rating | 10 Amps |
| Operating Voltage | 240 Volts |
| Wireless Connectivity | 2.4GHz WiFi (IEEE 802.11 b/g/n) |
| Compatibility | Amazon Alexa, Google Home, SmartThings (iOS 8.0/Android 4.4 Above) |
| Product Dimensions | 14 x 13.21 x 6.81 cm |
| Weight | 400.01 g |
| Certifications | FCC, CE, RoHS, cULus |
4. Setup and Installation
4.1 Pre-installation Checklist
- Confirm your electrical box has a neutral wire.
- Ensure you have a 2.4GHz WiFi network available. This switch does not support 5GHz networks.
- Gather necessary tools: screwdriver, wire strippers, voltage tester.
4.2 Wiring Instructions
- Turn off Power: Locate the circuit breaker controlling the light switch and turn it off. Verify power is off using a voltage tester.
- Remove Old Switch: Carefully remove the existing wall plate and unscrew the old switch from the electrical box. Disconnect the wires.
- Identify Wires: Identify the Live (hot), Load, Neutral, and Ground wires in your electrical box.
- Connect Wires: Connect the wires from your electrical box to the MoKo Smart Switch using wire nuts, ensuring all connections are secure. Refer to the diagram below:
- Live (Required): Connect to the Live terminal on the switch.
- Load: Connect to the Load terminal on the switch.
- Neutral (Required): Connect to the Neutral terminal on the switch.
- Ground (Optional, Suggested): Connect to the Ground terminal on the switch.

Image: Detailed wiring diagram showing connections for Ground, Neutral, Load, and Live wires to the MoKo Smart Switch.
- Mount Switch: Gently push the wired switch into the electrical box and secure it with screws. Attach the new wall plate.
- Restore Power: Turn the power back on at the circuit breaker. The indicator light on the switch should begin to flash, indicating it's ready for pairing.
4.3 App Download and Pairing
- Download App: Download the free "Smart Life" app from the App Store (iOS) or Google Play Store (Android).
- Register/Login: Open the app and register a new account or log in if you already have one.
- Add Device: In the Smart Life app, tap "Add Device" or the "+" icon. Select "Electrical" > "Switch (Wi-Fi)".
- Connect to WiFi: Follow the in-app instructions to connect the switch to your 2.4GHz WiFi network. Ensure your phone is also connected to the same 2.4GHz network during this process. Note: If you have a dual-band router (2.4GHz and 5GHz), temporarily rename your 5GHz network or disable it during the pairing process to ensure the switch connects to the 2.4GHz network.
- Confirm Indicator: Confirm the indicator light on the switch is flashing as described in the app (usually rapidly for EZ mode or slowly for AP mode).
- Pairing: The app will search for and connect to the switch. Once connected, you can rename the device and assign it to a room.
4.4 Voice Assistant Integration (Alexa/Google Home)
- Enable Skill: Open the Amazon Alexa app or Google Home app.
- Search for "Smart Life": Go to "Skills & Games" (Alexa) or "Works with Google" (Google Home) and search for "Smart Life".
- Enable Skill/Link Account: Enable the Smart Life skill and link your Smart Life account using your credentials.
- Discover Devices: Once linked, ask your voice assistant to "Discover devices" or manually initiate device discovery in the app. Your MoKo Smart Switch will appear in your device list.

Image: A man interacting with an Amazon Echo device, demonstrating hands-free voice control for the smart switch.
5. Operating Your Smart Switch
5.1 Manual Control
The MoKo Smart Switch retains its functionality as a traditional light switch. You can press the physical button to turn the connected light on or off.
5.2 Remote Control via Smart Life App
Once paired, you can control your light switch from anywhere using the Smart Life app on your smartphone or tablet.
- Open the Smart Life app.
- Select the desired switch from your device list.
- Tap the power icon to toggle the light on or off.
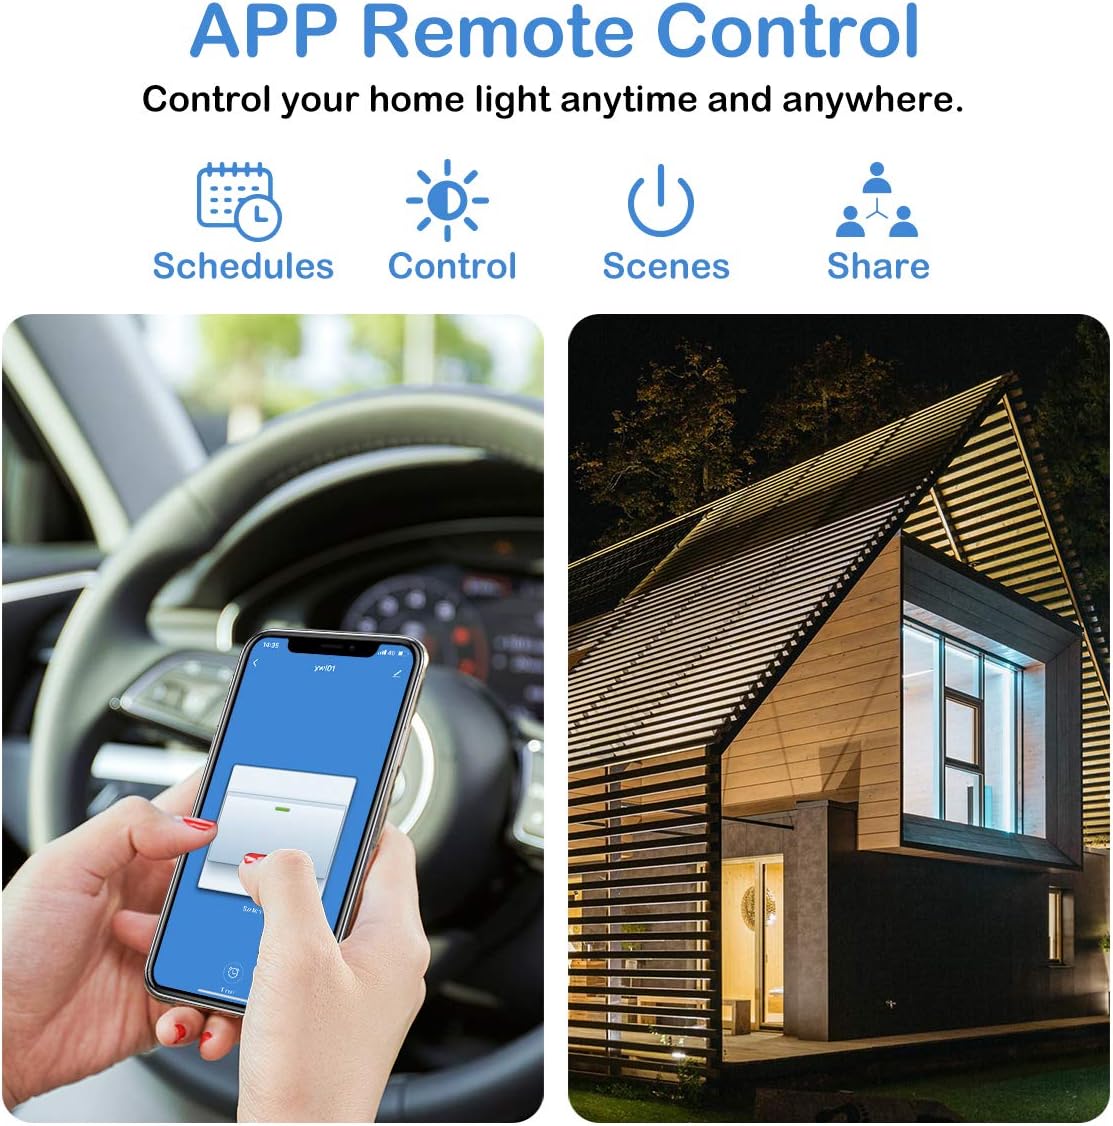
Image: A smartphone displaying the Smart Life app interface, demonstrating remote control capabilities for scheduling, direct control, scene setting, and device sharing.
5.3 Voice Control
After integrating with Amazon Alexa or Google Home, use simple voice commands to control your lights.
- "Alexa, turn on [device name]."
- "Hey Google, turn off [device name]."
5.4 Timer and Schedule Management
Set schedules to automatically turn your lights on or off at specific times, or create countdown timers.
- In the Smart Life app, select your switch.
- Tap the "Schedule" or "Timer" option.
- Set desired times for the light to turn on or off.
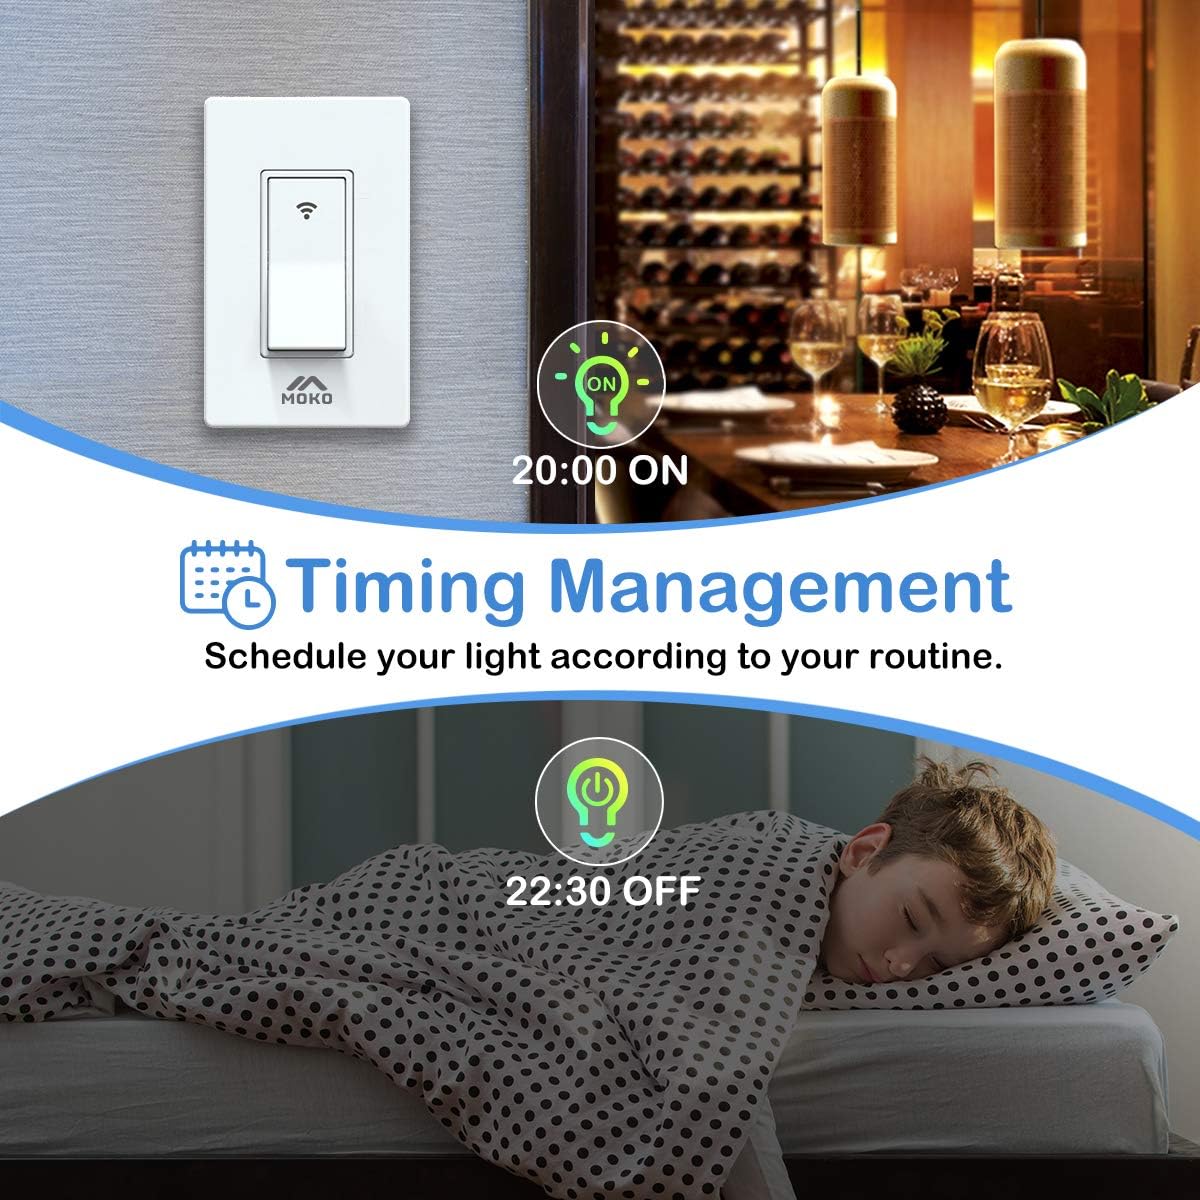
Image: A visual representation of the timing management feature, illustrating how to schedule lights to turn on at 8:00 PM and off at 10:30 PM.
5.5 Group Control and Device Sharing
Manage multiple switches simultaneously and share control with family members.
- Group Setting: In the Smart Life app, create a group to control several switches with a single command. For example, group all kitchen lights to turn them off at once.
- Device Sharing: Share control of your smart switch with other Smart Life app users in your household. This allows multiple family members to manage the lights.
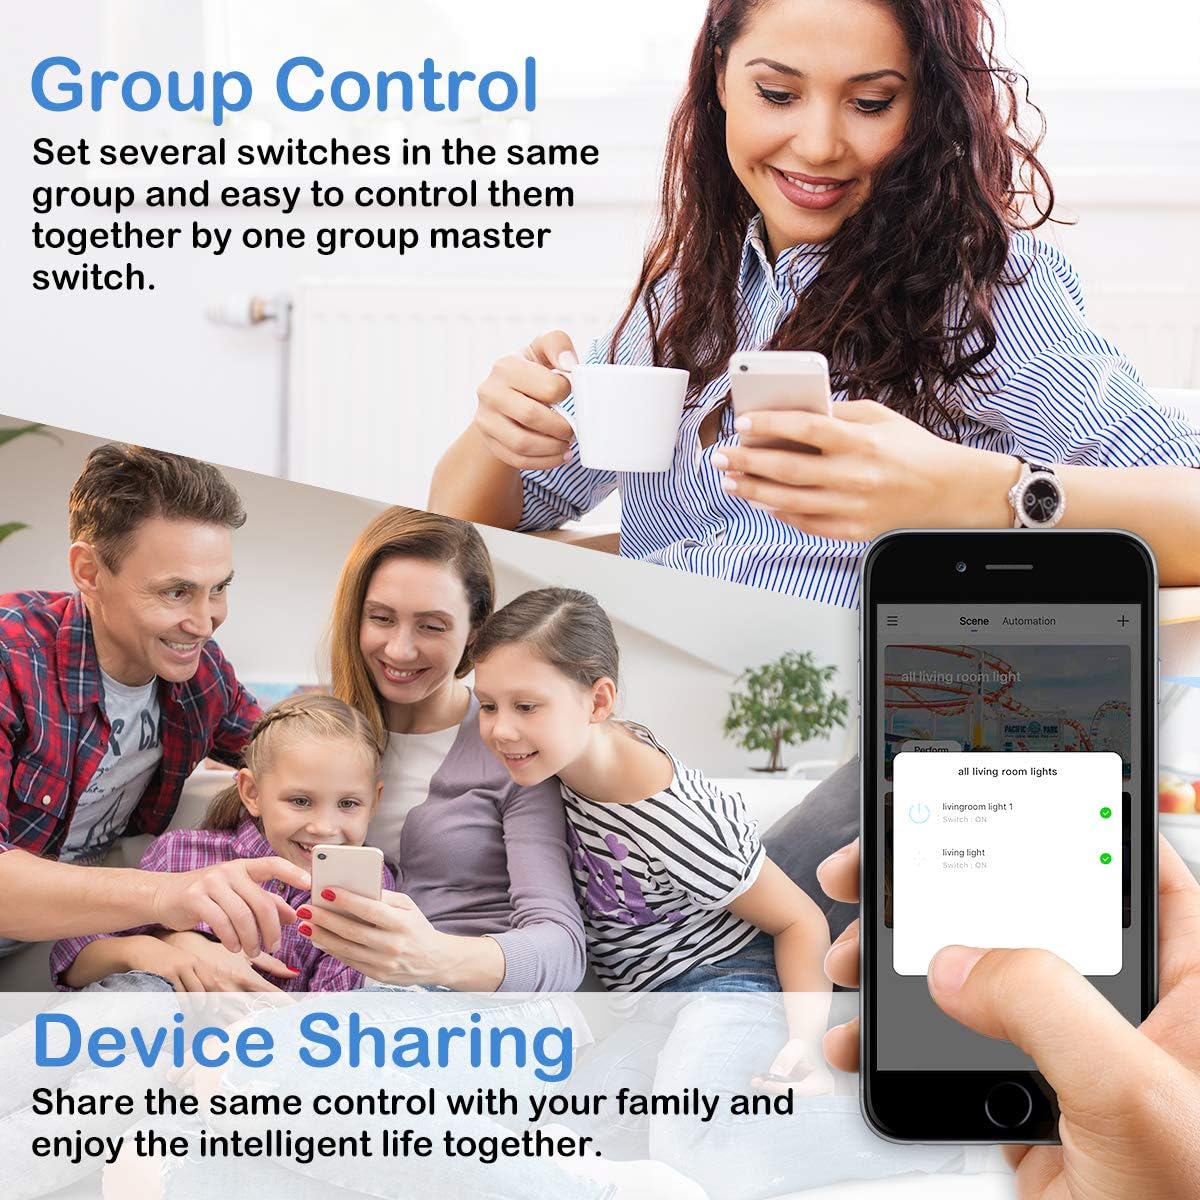
Image: A collage depicting a family sharing control of smart devices and the group control feature within the Smart Life app.
6. Care and Maintenance
- Cleaning: Wipe the switch surface with a soft, dry cloth. Do not use abrasive cleaners or solvents.
- No User-Serviceable Parts: Do not attempt to disassemble or repair the switch yourself. This will void the warranty and may cause electric shock.
- Environmental Conditions: Avoid exposing the switch to extreme temperatures, humidity, or direct sunlight.
7. Troubleshooting
| Problem | Possible Cause | Solution |
|---|---|---|
| Switch does not power on. | No power at the circuit breaker; incorrect wiring; no neutral wire. | Check circuit breaker; verify wiring according to diagram; ensure neutral wire is connected. |
| Cannot connect to WiFi. | Incorrect WiFi band (5GHz); weak WiFi signal; incorrect password. | Ensure your router is broadcasting a 2.4GHz network. If you have a dual-band router, temporarily disable or rename the 5GHz band during setup. Move the switch closer to the router. Re-enter WiFi password carefully. |
| Switch indicator light is red or not flashing. | Not in pairing mode; WiFi signal issue; power issue. | To reset and enter pairing mode, turn off power at the circuit breaker for 10 seconds, then turn it back on. The switch should flash rapidly. If not, try pressing and holding the switch button for 5-10 seconds. Check WiFi signal strength. |
| Voice control not working. | Skill not enabled; account not linked; device not discovered. | Ensure the "Smart Life" skill is enabled in your Alexa/Google Home app and your Smart Life account is linked. Ask your voice assistant to "Discover devices." |
| Switch disconnects from app/WiFi frequently. | Weak WiFi signal; network interference; router issues. | Improve WiFi signal strength (e.g., use a WiFi extender). Reduce interference from other 2.4GHz devices. Restart your router. |
8. Warranty Information
MoKo products are manufactured to high-quality standards. This product comes with a limited warranty against defects in materials and workmanship. For specific warranty terms and conditions, please refer to the warranty card included with your product or visit the official MoKo website.
9. Customer Support
If you encounter any issues or have questions regarding your MoKo Smart WiFi Light Switch, please contact our customer support team:
- Website: Visit the official MoKo website for FAQs, support resources, and contact information.
- Email: Refer to your product packaging or the MoKo website for customer service email addresses.


