1. Introduction
This manual provides detailed instructions for the installation, operation, and maintenance of your EACHPAI E100 Pro Dash Camera. Please read this manual thoroughly before using the device to ensure proper functionality and to maximize your user experience. Keep this manual for future reference.
2. Product Overview
2.1 Package Contents
- EACHPAI E100 Pro Dash Camera (Front Unit)
- Rear Camera (if included in your package)
- Suction Mount
- Wi-Fi Antenna
- GPS Logger
- Power Cable
- Adhesive Sticker
2.2 Key Features
- 4K UHD Front Camera: Records high-resolution video for clear details.
- FHD 1080P Rear Camera: Captures footage from the rear of your vehicle.
- Built-in Wi-Fi: Connects to the EACHPAI app for real-time viewing, saving, and sharing.
- GPS Functionality: Records driving track, speed, and location data.
- G-Sensor: Automatically detects sudden shakes or collisions and locks the current recording to prevent overwriting.
- Loop Recording: Records video in segments (2/3/5 minutes). When the memory card is full, the oldest footage is automatically overwritten.
- Parking Monitor: Provides surveillance when the vehicle is parked (requires optional hardwire kit).
- Motion Detection: Automatically starts recording for 10 seconds when motion is detected in front of the dash cam.
- WDR (Wide Dynamic Range): Enhances video quality in varying light conditions.
- Super Night Vision: Improves clarity in low-light environments.
- 170° Wide Angle Lens: Provides a broad view of the road.


3. Setup
3.1 MicroSD Card Installation
Before first use, insert a high-speed (Class 10 or higher) MicroSD card into the dash camera. A Samsung 128GB Pro Endurance microSD is recommended for optimal performance due to constant read/write cycles. Format the card within the camera settings after insertion.
3.2 Mounting the Dash Camera
- Clean the windshield area where the dash camera will be mounted.
- Attach the suction mount to the front unit.
- Securely attach the suction mount to the windshield, ensuring it does not obstruct your view.
- Adjust the camera angle to capture the road ahead clearly.
3.3 Rear Camera Installation (Optional)
If your package includes a rear camera, connect it to the main unit using the provided cable. Mount the rear camera on the rear windshield, ensuring a clear view. Route the cable neatly to avoid interference with vehicle operation.
3.4 Power Connection
Connect the power cable to the dash camera and plug the other end into your vehicle's 12V power outlet (cigarette lighter socket). The camera will typically power on and begin recording automatically when the vehicle starts.
3.5 GPS Logger Connection
Connect the GPS logger to the designated port on the dash camera. Position the GPS logger on the dashboard or windshield where it has a clear view of the sky for optimal signal reception.


4. Operating Instructions
4.1 Basic Recording
Once powered on, the dash camera will automatically begin loop recording. Video files are saved in segments (e.g., 2, 3, or 5 minutes). When the MicroSD card is full, the oldest unlocked files will be overwritten by new recordings.
4.2 G-Sensor Functionality
The built-in G-Sensor detects sudden impacts or rapid acceleration/deceleration. When triggered, it automatically locks the current video segment, preventing it from being overwritten during loop recording. These locked files are stored in a separate folder on the MicroSD card.
4.3 Parking Monitor
To enable 24-hour parking monitoring, an optional hardwire kit (sold separately) is required to connect the dash camera directly to your car's battery. With the hardwire kit, the camera can continue to monitor and record events even when the vehicle is turned off.
4.4 Motion Detection
When motion detection is enabled, the dash camera will automatically turn on and record a 10-second video clip if it detects movement in front of the camera while the vehicle is parked.
4.5 Time-lapse Recording
Time-lapse recording captures still images at set intervals and stitches them together into a video, creating a fast-motion effect. This feature is suitable for capturing long periods of activity in a condensed format.


4.6 Wi-Fi and App Connection
- Download the EACHPAI app from your smartphone's app store.
- Enable Wi-Fi on your dash camera through its settings menu.
- Connect your smartphone to the dash camera's Wi-Fi network (SSID and password typically displayed on the camera screen).
- Open the EACHPAI app to view live footage, access recorded videos, and adjust settings.
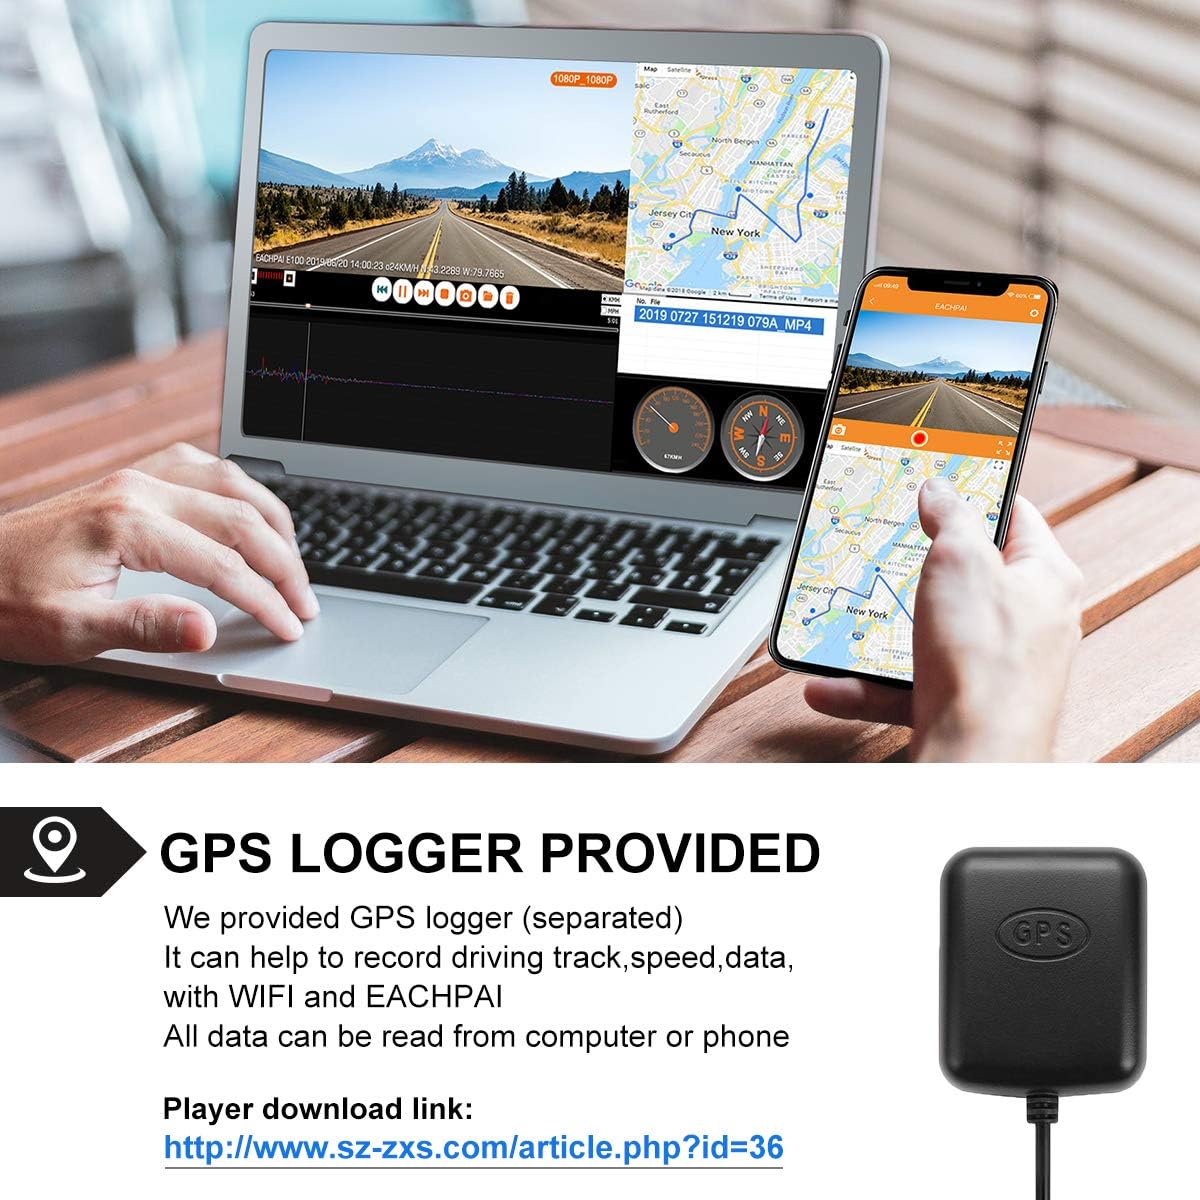
4.7 GPS Data Viewing
The GPS logger records driving track, speed, and other data. This information can be viewed on a computer or smartphone using dedicated player software. A player download link is often provided by the manufacturer (e.g., http://www.sz-zxs.com/article.php?id=36).
5. Maintenance
5.1 MicroSD Card Management
Regularly format your MicroSD card (at least once a month) within the camera settings to ensure optimal performance and prevent data corruption. Replace the MicroSD card periodically, as constant read/write cycles can degrade its lifespan.
5.2 Cleaning
Use a soft, dry cloth to clean the camera lens and screen. Avoid using abrasive cleaners or solvents that could damage the device. Ensure the camera is powered off before cleaning.
5.3 Temperature Considerations
The EACHPAI E100 Pro is designed to withstand high temperatures. However, prolonged exposure to extreme heat (e.g., direct sunlight in a parked car during summer) can affect battery life and overall performance. If possible, remove the dash cam or park in shaded areas during extreme heat.

6. Troubleshooting
- Camera not powering on: Ensure the power cable is securely connected to both the camera and the vehicle's power outlet. Check the vehicle's power outlet for functionality.
- Camera not recording: Verify that a MicroSD card is inserted and properly formatted. Check if the card is full; if so, format it or replace it. Ensure loop recording is enabled.
- Parking Monitor not working when car is off: The parking monitor feature requires a separate hardwire kit to provide continuous power from the car battery. Without this kit, the camera will only record when the car's ignition is on.
- Unresponsive buttons or screen: Try resetting the device using a paperclip in the reset hole (if available). If the issue persists, reformat the MicroSD card.
- Wi-Fi connection issues: Ensure Wi-Fi is enabled on the camera and your smartphone. Confirm you are connecting to the correct Wi-Fi network provided by the dash camera. Try restarting both the camera and your phone.
- Poor video quality: Clean the camera lens. Ensure the protective film has been removed from the lens. Check camera settings for resolution and WDR options.
- GPS not acquiring signal: Ensure the GPS logger is connected and placed in an area with a clear view of the sky, away from obstructions.
7. Specifications
| Feature | Specification |
|---|---|
| Brand | EACHPAI |
| Model Name | E100 Pro |
| Connectivity Technology | Wi-Fi |
| Video Capture Resolution | Front: 4K (2880x2160P 24fps / 2560x1440p 30fps / 1920x1080p 60fps), Rear: 1080p |
| Included Components | Suction Mount, Wi-Fi Antenna, GPS Logger |
| Mounting Type | Suction Mount |
| Control Method | Touch |
| Item Weight | 0.25 Pounds |
| Screen Size | 3 Inches |
| Optical Sensor Technology | CMOS (OV4689 for Front) |
| Flash Memory Type | SD (MicroSD, Class 10 or higher recommended) |
| Battery Cell Type | Lithium |
| Frame Rate | 30 FPS (up to 60 FPS for 1080p front) |
| Real Angle of View | 170 Degrees |
| UPC | 797550572643 |
8. Warranty and Support
For warranty information and technical support, please refer to the documentation included with your purchase or contact EACHPAI customer service directly. Contact details can typically be found on the manufacturer's official website or through your retailer.