Marlec CA-01/18
Marlec Rutland 914i Wind Charger User Manual
Model: CA-01/18
1. Introduction
Thank you for choosing the Marlec Rutland 914i Wind Charger. This manual provides essential information for the safe and efficient installation, operation, and maintenance of your wind charger. The Rutland 914i is designed for marine and remote power applications, offering reliable energy generation from wind.
It incorporates advanced MaxPower Point tracking technology to optimize energy output. For optimal performance, it is recommended to use this wind charger with an HRSi or HRDi charging controller (sold separately).

Figure 1: The Rutland 914i Wind Charger, showcasing its sleek design and five-blade rotor.
2. Safety Information
Please read all safety warnings and instructions carefully before installing or operating the Rutland 914i Wind Charger. Failure to do so may result in serious injury, property damage, or voiding of the warranty.
- Installation: Installation should only be performed by qualified personnel familiar with electrical systems and working at heights.
- Electrical Hazard: The wind charger generates electricity. Ensure all electrical connections are made correctly and securely. Disconnect power before performing any maintenance.
- Rotating Blades: Keep clear of the rotating blades. They can cause severe injury. Always ensure the turbine is braked or secured before approaching.
- Mounting: Ensure the mounting pole and structure are robust enough to withstand wind loads and the weight of the wind charger.
- Battery Connection: Connect the wind charger to a suitable battery bank via a charge controller. Never connect directly to batteries without a controller.
3. Product Features
The Rutland 914i Wind Charger offers several key features designed for efficiency and durability:
- High Power Output: Produces 140W at 11m/s (21 knots) wind speeds, providing substantial power for various applications.
- Optimized Low Wind Performance: Unmatched performance in low wind conditions, ensuring consistent energy generation even in lighter breezes.
- MaxPower Point Tracking (MPPT): Built-in technology that maximizes energy harvest from the wind, delivering up to 30% more energy compared to previous models like the Rutland 913.
- Compact Design: Based on the successful compact Rutland 913, known for its smooth and quiet operation.
- Durable Construction: Engineered for marine environments and long-term reliability.
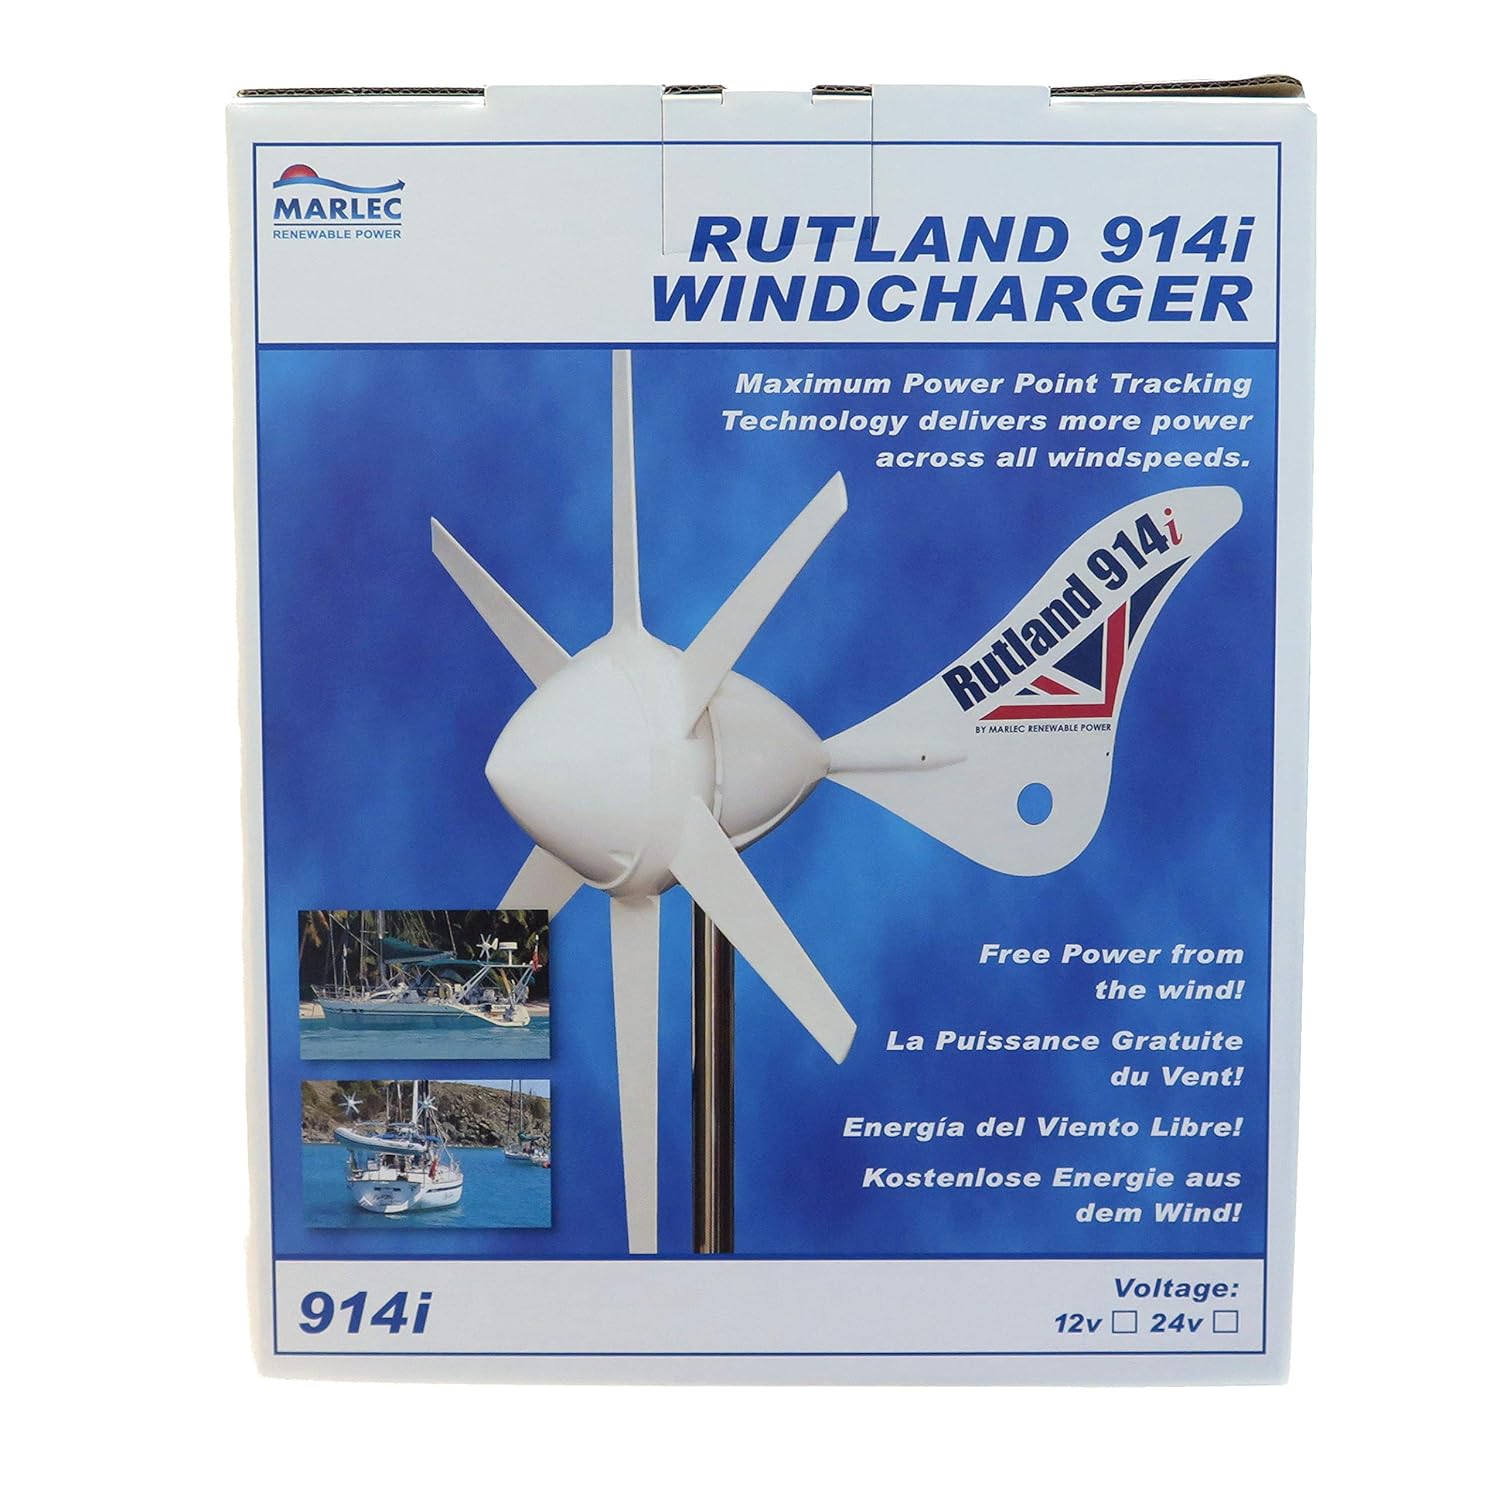
Figure 2: Packaging for the Rutland 914i Wind Charger, highlighting its key features and voltage options.
4. Setup and Installation
Proper installation is crucial for the performance and longevity of your Rutland 914i Wind Charger.
4.1 Unpacking and Inspection
- Carefully remove all components from the packaging.
- Inspect for any signs of shipping damage. Contact your supplier immediately if any damage is found.
- Verify all parts are present according to the packing list.
4.2 Mounting Location
Choose a mounting location that is:
- Free from obstructions (buildings, trees, other boat structures) that could block wind flow.
- High enough to capture clean, turbulent-free wind.
- Structurally sound to support the wind charger and withstand strong winds.

Figure 3: The Rutland 914i Wind Charger mounted on a pole, demonstrating an ideal clear sky installation.
4.3 Electrical Connections
- Ensure the wind charger is secured and cannot rotate during wiring.
- Connect the wind charger output cables to the appropriate inputs on your HRSi or HRDi charge controller.
- Connect the charge controller to your battery bank, ensuring correct polarity.
- Refer to the charge controller's manual for detailed wiring diagrams and instructions.

Figure 4: An individual performing installation of the Rutland 914i Wind Charger on a boat, highlighting the typical mounting process.
5. Operating Instructions
Once installed and wired correctly, the Rutland 914i Wind Charger operates automatically.
- The turbine will begin to rotate and generate power when wind speeds are sufficient.
- The charge controller will regulate the power output to safely charge your batteries.
- Monitor your battery voltage and charge controller indicators to ensure proper operation.
- In very high winds, the charge controller may automatically apply a brake to protect the turbine.

Figure 5: A sailboat equipped with the Rutland 914i Wind Charger, demonstrating its integration into a marine power system.
6. Maintenance
The Rutland 914i is designed for minimal maintenance, but periodic checks are recommended to ensure optimal performance and longevity.
- Annual Inspection: Visually inspect the blades for any cracks or damage. Check all mounting bolts and electrical connections for tightness and corrosion.
- Cleaning: Keep the blades and body clean from salt spray, dirt, and debris. Use fresh water and a soft cloth.
- Bearing Check: Listen for any unusual noises from the turbine head. If grinding or excessive noise is heard, contact Marlec support.
- Charge Controller: Refer to your charge controller's manual for its specific maintenance requirements.

Figure 6: A close-up view of the Rutland 914i Wind Charger on a boat, illustrating its exposure to marine elements and the need for regular inspection.
7. Troubleshooting
This section provides solutions to common issues you might encounter.
| Problem | Possible Cause | Solution |
|---|---|---|
| No power output |
|
|
| Turbine not spinning freely |
|
|
| Excessive noise or vibration |
|
|
8. Specifications
Key technical specifications for the Marlec Rutland 914i Wind Charger:
| Specification | Value |
|---|---|
| Model Number | CA-01/18 |
| Rated Power Output | 140W at 11m/s (21 knots) |
| Turbine Diameter | 910mm |
| Rotary Radius | 557mm |
| Voltage | 24V |
| Recommended Controller | HRSi or HRDi |
| Manufacturer | Marlec Engineering Co Ltd |
| Package Dimensions | 4.6 x 3.7 x 3 cm; 11.6 kg |

Figure 7: A glimpse into the manufacturing process of Marlec products, indicating quality control and production standards.
9. Warranty and Support
Marlec products are manufactured to high standards and are backed by a manufacturer's warranty.
- Warranty Information: For detailed warranty terms and conditions, please refer to the warranty card included with your product or visit the official Marlec website. The warranty typically covers defects in materials and workmanship under normal use.
- Technical Support: If you require technical assistance, have questions about installation, or need to troubleshoot an issue not covered in this manual, please contact Marlec customer support.
- Contact Information:
- Website: www.marlec.co.uk
- Email: support@marlec.co.uk
- Phone: +44 (0)1536 201588
Please have your model number (CA-01/18) and purchase date ready when contacting support.