1. Introduction
This manual provides essential information for the safe and efficient operation of your Tesvor Robot Vacuum. The Tesvor X500Pro is a versatile 2-in-1 robotic vacuum and mop cleaner designed to provide thorough cleaning on various floor types, from hard floors to low-pile carpets. It features strong suction, smart navigation, and convenient control options via Wi-Fi, app, and voice commands.
Please read this manual carefully before using the product and keep it for future reference.
2. Safety Information
To reduce the risk of injury or damage, read these safety instructions carefully and keep them at hand when setting up, using, and maintaining your robot vacuum.
- The robot vacuum is for indoor use only. Do not use it outdoors or on commercial surfaces.
- Do not use the robot vacuum in wet environments or on floors with standing water.
- Remove power cords, small objects, and fragile items from the floor before cleaning to prevent entanglement or damage.
- Keep hair, loose clothing, fingers, and all body parts away from openings and moving parts.
- Do not operate the robot vacuum near open flames or flammable materials.
- Ensure the charging dock is placed against a wall on a level surface and is not easily moved.
- The robot vacuum is not suitable for high-pile carpets over 0.6 inches, dark-colored rugs, or carpets with black strips/edges, as these may interfere with sensors.
- Only use the original power adapter and charging dock provided by the manufacturer.
- Supervise children and pets when the robot vacuum is operating.
3. Package Contents
Verify that all components are present and in good condition:
- Tesvor Robot Vacuum Unit
- Charging Dock
- Power Adapter
- Side Brushes (2 pairs)
- Main Brush
- Dustbin
- Water Tank with Mop Cloth
- Cleaning Tool
- Remote Control
4. Product Overview
Familiarize yourself with the main components of your Tesvor Robot Vacuum.

Image: The Tesvor Robot Vacuum main unit, showing its sleek white design, accompanied by its charging dock, a mop cloth, and the transparent water tank.

Image: The slim profile of the Tesvor Robot Vacuum, measuring 75mm in height, allowing it to easily clean under low-clearance furniture like sofas and cabinets.

Image: A close-up of the Tesvor Robot Vacuum's electronic water tank, highlighting its 350ml capacity and water distribution system for mopping.
5. Setup
5.1 Initial Charging
- Place the charging dock against a wall in an open, uncluttered area. Ensure there are no obstacles within 1 meter (3 feet) to the front and 0.5 meters (1.5 feet) to the sides of the dock.
- Connect the power adapter to the charging dock and plug the other end into a wall outlet.
- Place the robot vacuum onto the charging dock. Ensure the charging contacts on the robot align with those on the dock. The indicator light on the robot will show charging status.
- Fully charge the robot before its first use (approximately 4-5 hours).
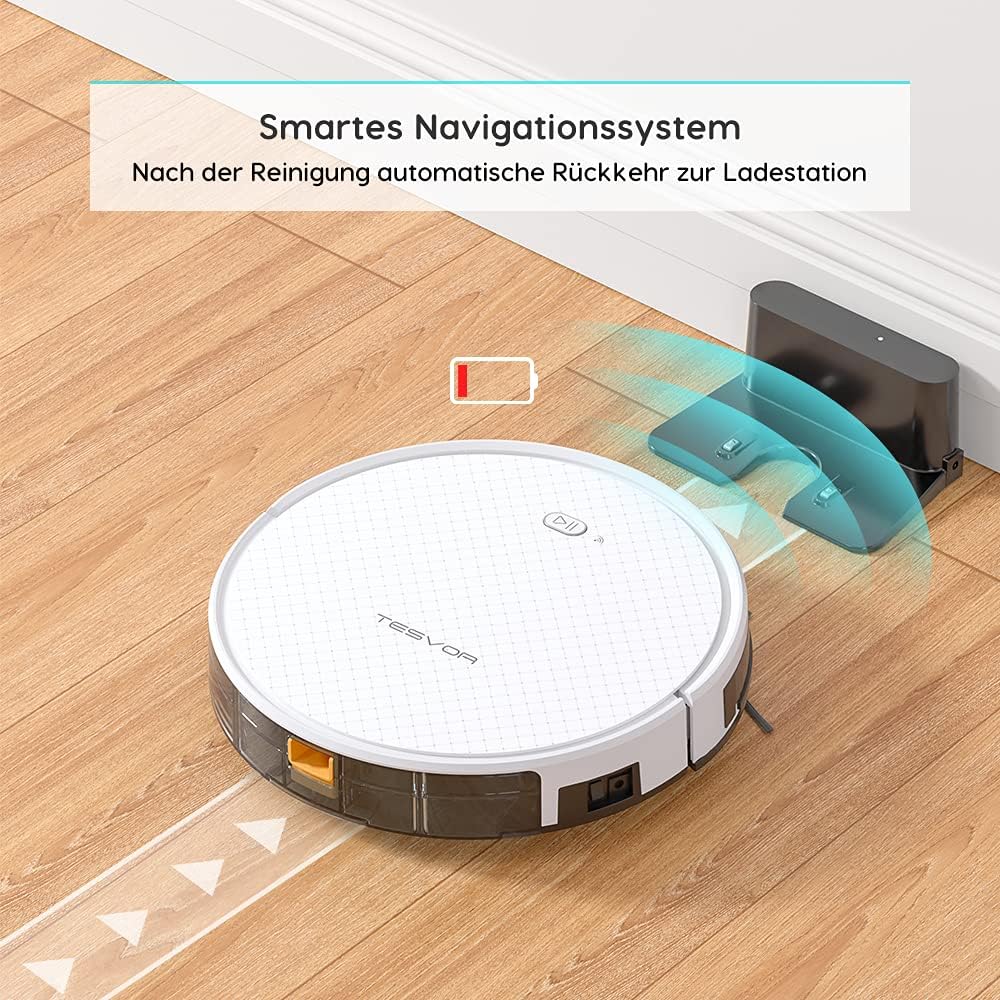
Image: The Tesvor Robot Vacuum intelligently navigating back to its charging station when its battery is low or cleaning is complete, indicated by a battery icon.
5.2 Installing Side Brushes and Dustbin/Water Tank
- Turn the robot vacuum upside down.
- Align the side brushes with the corresponding posts (L and R) and press them down until they click into place.
- For vacuuming, ensure the dustbin is securely inserted into the robot.
- For mopping, fill the water tank with clean water (and a small amount of cleaning fluid if desired, as per manufacturer's guidelines) and attach the mop cloth. Insert the water tank into the robot.
6. Operating Instructions
6.1 Cleaning Modes
The Tesvor X500Pro offers various cleaning modes:
- Auto Cleaning: The robot intelligently navigates in an S-shape path to cover the entire area.
- Spot Cleaning: Focuses on a specific dirty area.
- Edge Cleaning: Cleans along walls and furniture edges.
- Scheduled Cleaning: Set a cleaning schedule via the app.

Image: The Tesvor Robot Vacuum demonstrating its systematic S-shaped cleaning path, ensuring comprehensive coverage of the floor area.
The robot provides intense 1800Pa suction, effective for dust, crumbs, and pet hair on hard floors and low-pile carpets.

Image: The Tesvor Robot Vacuum actively cleaning a wooden floor, demonstrating its strong suction power by collecting scattered debris.
6.2 App and Voice Control
The Tesvor X500Pro can be controlled via the Tesvor Smart App or voice commands through Alexa and Google Assistant.
- Download the "Tesvor Smart" app from your mobile app store.
- Ensure your Wi-Fi network is set to 2.4GHz for connection.
- Follow the in-app instructions to connect your robot vacuum.
- Once connected, you can use the app for scheduling, changing cleaning modes, real-time monitoring of the cleaning path, and direction control.
- For voice control, enable the Tesvor skill in your Alexa or Google Home app and link your Tesvor account.

Image: A smartphone displaying the Tesvor app interface, showing a real-time map of the robot's cleaning progress and various control options, along with icons for 2.4G Wi-Fi, Amazon Alexa, and Google Home compatibility.
7. Maintenance
Regular maintenance ensures optimal performance and extends the lifespan of your robot vacuum.
7.1 Cleaning the Dustbin and Filter
- Press the dustbin release button and pull out the dustbin.
- Open the dustbin cover and empty its contents into a trash can.
- Remove the HEPA filter and foam filter. Tap them gently to remove dust. Do not wash the HEPA filter with water.
- Rinse the dustbin with water if necessary, ensuring it is completely dry before reinserting.
- Reassemble the filters and dustbin, then reinsert into the robot.
7.2 Cleaning the Main Brush and Side Brushes
- Turn the robot vacuum upside down.
- Remove the main brush cover and lift out the main brush. Use the cleaning tool to remove hair and debris.
- Pull the side brushes upwards to remove them. Clean any hair or debris wrapped around them.
- Reinstall the main brush and side brushes.
7.3 Cleaning the Water Tank and Mop Cloth
- Remove the water tank from the robot.
- Empty any remaining water and rinse the tank thoroughly.
- Remove the mop cloth and wash it by hand or machine. Allow it to air dry completely.
- Ensure the water tank is dry before storing or refilling.
8. Troubleshooting
| Problem | Possible Cause | Solution |
|---|---|---|
| Robot does not turn on. | Low battery; Power switch off. | Charge the robot; Turn on the main power switch. |
| Robot gets stuck frequently. | Obstacles (cords, small objects); High-pile carpet. | Clear the area; Avoid using on unsuitable carpets. |
| Poor cleaning performance. | Full dustbin; Clogged filter; Tangled brushes. | Empty dustbin; Clean/replace filter; Clean brushes. |
| Cannot connect to Wi-Fi/App. | Incorrect Wi-Fi band (not 2.4GHz); Incorrect password. | Ensure 2.4GHz Wi-Fi; Re-enter password; Restart router/robot. |
| Robot does not return to charging dock. | Dock obstructed; Robot too far from dock. | Clear area around dock; Manually place robot closer to dock. |
9. Specifications
| Feature | Detail |
|---|---|
| Brand | Tesvor |
| Model Number | Tesvor X500Pro |
| Suction Power | 1800Pa |
| Battery Life | Up to 100 minutes |
| Dustbin Capacity | 0.6 Liters |
| Water Tank Capacity | 350ml |
| Control Method | App, Voice (Alexa, Google Assistant) |
| Product Dimensions | 19.69 x 19.69 x 11.02 inches |
| Item Weight | 11 pounds |
| Special Features | 2-in-1 Vacuum & Mop, Anti-Collision Sensors, Smart Navigation |
10. Warranty and Support
For warranty information, technical support, or further assistance, please refer to the official Tesvor website or contact their customer service directly.
You can also visit the Tesvor Brand Store on Amazon for more product details and support resources.


