1. Product Overview
The FATKITT Blink Outdoor Camera Mount is designed to provide flexible and secure mounting options for your Blink security cameras. This 3-pack of mounts allows for 360-degree swivel and 90-degree tilt, ensuring optimal camera positioning for comprehensive surveillance. Constructed from high-grade ABS and rustproof metal, these mounts are suitable for both indoor and outdoor use.

Image 1.1: Overview of the FATKITT Blink Camera Mounts, showing three individual mounts and one mount with a Blink camera attached, demonstrating its design and functionality.
2. Package Contents
Please verify that all components are present in the package:
- 3 x FATKITT Camera Mounts
- 9 x Screws (Φ3.5*25)
- 9 x Expansion Pipes (Wall Anchors)
- 1 x Instruction Manual (this document)

Image 2.1: The product packaging, displaying the box, three camera mounts, screws, and expansion pipes, along with a small instruction sheet.

Image 2.2: A diagram illustrating the dimensions of the camera mount (3.6 inches height, 2.8 inches base diameter) and a visual representation of the included screws and expansion pipes.
3. Compatibility
These mounts are specifically designed for Blink Outdoor Camera, Blink Indoor Security Camera, and other Blink cameras with quick buckles. They are also compatible with various other security cameras, including:
- Blink Outdoor
- Blink Indoor
- Blink Mini
- Blink XT2/XT
- Wyze Cam Pan
- Ring Stick Up Wired/Battery
- Arlo Pro/Arlo Pro2
- Arlo Ultra/Arlo Ultra 2

Image 3.1: A visual guide to compatible camera models, including Blink Outdoor, Blink Indoor, Blink Mini, Blink XT2/XT, Wyze Cam Pan, Ring Stick Up Wired/Battery, Arlo Pro/Pro2, and Arlo Ultra/Ultra 2.
4. Setup and Installation
No specialized tools are required for installation. Follow these steps for a hassle-free setup:
- Prepare the Mounting Surface: Choose a suitable location on a wall or ceiling, ensuring the surface is stable and can support the camera and mount.
- Mark Drill Holes: Place the base of the mount against the desired surface and mark the positions for the three screw holes.
- Drill Pilot Holes: Use an appropriate drill bit to create pilot holes at the marked positions. For drywall or masonry, insert the expansion pipes (wall anchors) into the pilot holes.
- Secure the Mount Base: Align the mount base with the pilot holes and secure it firmly using the provided screws.
- Attach the Camera: Gently press your Blink camera onto the mount's quick buckle until you hear a 'click' sound, indicating it is securely attached.

Image 4.1: An illustration demonstrating the 'press' and 'click' action for securely attaching a Blink camera to the mount's quick buckle mechanism.
5. Operating and Adjustment
The FATKITT camera mount offers versatile positioning to achieve your desired viewing angle:
- 360° Swivel: The mount allows for a full 360-degree rotation. Loosen the adjustment nut slightly, rotate the camera to the desired horizontal angle, and then tighten the nut to secure it.
- 90° Tilt: The mount also provides a 90-degree vertical tilt. Loosen the adjustment nut, adjust the camera's vertical angle, and then tighten the nut.
These mounts are suitable for installation in various environments, including indoors, on walls, ceilings, and outdoors, providing flexibility for your security needs.

Image 5.1: A visual representation of the mount's adjustability, highlighting the 360-degree swivel and 90-degree tilt capabilities for precise camera positioning.

Image 5.2: Examples of diverse installation locations, including an indoor room, an outdoor wall, a ceiling, and an outdoor tree, demonstrating the mount's versatility.
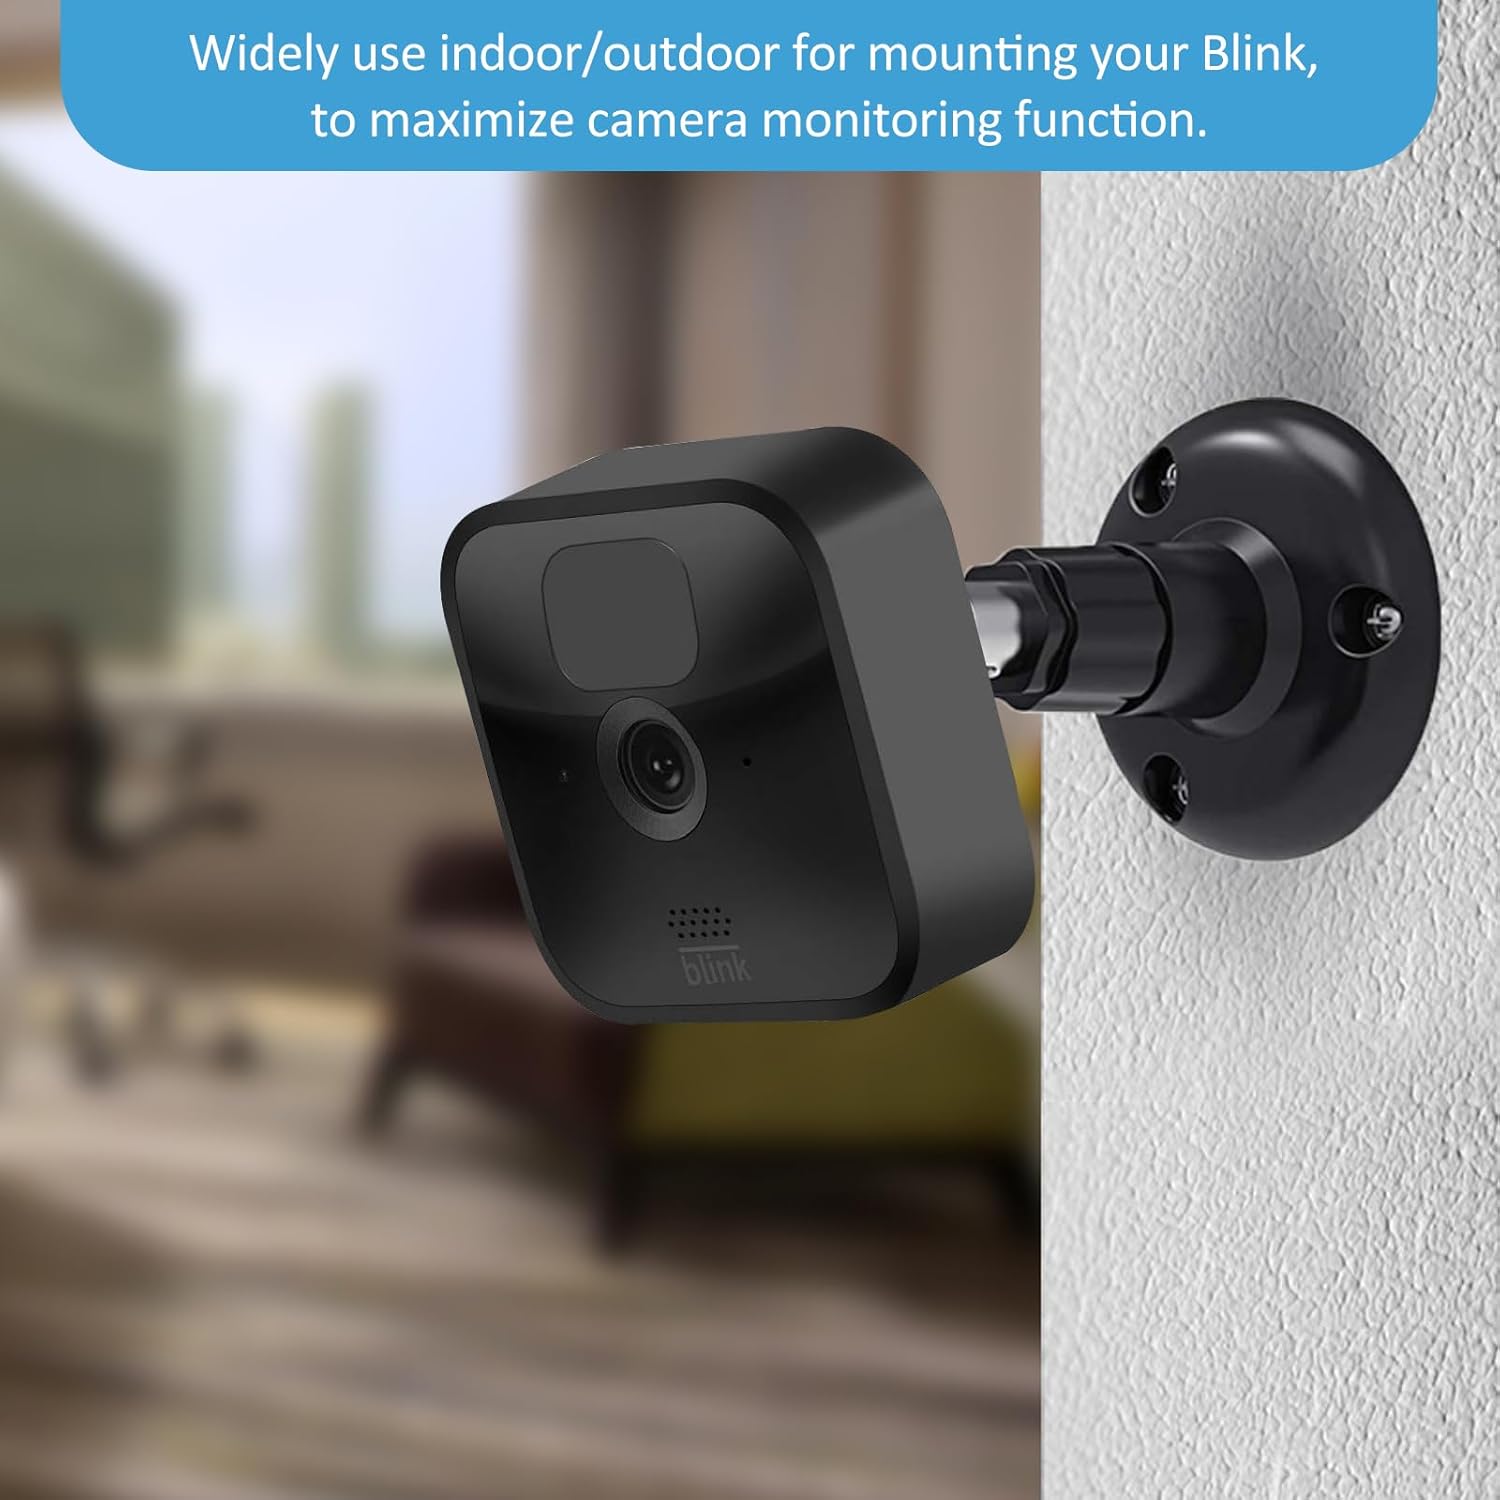
Image 5.3: A Blink camera securely mounted on an indoor wall, illustrating a common application of the mount to maximize camera monitoring functions.
6. Maintenance
To ensure the longevity and optimal performance of your FATKITT camera mounts:
- Cleaning: Wipe the mounts periodically with a soft, damp cloth to remove dust and dirt. Avoid using harsh chemicals or abrasive cleaners.
- Inspection: Regularly check the mounts for any signs of wear, damage, or loosening, especially if installed outdoors. Ensure all screws remain tight.
- Battery Replacement: When replacing camera batteries, carefully detach the camera from the mount. While the attachment is designed to be secure, exercise caution to avoid undue force during removal and reattachment.
7. Troubleshooting
- Camera not attaching securely: Ensure the quick buckle mechanism on the camera aligns correctly with the mount's attachment point. Apply firm, even pressure until a 'click' is heard. Do not force the connection.
- Mount feels loose after installation: Verify that the screws are fully tightened into the wall or ceiling. If installing into drywall, ensure the expansion pipes (wall anchors) are properly seated.
- Difficulty adjusting angle: Loosen the adjustment nut slightly before attempting to swivel or tilt the camera. Once the desired angle is achieved, tighten the nut firmly to prevent slippage.
8. Specifications
| Feature | Specification |
|---|---|
| Brand | FATKITT |
| Model Number | F-B01 |
| Mounting Type | Wall Mount |
| Material | High-grade ABS, Rustproof Metal |
| Color | Black |
| Adjustability | 360° Swivel, 90° Tilt |
| Item Depth (from mounting surface) | 3.5 inches |
| Unit Count | 3.0 Count |
| Item Weight (per mount) | 1.6 ounces (approx. 0.1 lbs) |
| UPC | 712317377538 |
9. Customer Support
FATKITT is committed to ensuring customer satisfaction. If you encounter any issues with your camera mounts or have questions regarding installation or operation, please do not hesitate to contact our customer support team. We are dedicated to providing assistance and resolving any concerns you may have.
For support, please refer to the contact information provided with your purchase or visit the official FATKITT website.


