1. Introduction
Thank you for choosing the Diamond Audio DMD65C 6.5" 2-Way Component Speaker System. This manual provides essential information for the proper installation, operation, and maintenance of your new car audio speakers. Please read this manual thoroughly before installation to ensure optimal performance and longevity of your product.
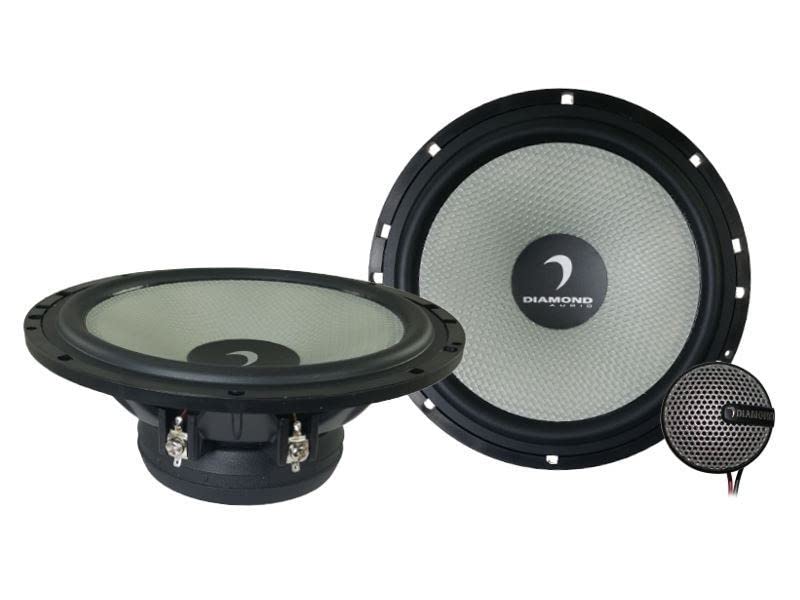
Image 1.1: Diamond Audio DMD65C 6.5-inch component speaker system, showing the woofer and tweeter components.
2. Safety Information
Always observe the following safety precautions during installation and operation:
- Disconnect the vehicle's battery negative terminal before starting any electrical work to prevent short circuits.
- Ensure all wiring is properly insulated and secured to prevent damage from vibration or sharp edges.
- Do not install speakers in locations that obstruct vehicle operation or safety features (e.g., airbags).
- Wear appropriate safety gear, including eye protection, during installation.
- Consult a professional car audio installer if you are unsure about any part of the installation process.
- Avoid prolonged exposure to high volume levels, which can cause hearing damage.
3. Package Contents
The Diamond Audio DMD65C component speaker system package typically includes the following items:
- Two (2) 6.5-inch Mid-Bass Woofers
- Two (2) Tweeters
- Two (2) Passive Crossover Networks
- Mounting Hardware (screws, clips, grilles)
- Speaker Wire
- User Manual (this document)
Note: "units only" was specified in the product details, but a component system typically includes all necessary parts for installation. Please verify contents upon unboxing.
4. Setup & Installation
Proper installation is crucial for optimal sound performance. This section outlines the general steps for installing your DMD65C component speaker system.
4.1 Planning and Preparation
- Choose Mounting Locations: Select suitable locations for the woofers, tweeters, and crossover networks. Woofers are typically installed in factory speaker locations in doors or kick panels. Tweeters should be mounted in locations that provide good sound imaging, such as A-pillars or dash corners. Crossovers should be placed in a dry, accessible location, away from heat and moisture.
- Check Vehicle Compatibility: Ensure the chosen locations have sufficient depth and clearance for the speakers.
- Gather Tools: You will need basic hand tools, wire strippers, crimpers, a drill, and possibly a soldering iron.
- Disconnect Battery: Always disconnect the negative terminal of your vehicle's battery before beginning any electrical work.
4.2 Woofer Installation
- Remove existing speakers from the desired mounting location.
- If necessary, use a template (often included with speakers or available online) to mark and cut the mounting hole.
- Connect the woofer wires to the output terminals of the passive crossover network. Ensure correct polarity (+ to + and - to -).
- Mount the woofer securely using the provided screws. Avoid overtightening.
4.3 Tweeter Installation
Tweeters can be flush-mounted or surface-mounted depending on your preference and vehicle's interior.
- Flush Mount: Cut a circular hole of the appropriate size (refer to tweeter specifications for exact dimensions) in the chosen location. Insert the tweeter and secure it with the provided mounting hardware.
- Surface Mount: Use the surface mount cups (if provided) to attach the tweeters to a flat surface.
- Connect the tweeter wires to the output terminals of the passive crossover network. Observe correct polarity.
4.4 Crossover Network Connection
The passive crossover network separates the audio signal into appropriate frequency ranges for the woofer and tweeter.
- Identify the input terminals on the crossover (typically marked "INPUT" or "AMP"). Connect these to the speaker output wires from your car's amplifier or head unit.
- Identify the output terminals for the woofer (typically marked "WOOFER" or "MID") and tweeter (typically marked "TWEETER" or "HIGH"). Connect the respective speaker wires from the woofer and tweeter to these terminals.
- Ensure all connections are secure and properly insulated.
- Mount the crossover network in a secure, dry location.
4.5 Final Steps
- Double-check all wiring connections for correct polarity and security.
- Reconnect the vehicle's battery negative terminal.
- Test the system with low volume before reassembling interior panels.
- Reassemble any removed interior panels.
5. Operating Instructions
Once properly installed, your Diamond Audio DMD65C component speakers will operate in conjunction with your car's head unit and amplifier.
- Power On: Turn on your car's audio system.
- Volume Control: Start with the volume at a low level and gradually increase it to a comfortable listening level.
- Audio Settings: Use your head unit's equalizer and balance/fader controls to fine-tune the sound to your preference. Avoid excessive bass or treble boost, which can lead to distortion and speaker damage.
- Break-in Period: Allow a break-in period of approximately 20-30 hours of normal listening for the speakers to reach their optimal performance. During this time, avoid playing music at extremely high volumes.
6. Maintenance
The DMD65C speakers require minimal maintenance to ensure long-lasting performance.
- Cleaning: Gently wipe the speaker grilles and surrounds with a soft, damp cloth. Do not use harsh chemicals or abrasive cleaners. Avoid getting moisture directly on the speaker cones.
- Inspection: Periodically check speaker mounts and wiring connections for looseness or damage. Tighten any loose screws and repair any frayed wires.
- Environmental Factors: While designed for automotive use, avoid exposing speakers to extreme temperatures or direct moisture for extended periods. The product is not waterproof.
7. Troubleshooting
If you experience issues with your DMD65C speaker system, refer to the following common problems and solutions:
| Problem | Possible Cause | Solution |
|---|---|---|
| No sound from one or more speakers. |
|
|
| Distorted or unclear sound. |
|
|
| Lack of bass or treble. |
|
|
If these steps do not resolve the issue, contact Diamond Audio Technology customer support or a qualified car audio technician.
8. Specifications
Key technical specifications for the Diamond Audio DMD65C 6.5" 2-Way Component Speaker System:
| Feature | Detail |
|---|---|
| Model Name | DMD65C |
| Speaker Type | Component, Tweeter |
| Speaker Size | 6.5 Inches (Woofer Diameter) |
| Speaker Maximum Output Power | 80 Watts (RMS, typically) |
| Recommended Uses | In-car audio systems |
| Product Dimensions | 7"D x 7"W x 3"H (Overall, approximate) |
| Connectivity Technology | Auxiliary (Implies wired connection to audio source) |
| Audio Output Mode | Stereo |
| Mounting Type | Flush Mount (Common for component tweeters) |
| Is Waterproof | FALSE |
| UPC | 847169035005 |
| ASIN | B07VF8D2P8 |
Note: Specifications are subject to change without notice. For the most current information, please refer to the manufacturer's official website.
9. Warranty & Support
9.1 Limited Warranty
Diamond Audio Technology products are covered by a limited warranty. The specific terms and duration of the warranty may vary by region and product. Please retain your proof of purchase for warranty claims. For detailed warranty information, including coverage and exclusions, please visit the official Diamond Audio Technology website or contact their customer service.
Warranty Type: Limited
9.2 Customer Support
For technical assistance, installation questions, or warranty inquiries, please contact Diamond Audio Technology customer support:
- Website: www.diamondaudio.com (Please refer to the actual manufacturer's website for support.)
- Email: Refer to the official website for contact forms or email addresses.
- Phone: Refer to the official website for phone support numbers.
When contacting support, please have your product model number (DMD65C) and proof of purchase readily available.