1. Introduction
Thank you for choosing Noma C9 LED Quick Clip Christmas Lights. These lights are designed for easy installation and provide vibrant, multi-color illumination for your indoor or outdoor holiday displays. This manual provides essential information for safe setup, operation, maintenance, and troubleshooting.
2. Safety Information
- Read all instructions: Before installation and use, carefully read and understand all safety instructions.
- Electrical Safety: Always unplug the lights from the power source before performing any installation, maintenance, or troubleshooting. Do not overload electrical outlets.
- Outdoor Use: When used outdoors, connect the product to a Ground Fault Circuit Interrupter (GFCI) protected outlet. If one is not provided, contact a qualified electrician for proper installation.
- Damage Inspection: Do not use if the cord, bulbs, or clips are damaged. Inspect the lights annually for any signs of wear or damage.
- Secure Installation: Ensure lights are securely fastened to prevent them from falling or being damaged by wind.
- Avoid Submersion: Do not submerge the lights or any electrical components in water.
- Bulb Replacement: Replace bulbs only with the same type and wattage as specified by the manufacturer.
3. Package Contents
Your Noma C9 LED Quick Clip Christmas Lights package includes:
- 1 x Noma C9 LED Quick Clip Christmas Light String (16 feet, 24 Multi-Color Bulbs)
- Extra Fuses (quantity may vary)
- Extra Bulbs (quantity may vary)
- Reusable Storage Bin
4. Setup and Installation
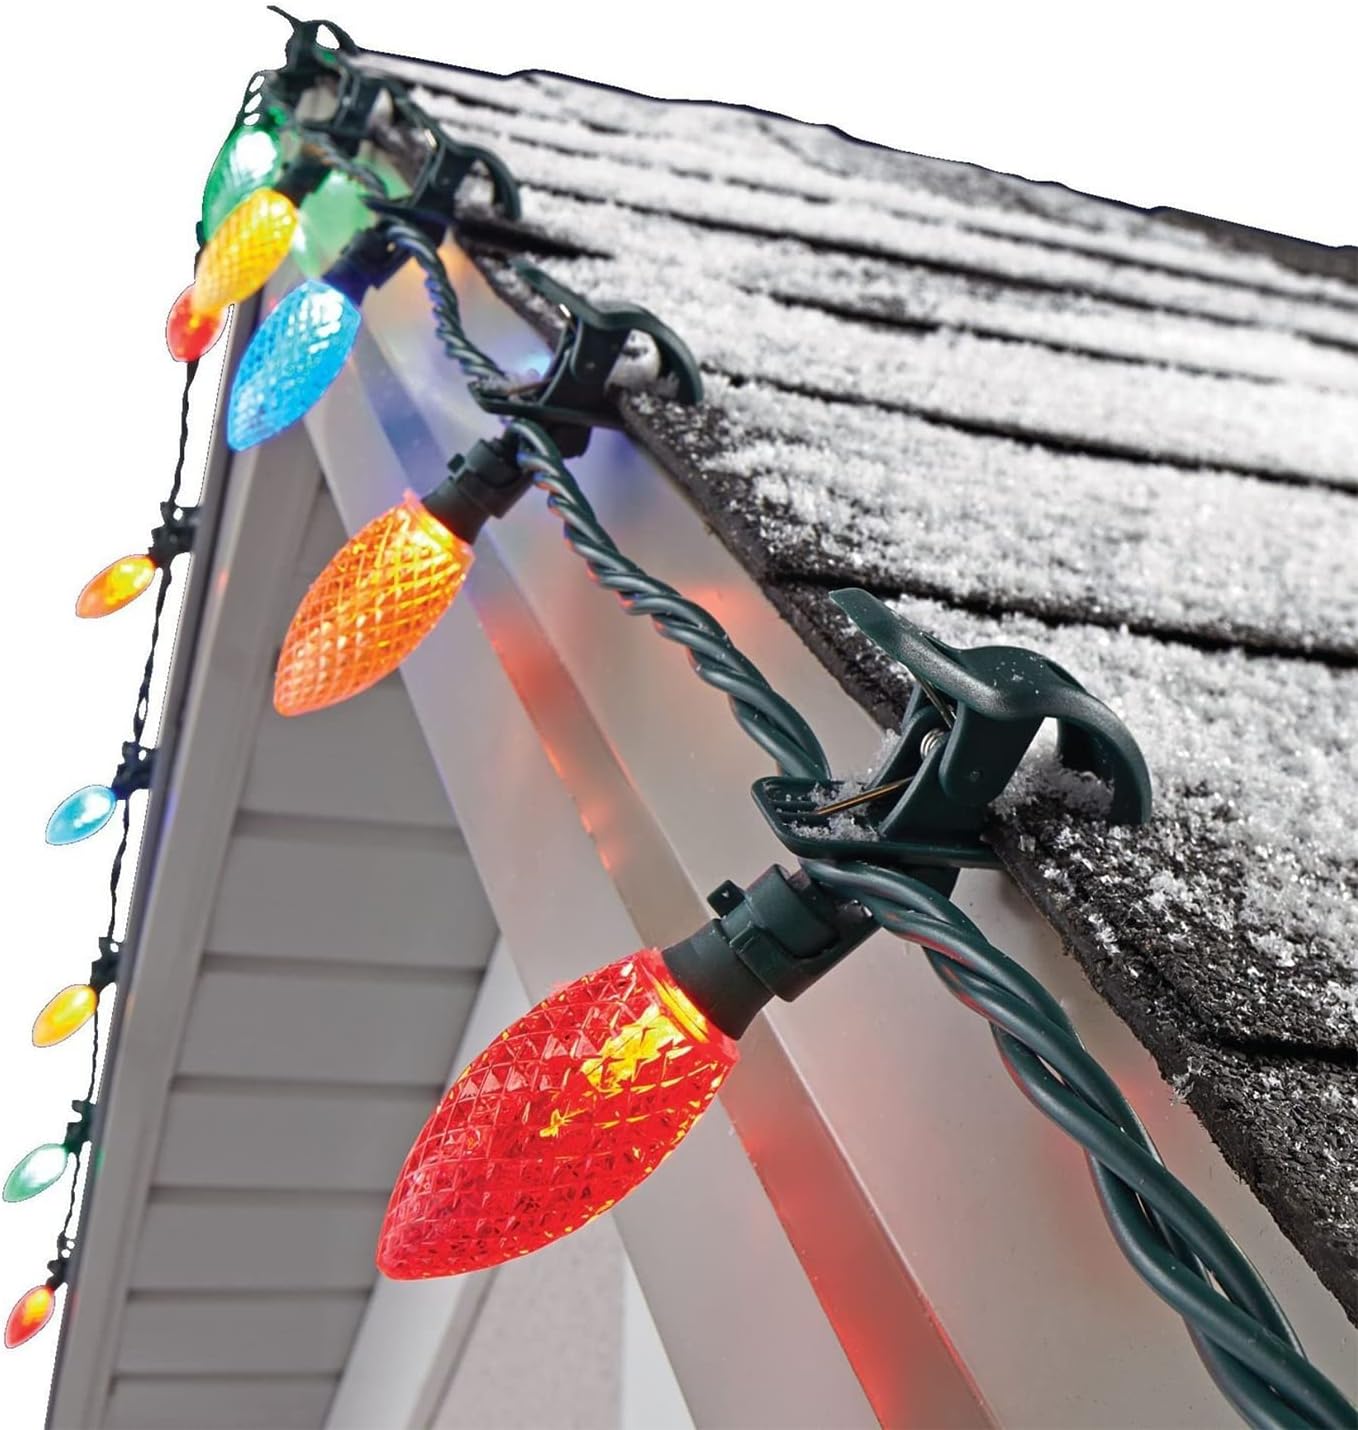
The Noma C9 LED Quick Clip Christmas Lights are designed for quick and easy installation thanks to their integrated clips.
- Unpack the Lights: Carefully remove the light string from its reusable storage bin.
- Plan Your Display: Determine where you want to hang your lights. The built-in clips are versatile and can attach to gutters, rooflines, siding, or tree branches.
- Attach the Clips: Each C9 bulb features a built-in spring-loaded clip. Simply press the clip to open it and attach it to your desired surface. Ensure the clip is securely fastened.
- Adjust Light Position: The bulbs can be rotated 180 degrees, allowing you to easily adjust their direction for optimal display.
- Connect to Power: Once all lights are securely installed, plug the string into a suitable electrical outlet. For outdoor use, ensure the outlet is GFCI protected.


Installation Video
This video demonstrates the installation process for Noma Quick Clip LED Christmas Lights, showing how to easily attach them to various surfaces.
5. Operating Instructions
Once installed and plugged into a power source, your Noma C9 LED Quick Clip Christmas Lights will illuminate. These lights feature multi-color bulbs and may include a touch control method for various functions, such as color changing or mode selection. Refer to any specific instructions on the product packaging or integrated control unit for detailed operation of these features.
6. Maintenance
- Cleaning: Gently wipe bulbs and cords with a dry, soft cloth. Do not use harsh chemicals or abrasive cleaners.
- Storage: After the holiday season, carefully remove the lights. The included reusable storage bin is ideal for keeping the lights organized and protected until next use.
- Bulb Replacement: If a bulb burns out, replace it with an identical C9 LED bulb. Unplug the string before replacing any bulbs.
- Fuse Replacement: If the entire string fails to light, check the fuse located in the plug. Unplug the string, slide open the fuse compartment, and replace with a new fuse of the same rating.

7. Troubleshooting
- Lights not turning on:
- Ensure the plug is fully inserted into a working electrical outlet.
- Check the fuse in the plug and replace if blown (refer to Maintenance section).
- Inspect the entire string for any loose or damaged bulbs. Tighten loose bulbs or replace damaged ones.
- Individual bulbs not lighting:
- Gently twist the bulb to ensure it is seated correctly.
- Replace the non-working bulb with a new one of the same type.
- Flickering lights:
- Check all connections and ensure they are secure.
- Ensure the power source is stable and not overloaded.
8. Specifications
| Feature | Detail |
|---|---|
| Brand | Noma |
| Model Number | 6937476974839 |
| Light Source Type | LED |
| Bulb Shape Size | C9 |
| Number of Light Sources | 24 |
| Light Color | Multicolor |
| Power Source | Corded Electric |
| Voltage | 120 Volts |
| Wattage | 2.40 |
| Indoor/Outdoor Usage | Indoor/Outdoor |
| Special Feature | Color Changing, Touch Control |
| Material | Acrylic |
| Item Weight | 2.95 pounds |
9. Warranty and Support
For warranty information and customer support, please refer to the product packaging or contact Noma directly through their official website or customer service channels. Keep your purchase receipt as proof of purchase.