1. Introduction
This user manual provides comprehensive instructions for the installation, operation, and maintenance of your MSI B450 TOMAHAWK MAX motherboard. Designed for DIY users, this motherboard offers convenient features and robust performance for various computing needs, especially gaming rigs.
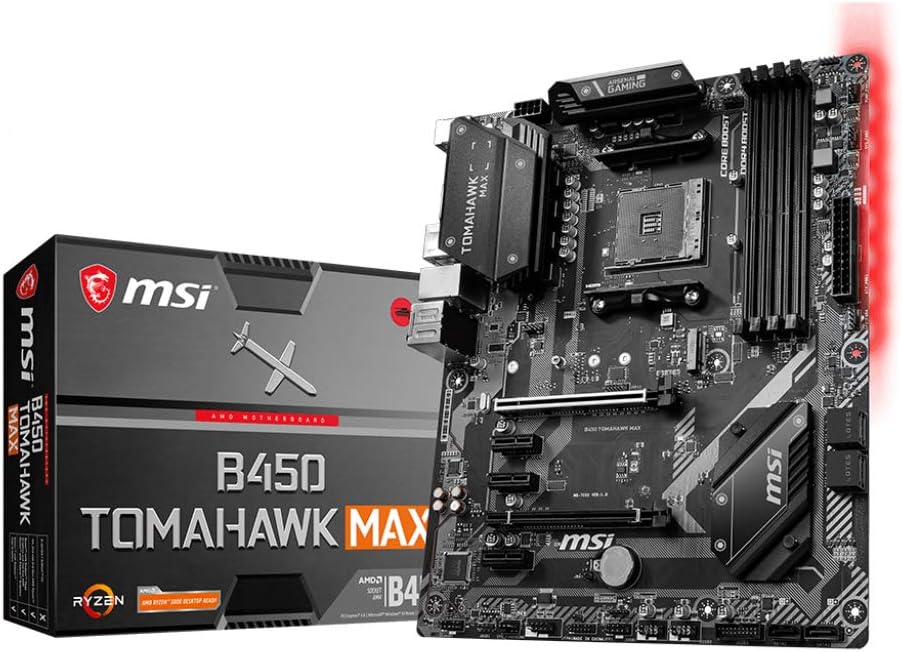
Figure 1.1: MSI B450 TOMAHAWK MAX Motherboard and its retail packaging.
The MSI B450 TOMAHAWK MAX is built with a focus on user-friendly design, including optimized pin-header placement and convenient SATA and USB port locations, ensuring a smooth building experience. It supports AMD Ryzen processors and DDR4 memory, providing a solid foundation for high-performance systems.
2. Setup
Before beginning the installation, ensure your workspace is clean, well-lit, and static-free. It is recommended to use an anti-static wrist strap.
2.1 Motherboard Layout

Figure 2.1: Top-down view of the MSI B450 TOMAHAWK MAX motherboard, highlighting key components like the CPU socket, RAM slots, and PCIe slots.
Familiarize yourself with the motherboard's layout, including the CPU socket (AM4), DDR4 DIMM slots, PCIe slots, M.2 slot, SATA ports, and various headers for front panel connections.
2.2 Component Installation
- CPU Installation: Carefully align your AMD AM4 processor with the socket, ensuring the golden triangle on the CPU matches the triangle on the socket. Gently lower the CPU into the socket and secure it with the retention lever.
- CPU Cooler Installation: Install your CPU cooler according to its manufacturer's instructions. Ensure proper thermal paste application and secure mounting.
- Memory (RAM) Installation: Open the clips on both ends of the DDR4 DIMM slots. Align the memory module with the slot's key notch and press firmly until the clips snap into place. This motherboard supports up to 64GB Dual Channel DDR4-SDRAM.
- Storage Device Installation:
- M.2 SSD: Insert the M.2 SSD into the M.2 slot and secure it with the provided screw.
- SATA Drives: Connect SATA data cables from your SSDs/HDDs to the SATA ports on the motherboard.
- Graphics Card (GPU) Installation: Insert your graphics card into the primary PCIe x16 slot until it clicks into place. Secure it with the case screw.
- Power Supply Connection: Connect the 24-pin ATX main power connector and the 8-pin CPU power connector from your power supply unit (PSU) to the corresponding ports on the motherboard. Connect power to all other components (GPU, SATA drives).
2.3 External Connections (Rear I/O Panel)

Figure 2.2: Detailed view of the rear I/O panel, showing various connectivity options.
Connect your peripherals to the rear I/O panel:
- USB Ports: Utilize the 2 x USB 2.0, 2 x USB 3.2 Gen 1 Type-A, 1 x USB 3.2 Gen 2 Type-A, and 1 x USB 3.2 Gen 2 Type-C ports for your keyboard, mouse, and other USB devices.
- Display Outputs: Connect your monitor to the HDMI or DVI-D port if using an APU (CPU with integrated graphics). If using a dedicated graphics card, connect to the graphics card's ports.
- Ethernet LAN: Connect your network cable to the RJ-45 Ethernet port for internet access.
- Audio Jacks: Connect your speakers or headphones to the audio jacks.
- PS/2 Port: For legacy keyboard or mouse.
2.4 Initial Boot
After all components are installed and connected, power on your system. The system should boot to the BIOS/UEFI interface or begin the operating system installation process.
3. Operating
3.1 BIOS/UEFI Configuration
The BIOS (Basic Input/Output System) or UEFI (Unified Extensible Firmware Interface) is the first software your computer runs when it starts. It allows you to configure hardware settings, boot order, and system performance.
- Accessing BIOS/UEFI: During startup, repeatedly press the Del key to enter the BIOS/UEFI setup.
- Key Settings:
- Boot Order: Set the priority of your storage devices for booting the operating system.
- XMP Profile: Enable XMP (Extreme Memory Profile) for your DDR4 RAM to run at its advertised speeds.
- Fan Control: Adjust fan curves for optimal cooling and noise levels.
- Overclocking: Advanced users can adjust CPU and memory frequencies/voltages for increased performance.
- Saving Changes: Always save your changes before exiting the BIOS/UEFI.
3.2 Driver Installation
After installing your operating system (Windows 7 or later operating systems supported), it is crucial to install the latest drivers for your motherboard components to ensure optimal performance and stability.
- Chipset Drivers: Install the AMD B450 chipset drivers first.
- LAN Drivers: Install the Ethernet LAN driver for network connectivity.
- Audio Drivers: Install the audio drivers for sound functionality.
- USB Drivers: Ensure all USB drivers are up to date.
- Graphics Drivers: Install drivers for your integrated graphics (if using an APU) or dedicated graphics card.
Drivers can be downloaded from the official MSI website for your specific motherboard model.
3.3 MSI Software Utilities
MSI provides various software utilities to enhance your user experience:
- Dragon Center: A centralized software suite for system monitoring, performance tuning, RGB lighting control (Mystic Light), and driver updates.
- Live Update: Helps keep your drivers and BIOS up to date.
- Mystic Light: Control the RGB lighting effects on your motherboard and compatible peripherals.
4. Maintenance
Regular maintenance helps ensure the longevity and stable operation of your motherboard and system.
4.1 Cleaning
- Dust Removal: Periodically clean dust from inside your PC case, especially from fans, heatsinks, and the motherboard surface. Use compressed air or a soft brush. Ensure the system is powered off and unplugged before cleaning.
- Thermal Paste: If replacing your CPU cooler, reapply fresh thermal paste to the CPU.
4.2 BIOS Updates
MSI regularly releases BIOS updates to improve compatibility, stability, and performance. Refer to the MSI website for the latest BIOS versions and update instructions. Always exercise caution when updating the BIOS, and ensure a stable power supply during the process.
4.3 Driver Updates
Keep your system drivers updated to the latest versions available on the MSI support website or through the Dragon Center utility. Updated drivers can resolve issues and improve performance.
5. Troubleshooting
This section addresses common issues you might encounter with your motherboard.
5.1 Common Issues and Solutions
- No Power/No Boot:
- Check all power connections (24-pin ATX, 8-pin CPU, GPU power).
- Ensure the PSU switch is on.
- Verify front panel power button connection to the motherboard.
- No Display:
- Ensure monitor is connected to the correct display output (GPU or motherboard if using APU).
- Reseat the graphics card and RAM modules.
- Try booting with only one RAM stick.
- System Instability/Crashes:
- Check CPU and GPU temperatures.
- Ensure RAM is properly seated and running at stable speeds (disable XMP temporarily if issues persist).
- Update drivers and BIOS.
- Peripheral Not Detected:
- Try a different USB port.
- Ensure drivers for the peripheral are installed.
- Check BIOS settings for USB port enablement.
5.2 EZ Debug LED Indicators
The MSI B450 TOMAHAWK MAX features EZ Debug LEDs (CPU, DRAM, VGA, BOOT) that light up to indicate the source of a problem during startup. If a component fails, the corresponding LED will remain lit.
- CPU LED: Indicates an issue with the CPU.
- DRAM LED: Indicates an issue with the memory.
- VGA LED: Indicates an issue with the graphics card.
- BOOT LED: Indicates an issue with the boot device.
Refer to the motherboard manual for detailed explanations of LED behavior and further troubleshooting steps.
6. Specifications
Key technical specifications for the MSI B450 TOMAHAWK MAX motherboard:
| Feature | Detail |
|---|---|
| Model Name | B450 TOMAHAWK MAX |
| Chipset | AMD B450 |
| CPU Socket | Socket AM4 |
| Compatible Processors | AMD AM4 Processors |
| RAM Memory Technology | DDR4 |
| RAM Memory Maximum Size | 64 GB (Dual Channel) |
| Form Factor | ATX |
| Product Dimensions | 12.01 x 9.45 x 1.18 inches |
| Item Weight | 2.64 pounds |
| Ports | 2 x USB 2.0, 2 x USB 3.2 Gen 1 Type-A, 1 x USB 3.2 Gen 2 Type-A, 1 x USB 3.2 Gen 2 Type-C, 1 x Ethernet LAN (RJ-45), 1 x PS/2, 1 x HDMI, 1 x DVI-D |
| Main Power Connector Type | 24-Pin |
| Supported OS | Windows 7 or later |
7. Warranty & Support
For detailed warranty information, please refer to the warranty card included with your product or visit the official MSI website. Warranty terms and conditions may vary by region.
For technical support, driver downloads, BIOS updates, and FAQs, please visit the official MSI support website:


