Introduction
Thank you for choosing the Claoner BE-29 Dual Dash Cam. This device is designed to provide reliable video evidence and enhance your driving safety by recording both front and rear views of your vehicle. Please read this manual carefully before operating the device to ensure proper use and optimal performance. Keep this manual for future reference.
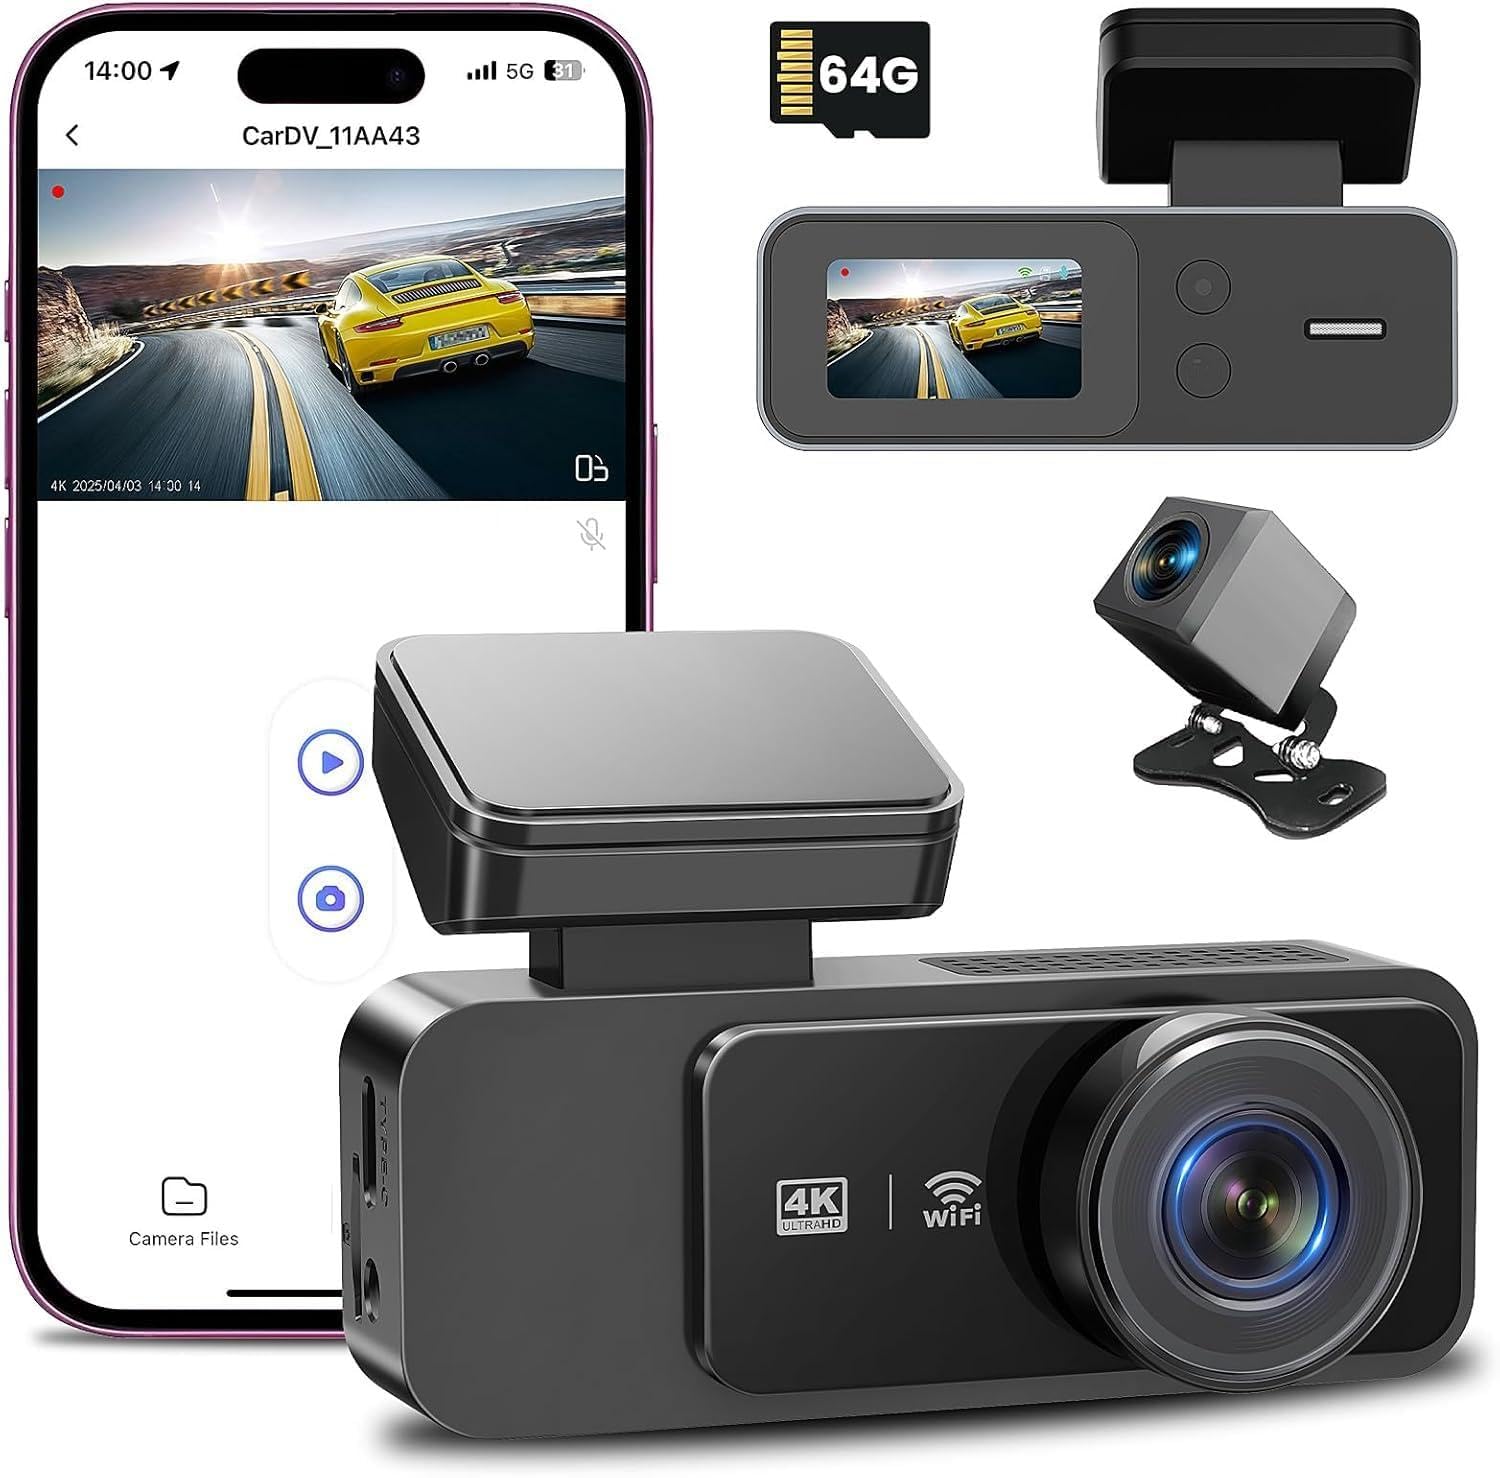
Image: Claoner BE-29 Dual Dash Cam showing the main unit and rear camera with accessories.
Package Contents
Please check the package contents upon opening. If any items are missing or damaged, contact customer support.
- Claoner BE-29 Front Dash Cam Unit
- Rear Camera with Connection Cable
- Car Charger (Power Cable)
- Suction Cup Mount
- USB Data Cable
- User Manual
Product Overview
Familiarize yourself with the main components and controls of your dash cam.
Front Dash Cam Unit
- Lens: Front recording lens.
- 3-inch IPS Screen: For real-time viewing and playback.
- Power Button: Press to turn on/off, short press to turn screen on/off.
- Menu Button: Access settings menu.
- Mode Button: Switch between video, photo, and playback modes.
- Up/Down Buttons: Navigate menu options.
- OK Button: Confirm selection, start/stop recording.
- MicroSD Card Slot: Insert memory card (not included).
- Mini USB Port: Power input and data transfer.
- Rear Camera Port: Connect the rear camera.
- Speaker/Microphone: For audio recording and playback.
Rear Camera
- Lens: Rear recording lens.
- Connection Cable: Connects to the main unit.
Setup and Installation
Follow these steps for proper installation of your dash cam system.
- Prepare the MicroSD Card:
Insert a high-speed Class 10 or higher MicroSD card (up to 32GB recommended, not included) into the MicroSD card slot of the front dash cam unit. Ensure the card is inserted correctly until it clicks into place. It is recommended to format the MicroSD card in the dash cam's settings menu before first use and periodically thereafter.
- Mount the Front Dash Cam:
Clean the area on your windshield where you intend to mount the dash cam. Attach the suction cup mount to the windshield, ensuring a secure grip. Slide the front dash cam unit onto the mount. Adjust the lens angle to ensure it captures the road ahead clearly.
- Install the Rear Camera:
Mount the rear camera on the rear windshield or license plate area. Route the rear camera cable neatly along the vehicle's interior trim to the front dash cam unit. Connect the rear camera cable to the designated rear camera port on the main unit.
- Connect Power:
Plug the car charger into your vehicle's cigarette lighter socket. Connect the Mini USB end of the car charger cable to the Mini USB port on the front dash cam unit. Route the power cable along the edge of the windshield and dashboard to avoid obstructing your view.
- Initial Power On:
Once connected to power, the dash cam will automatically turn on and begin recording when your vehicle starts. If it does not, press the Power Button to turn it on. Adjust settings as needed via the menu.
Operating Instructions
Understand the basic functions and settings of your Claoner BE-29 Dash Cam.
Basic Operation
- Power On/Off: The dash cam powers on automatically with vehicle ignition and powers off after the engine is turned off. You can manually power on/off by pressing and holding the Power Button.
- Recording: Once powered on, the dash cam automatically starts continuous loop recording. A red indicator light or icon on the screen typically indicates recording is active.
- Stop/Start Recording: In video recording mode, press the OK Button to manually stop or start recording.
- Mode Switching: Press the Mode Button to cycle between Video Recording, Photo Mode, and Playback Mode.
- Screen On/Off: During recording, short press the Power Button to turn the screen display on or off without stopping recording.
Menu Settings
To access and adjust settings:
- Stop recording if currently active (press OK button).
- Press the Menu Button to enter the settings menu.
- Use the Up/Down buttons to navigate through options.
- Press the OK Button to select an option or confirm a setting.
- Press the Menu Button again to exit the menu.
Key settings to configure:
- Loop Recording: Sets the duration of video segments (e.g., 1, 3, 5 minutes). When the memory card is full, the oldest unlocked files will be overwritten.
- G-Sensor (Gravity Sensor): Detects sudden impacts or collisions. When triggered, it automatically locks the current video segment to prevent it from being overwritten by loop recording. Adjust sensitivity (Low, Medium, High, Off).
- Parking Monitor: When enabled, the dash cam will automatically turn on and record a short video if it detects a collision while the vehicle is parked and turned off. Requires continuous power supply (e.g., hardwire kit, not included).
- Motion Detection: Records when motion is detected in front of the camera. Primarily for parking surveillance.
- Date/Time Stamp: Ensures recorded videos have accurate date and time information.
- WDR (Wide Dynamic Range): Improves video quality in high-contrast lighting conditions.
- Format SD Card: Erases all data on the MicroSD card. Perform this regularly to maintain card health.
Maintenance
Proper maintenance ensures the longevity and optimal performance of your dash cam.
- Cleaning the Lens: Use a soft, lint-free cloth to gently wipe the camera lenses. Avoid abrasive materials or chemical cleaners.
- MicroSD Card Care:
- Format the MicroSD card every 2-4 weeks to prevent data corruption and ensure smooth recording.
- Use only high-quality, genuine Class 10 or higher MicroSD cards.
- Avoid removing the MicroSD card while the device is powered on or recording.
- Temperature: Avoid exposing the dash cam to extreme temperatures for extended periods.
- Firmware Updates: Check the manufacturer's website periodically for firmware updates. Follow instructions carefully if updating.
Troubleshooting
If you encounter issues with your dash cam, refer to the following common problems and solutions.
| Problem | Possible Solution |
|---|---|
| Dash cam does not power on. |
|
| Dash cam stops recording or freezes. |
|
| Video quality is poor or blurry. |
|
| G-Sensor is too sensitive or not sensitive enough. |
|
| Rear camera is not working. |
|
Specifications
| Feature | Detail |
|---|---|
| Model Number | BE-29 |
| Screen Size | 3 Inches IPS |
| Front Camera Resolution | 1080p Full HD (1920x1080) |
| Rear Camera Resolution | 1080p Full HD (HDMI connection) |
| Front Camera Angle | 170 Degrees Wide Angle |
| Rear Camera Angle | 130 Degrees Wide Angle |
| Aperture | F1.8 |
| Connectivity | HDMI, USB |
| Storage | MicroSD Card (Class 10 or higher, up to 32GB, not included) |
| Special Features | Loop Recording, G-Sensor, Parking Monitor, WDR, HDR, Night Vision |
| Power Source | Car Charger (DC 12V) |
Warranty and Support
Claoner products are designed for reliability and performance. For warranty information, technical support, or customer service inquiries, please refer to the contact information provided with your purchase or visit the official Claoner website. Please have your model number (BE-29) and purchase details ready when contacting support.
Note: Warranty terms may vary by region and retailer. Keep your proof of purchase for warranty claims.
Safety Information
- Do not operate the dash cam or access its settings while driving.
- Ensure the dash cam is installed in a location that does not obstruct the driver's view or interfere with airbag deployment.
- Use only the original car charger provided to avoid damage to the device.
- Do not attempt to disassemble or modify the dash cam. This will void the warranty.
- Keep the device away from water, moisture, and extreme temperatures.


