Introduction
Welcome to your new Athorbot Automatic Pet Feeder. This manual provides detailed instructions for setting up, operating, and maintaining your feeder to ensure your pet receives timely and portion-controlled meals. Please read this manual thoroughly before first use.
Product Overview
Product Components
- Top Cover with Safe Lock Design
- Food Hopper (6.5L capacity)
- Control Panel with LCD Display
- Food Dispenser Mechanism (with infrared sensor)
- Removable Food Tray
- Power Adapter Port
- Battery Compartment (for 3 D-cell batteries, not included)
Key Features
- Up to 4 meals per day
- Customizable portion control (1-39 units)
- 10-second voice recording for meal calls
- Infrared sensor to prevent food jamming and overflowing
- Dual power supply: AC adapter and D-cell batteries (for backup)
- Large 6.5-liter food capacity (approximately 28 cups)
- Easy to install and clean design
- Suitable for small and medium cats and dogs
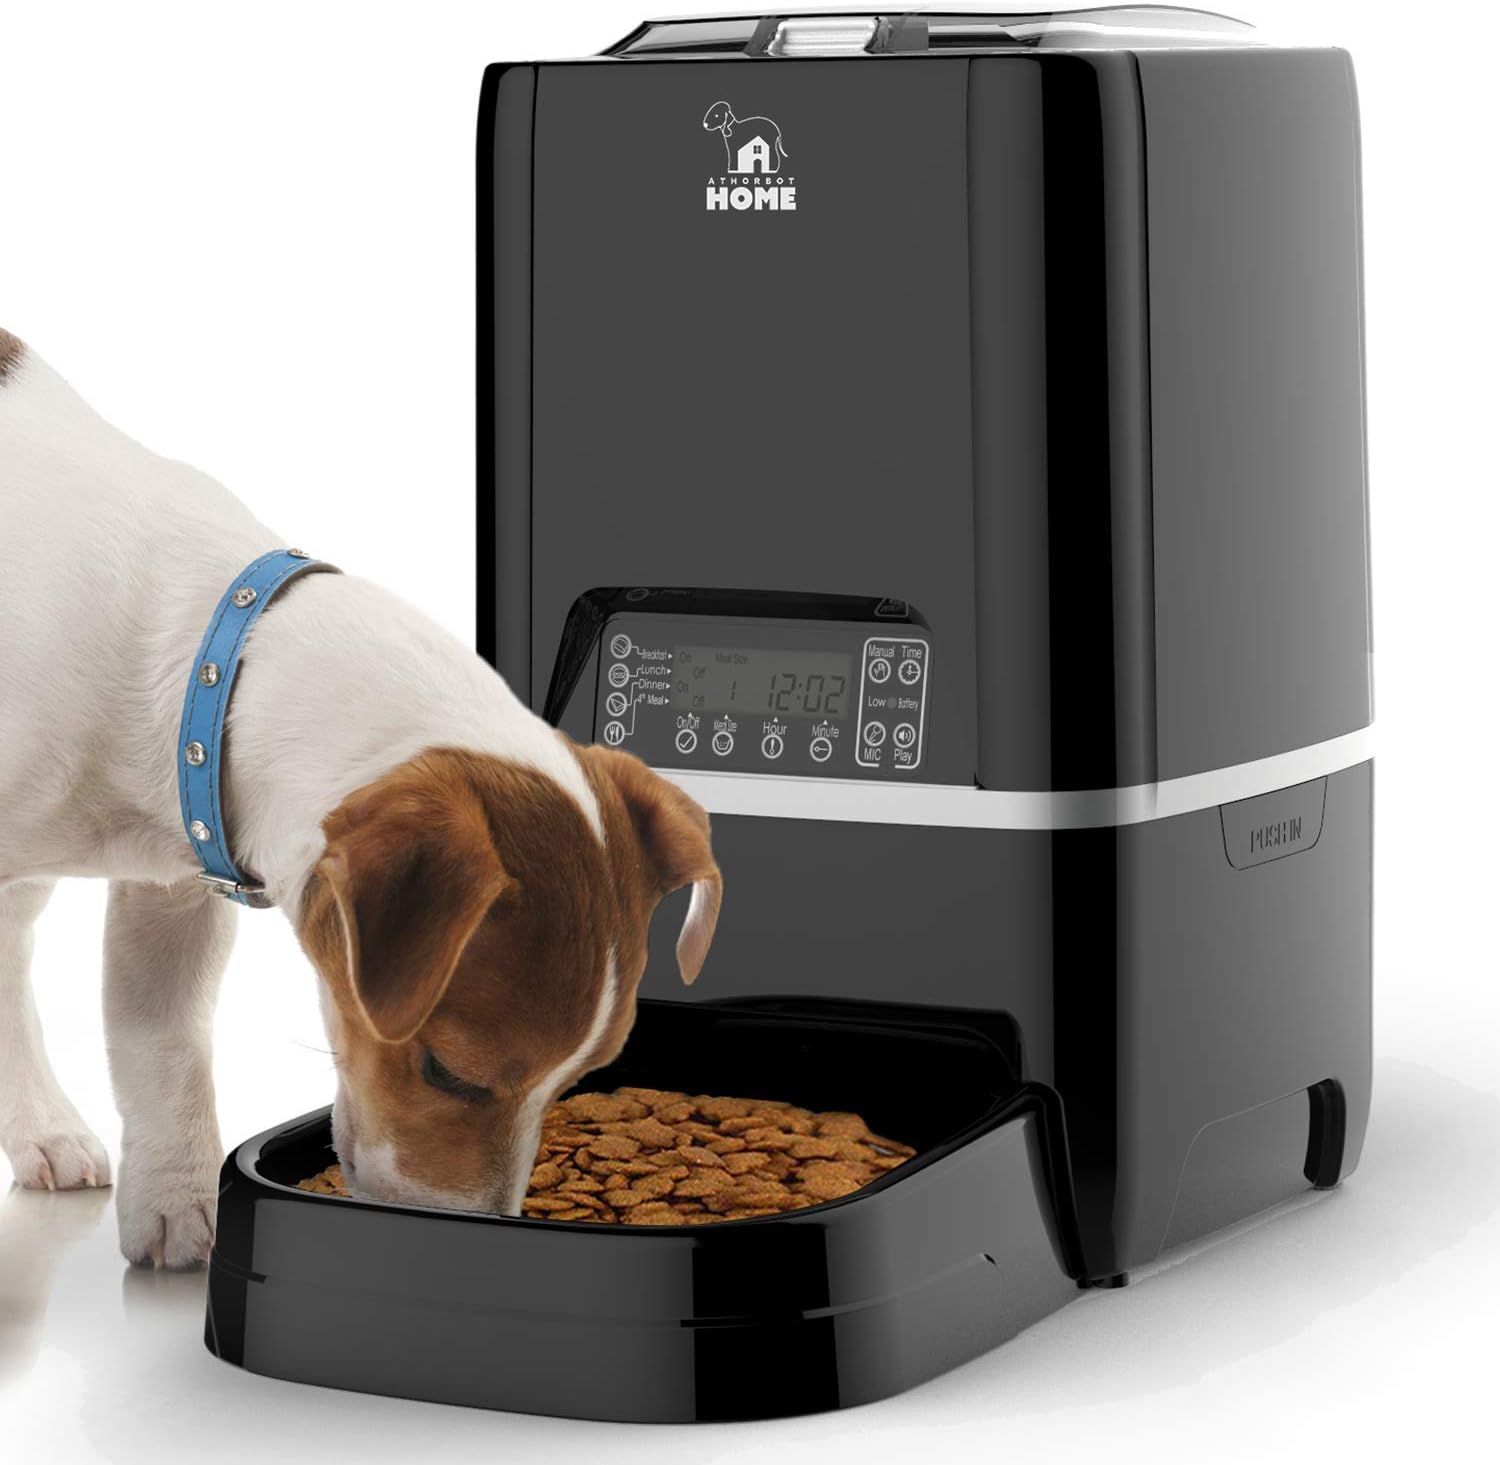
Image: The Athorbot Automatic Pet Feeder 6.5L, showing its sleek black design and a small dog enjoying a meal from the removable food tray.

Image: Detail of the feeder's infrared detection system, designed to prevent food from getting stuck or overflowing in the bowl, ensuring smooth dispensing.
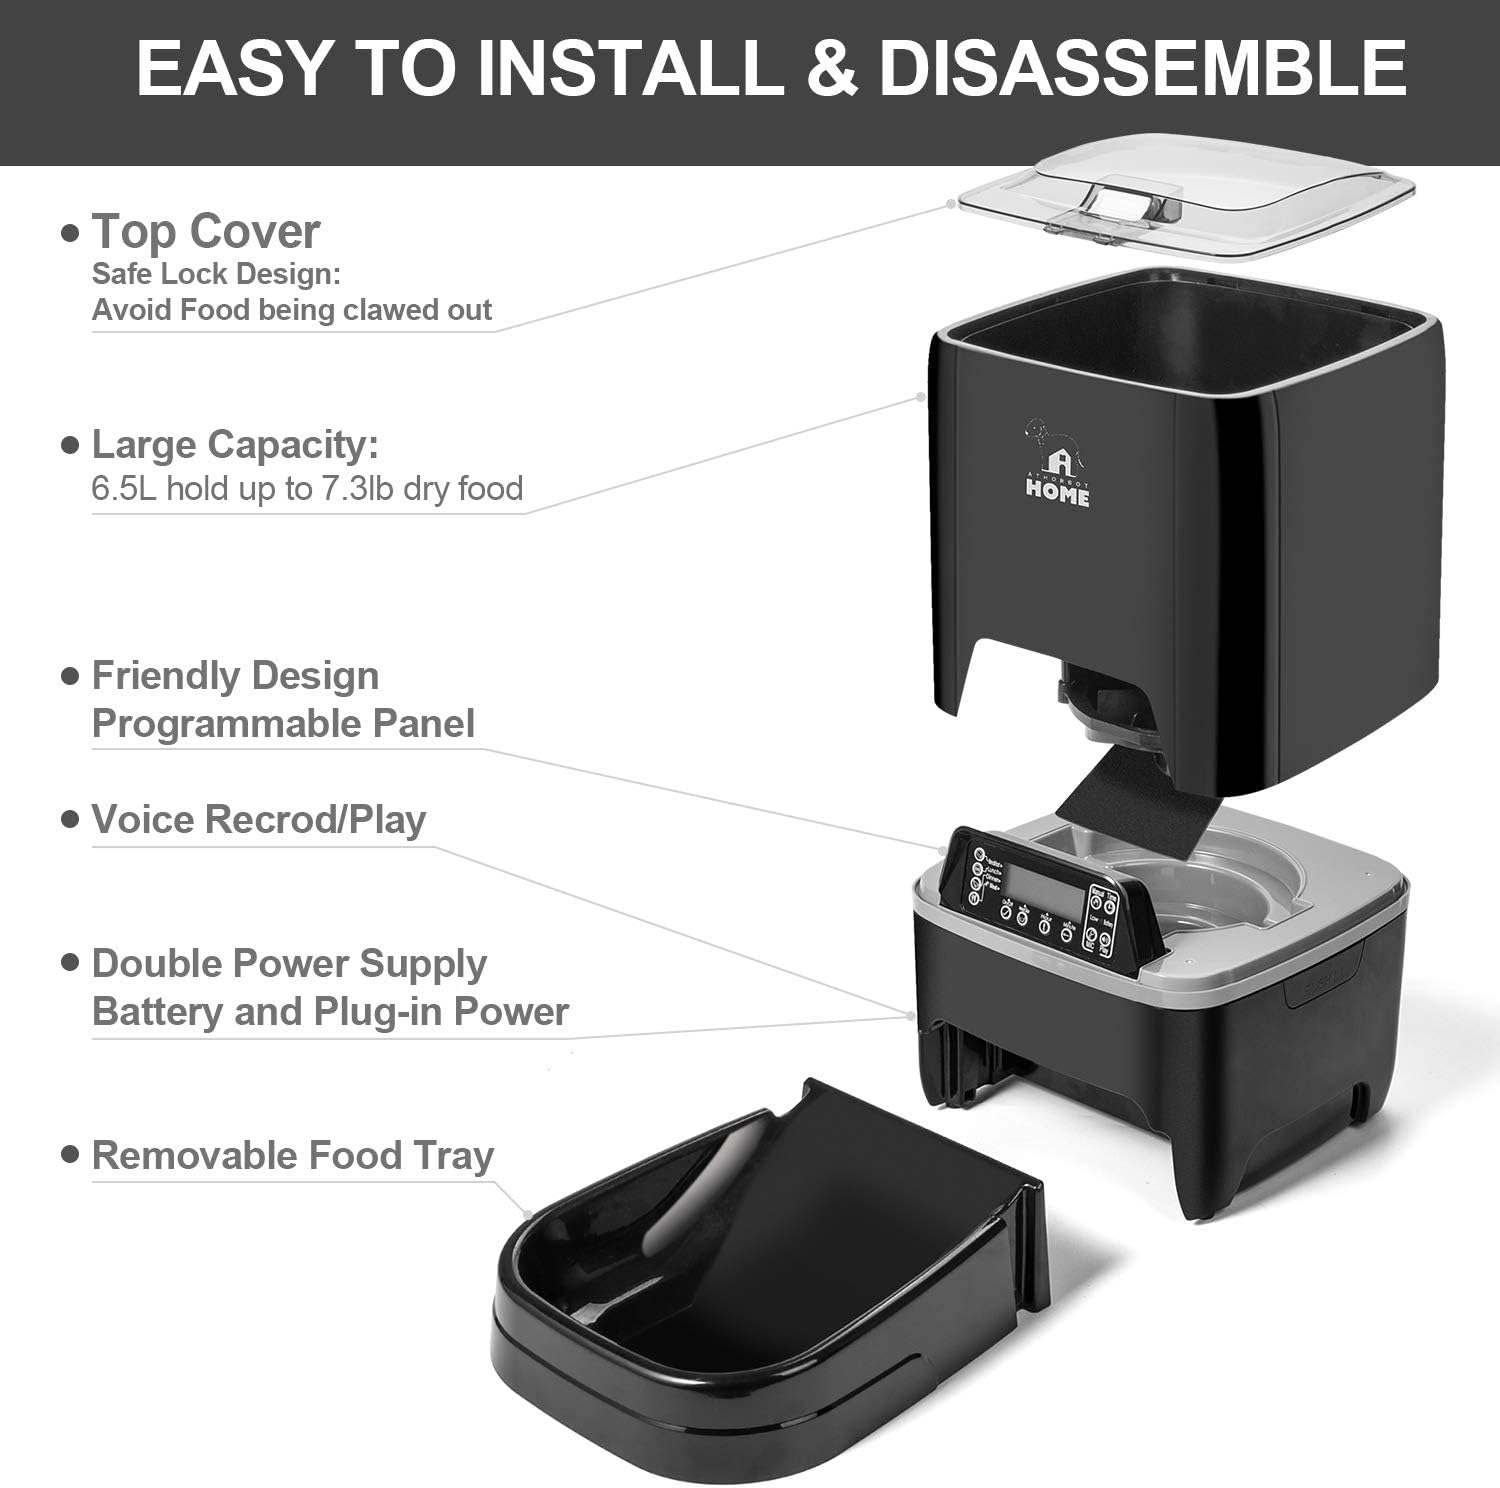
Image: An exploded diagram illustrating the feeder's main components, highlighting its easy installation and disassembly for cleaning and maintenance.
Setup
Unpacking and Assembly
- Carefully unpack all components from the packaging.
- Place the food hopper securely onto the base unit.
- Slide the removable food tray into its designated slot at the front of the feeder.
- Place the top cover onto the food hopper and ensure it is securely locked.
Power Supply
The feeder can be powered by the included AC power adapter or by 3 D-cell batteries (not included) for backup power.
- AC Power: Connect the power adapter to the feeder's power port (usually on the back or side) and plug it into a standard wall outlet.
- Battery Power: Open the battery compartment on the bottom of the unit and insert 3 D-cell batteries, ensuring correct polarity (+/-). Batteries provide backup power in case of an outage.
Filling the Food Hopper
Open the top cover by pressing the release button or latch. Fill the hopper with dry pet food. Ensure kibble size does not exceed 0.39 inches x 0.39 inches (1cm x 1cm) to prevent jamming. Close the top cover securely after filling.
Operating Instructions
Control Panel Overview

Image: A detailed view of the feeder's control panel, showing the LCD screen displaying time and meal settings, along with various control buttons.
The control panel features an LCD display and several buttons for programming and manual operation:
- Manual Feed Button: Dispenses one portion of food immediately.
- Time Button: Used to set the current time.
- Meal Buttons (1-4): Used to program individual meal times and portion sizes.
- Record/Play Buttons: Used to record and play a personalized voice message.
- Up/Down Buttons: Used to adjust numerical values (e.g., hour, minute, portion size).
- Set Button: Used to confirm settings and move to the next programming step.
Setting the Current Time
- Press and hold the Time button until the hour digit on the LCD display begins to flash.
- Use the Up or Down buttons to adjust the hour.
- Press the Set button to confirm the hour. The minute digit will then flash.
- Use the Up or Down buttons to adjust the minutes.
- Press the Set button to confirm the minutes and exit time setting mode.
Programming Meal Times and Portions
The feeder supports up to 4 meals per day, each with customizable times and portion sizes.
- Press the Meal 1 button. The meal time (hour) will begin to flash.
- Use the Up or Down buttons to set the desired hour for Meal 1. Press Set to confirm.
- The minute digit will flash. Use the Up or Down buttons to set the minutes. Press Set to confirm.
- The portion size (number of units) will flash. Use the Up or Down buttons to select the desired portion size (1-39 units). Press Set to confirm.
- Repeat steps 1-4 for Meal 2, Meal 3, and Meal 4 as needed. If a meal is not required, set its portion size to 0 or turn it off if the option is available on the display.
Voice Recording
You can record a 10-second personalized voice message to call your pet at meal times.

Image: The voice recording function, allowing you to record a personalized message to call your pets for their meals.
- Press and hold the Record button. The microphone icon may appear on the display.
- Speak clearly into the microphone (usually located near the control panel) for up to 10 seconds.
- Release the Record button when you have finished your message.
- Press the Play button to listen to your recorded message and ensure it is clear.
Maintenance
Cleaning the Feeder
Regular cleaning is essential to maintain hygiene and ensure the proper functioning of your pet feeder.
- Always unplug the feeder from the power outlet and remove any batteries before cleaning.
- Remove the food tray and wash it with mild soap and water. Rinse thoroughly to remove all soap residue and dry completely before reattaching.
- The food hopper can be detached and washed with mild soap and water. Ensure it is completely dry before reassembling.
- Wipe the main unit (containing the control panel and electronics) with a soft, damp cloth. Do not submerge the main unit in water or allow water to enter the electronic components.
- Ensure all parts are completely dry before reassembling the feeder and refilling it with food.
Troubleshooting
Common Issues and Solutions
| Issue | Possible Cause | Solution |
|---|---|---|
| Feeder not dispensing food | Food hopper is empty Kibble is jammed in the dispenser Infrared sensor is blocked Low battery power | Refill the food hopper Check for and clear any kibble jams Clean the infrared sensor window Replace D-cell batteries or ensure AC power is connected |
| Incorrect meal times or portions | Incorrect programming settings | Re-program meal times and portion sizes following the operating instructions |
| Voice recording not playing | No recording saved Low battery power | Re-record your message Replace D-cell batteries |
| Feeder not powering on | AC power adapter disconnected Batteries are dead or incorrectly inserted | Check the AC power connection Replace batteries and ensure correct polarity |
Specifications
Product Specifications
- Model: Automatic Pet Feeder 6.5L
- Brand: Athorbot
- Capacity: 6.5 Liters (approximately 28 cups)
- Material: Plastic
- Power Source: AC Adapter (included), 3 x D-cell batteries (not included)
- Meals per Day: Up to 4
- Portion Control: Yes (1-39 units)
- Voice Recording: 10 seconds
- Dimensions: Approximately 42.54 x 24.13 x 24.13 cm
- Weight: Approximately 2.88 kg
- Target Species: Cat, Dog
Warranty and Support
Warranty Information
This product comes with a standard manufacturer's warranty. Please refer to the product packaging or contact Athorbot customer support for specific warranty terms and conditions, including duration and coverage details.
Customer Support
For further assistance, technical support, or warranty claims, please contact Athorbot customer service. Contact details can typically be found on the product packaging or the official Athorbot website. Please have your product model and purchase information ready when contacting support.