EDISLIVE YLC002195-50
EDISLIVE Modern Minimalist LED Round Shaped Flush Mount Ceiling Light User Manual
Model: YLC002195-50
Brand: EDISLIVE
1. Introduction
Thank you for choosing the EDISLIVE Modern Minimalist LED Round Shaped Flush Mount Ceiling Light. This manual provides detailed instructions for the safe installation, operation, and maintenance of your new lighting fixture. Please read this manual thoroughly before installation and retain it for future reference.
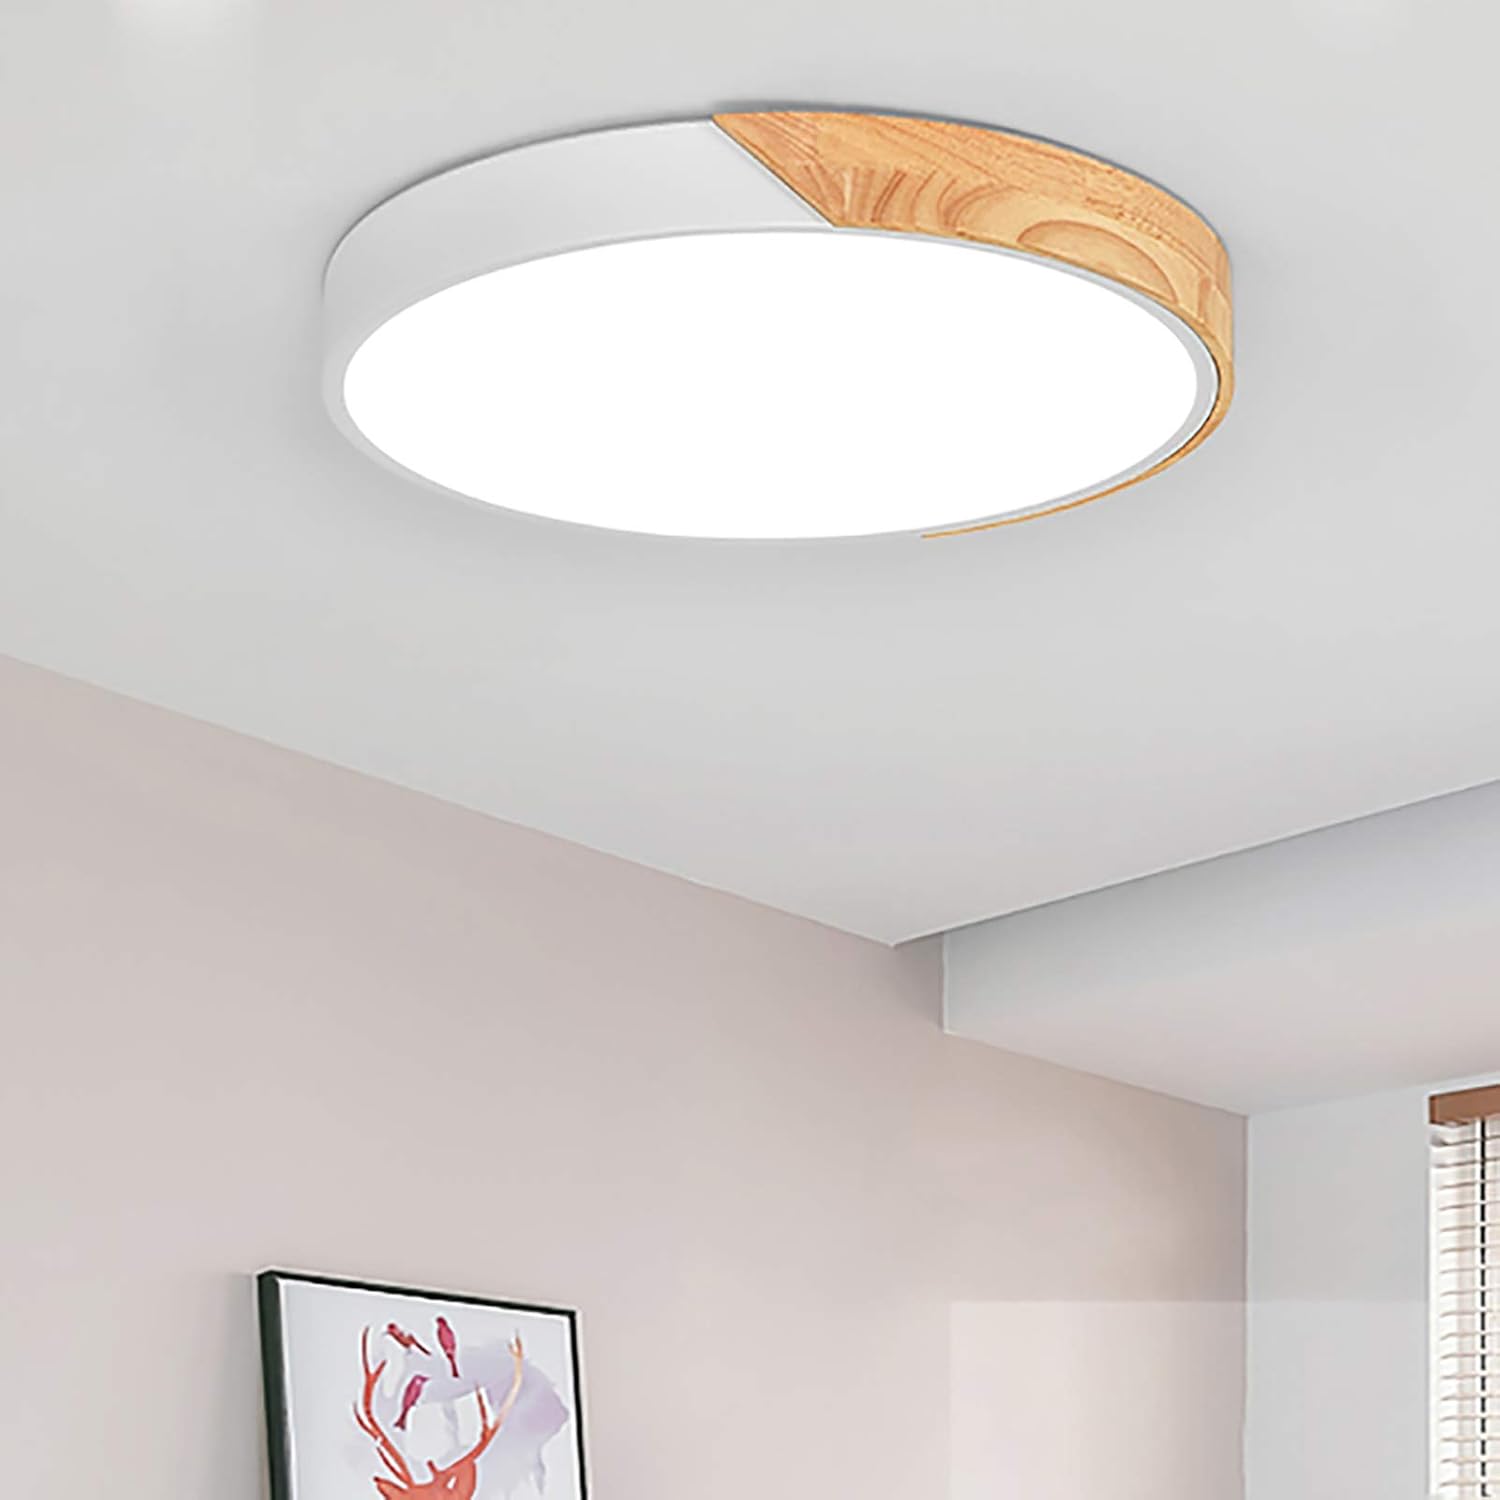
Figure 1: EDISLIVE LED Ceiling Light installed.
2. Important Safety Information
To reduce the risk of death, personal injury, or property damage from fire, electric shock, falling parts, cuts/abrasions, and other hazards, please read all warnings and instructions included with and on the fixture box and all fixture labels.
- Always turn off the power supply at the main circuit breaker before beginning installation, maintenance, or cleaning.
- Consult a qualified electrician if you are unsure about the installation process or have any electrical questions.
- Do not install this fixture in wet or damp locations. It is designed for indoor use only.
- Ensure all electrical connections are secure and comply with local codes and ordinances.
- Do not attempt to modify the fixture. Any modifications may void the warranty and create safety hazards.
- Handle the fixture with care to prevent damage to the LED components or acrylic shade.
3. Package Contents
Carefully unpack your fixture and check that all parts are included. If any parts are missing or damaged, do not attempt to assemble or install the product. Contact customer service for assistance.
- LED Ceiling Light Fixture (1)
- Remote Control (1)
- Mounting Bracket (1)
- Mounting Hardware (Screws, Wall Anchors)
- User Manual (This document)

Figure 2: Main components of the light fixture.
4. Product Specifications
| Feature | Specification |
|---|---|
| Brand | EDISLIVE |
| Model Number | YLC002195-50 |
| Dimensions (L x W x H) | 19.66"L x 19.66"W x 2"H (50cm x 50cm x 5cm) |
| Color | White |
| Material | Wood, Metal, Acrylic |
| Light Source Type | LED (Integrated) |
| Wattage | 36 Watts |
| Voltage | 120 Volts |
| Brightness | 3000 Lumens |
| Color Temperature | 3000K (Warm White), 4000K (Natural White), 6000K (Cool White) |
| Control Method | Remote Control (Included) |
| Installation Type | Flush Mount |
| Lifespan | Over 45,000 hours |

Figure 3: Product dimensions and specifications.
5. Setup (Installation)
Follow these steps to install your EDISLIVE LED Ceiling Light. It is recommended to have two people for installation for safety and ease.
- Prepare for Installation:
- Turn off the power to the light fixture at the circuit breaker. Verify the power is off before proceeding.
- If replacing an existing fixture, carefully remove it. Take note of the wiring connections (e.g., blue for neutral, brown for live, yellow/green for ground if present).
- Install the Mounting Bracket:
- Position the mounting bracket over the junction box on your ceiling.
- Mark the drilling points for the mounting screws. Ensure the bracket is level.
- Drill pilot holes at the marked locations. Insert wall anchors if necessary.
- Secure the mounting bracket to the ceiling using the provided screws.
- Connect the Wiring:
- Carefully pull the electrical wires from the junction box through the center hole of the mounting bracket.
- Connect the wires from the fixture to your household wires using the provided wire connectors:
- Connect the live (usually brown or black) wire from the fixture to the live wire from the ceiling.
- Connect the neutral (usually blue or white) wire from the fixture to the neutral wire from the ceiling.
- If present, connect the ground (usually yellow/green or bare copper) wire from the fixture to the ground wire from the ceiling.
- Ensure all connections are tight and secure.
- Mount the Fixture:
- Align the fixture with the mounting bracket. The fixture is designed to hook onto the bracket.
- Once hooked, secure the fixture to the bracket by tightening the screws on the sides of the fixture.
- Restore Power:
- Once the fixture is securely installed, turn the power back on at the circuit breaker.
- Test the light using the remote control.
Note: The provided video "Installation & Honest Review!" by an Influencer demonstrates a similar installation process, including unboxing, removing an old fixture, wiring, and mounting the new light. While not an official seller video, it can offer visual guidance for general installation steps.
6. Operating Instructions
Your EDISLIVE LED Ceiling Light is controlled by the included remote control. It offers dimming and color temperature adjustment features.

Figure 4: Using the remote control.
Remote Control Functions:
- Power On/Off: Press the ON/OFF button to turn the light on or off.
- Brightness Adjustment: Use the Brightness Up (+) and Brightness Down (-) buttons to adjust the light intensity. The light is fully dimmable.
- Color Temperature Adjustment: Use the Color Temperature Up (K+) and Color Temperature Down (K-) buttons to cycle through different color temperatures:
- 3000K (Warm White)
- 4000K (Natural White)
- 6000K (Cool White)
- Preset Color Temperatures: The remote may also have dedicated buttons for 3000K, 4000K, and 6000K for quick selection.

Figure 5: Adjustable color temperatures.
IMPORTANT NOTE:
This light can only be fixed to a specific light color and brightness by using the remote control. If you use a standard wall switch to turn the light on and off, the color temperature will cycle randomly each time the light is turned on, and you will need to reset your desired color using the remote. This fixture is not compatible with home dimmers (SCR wall switches) as they will affect the normal function of the remote control.

Figure 6: Dimmable and color temperature options with remote control note.
7. Maintenance
Regular maintenance will help preserve the appearance and functionality of your EDISLIVE LED Ceiling Light.
- Cleaning: Before cleaning, ensure the power supply is turned off at the circuit breaker. Use a soft, dry, or slightly damp cloth to wipe the surface of the fixture. Do not use abrasive cleaners, solvents, or polishes as they may damage the finish or acrylic shade.
- LED Lifespan: The integrated LED chips have a lifespan of over 45,000 hours, significantly reducing the need for bulb replacement. Do not attempt to replace the LED chips yourself.
- Remote Control: If the remote control stops working, check the battery. Replace with new batteries if necessary.
8. Troubleshooting
If you encounter issues with your light fixture, please refer to the following common problems and solutions:
| Problem | Possible Cause | Solution |
|---|---|---|
| Light does not turn on. | No power supply; loose wiring; faulty remote control. | Check circuit breaker. Ensure all wiring connections are secure. Check remote control battery. |
| Remote control not working. | Dead battery; remote not paired (unlikely for this model); interference. | Replace remote control battery. Ensure no obstructions between remote and light. |
| Light color changes randomly when using wall switch. | This is normal behavior for this fixture. | Use the remote control to set your desired color temperature after turning on with the wall switch. The memory function only works with the remote. |
| Light flickers or hums. | Incompatible dimmer switch; loose wiring; internal component issue. | Ensure no SCR wall dimmer switches are connected. Check wiring. If problem persists, contact customer service. |
9. Warranty and Customer Support
EDISLIVE is committed to providing high-quality products. If you experience any issues with your light fixture or require further assistance, please do not hesitate to reach out to our customer service team.
For support, please visit the EDISLIVE Store on Amazon or contact us through the platform where you purchased the product.
Please have your model number (YLC002195-50) and purchase date ready when contacting support.