1. Introduction
This manual provides detailed instructions for the installation, operation, and maintenance of your DIYSecuritycameraworld 16-Channel Hybrid Security Surveillance DVR System. This DVR supports various camera types including HD-TVI, HD-AHD, HD-CVI, Analog, and IP cameras, offering versatile surveillance solutions. It comes equipped with a 4TB Hard Disk Drive (HDD) for extensive recording capabilities.
Please read this manual thoroughly before operating the device to ensure proper usage and to maximize its performance and longevity.
2. Product Features
- 16-Channel Hybrid DVR: Supports HD-TVI, HD-CVI, HD-AHD, Analog, and IP cameras.
- High-Resolution Recording: True 1080P/4MP HD recording and display.
- Advanced Compression: H.265 and H.265+ dual-stream video compression for efficient storage.
- Storage: Pre-installed 4TB HDD, expandable up to 6TB with two SATA interfaces.
- Video Outputs: HDMI output up to 4K resolution, VGA output up to 1920x1080P, and 1 CVBS output.
- Remote Monitoring: Compatible with Guarding Vision apps for iPhone and Android, and web browsers.
- Motion Detection: Features pre-alarm recording and motion detection capabilities.
- Connectivity: USB 2.0 ports for backup and mouse control.
3. Package Contents
Please verify that all items listed below are included in your package. If any items are missing or damaged, contact your vendor immediately.
- 1 x 16-Channel Hybrid DVR Unit (with 4TB HDD installed)
- 1 x Power Adapter
- 1 x USB Mouse
- 1 x SATA Data Cable
- 1 x SATA Power Cable
- Mounting Screws for HDD
- User Manual (this document)

Figure 3.1: Contents of the DVR package. This image displays the DVR unit, power adapter, USB mouse, SATA data and power cables, and a bag of screws for HDD installation.
4. Setup Instructions
4.1. Physical Installation
- Unpack the DVR: Carefully remove the DVR and all accessories from the packaging.
- Connect the Hard Drive (if not pre-installed): If your DVR did not come with a pre-installed HDD, open the DVR casing, connect the SATA data and power cables to the HDD and the DVR motherboard, then secure the HDD with the provided screws. (Note: This model typically comes with a 4TB HDD pre-installed.)
- Connect Cameras: Connect your HD-TVI, HD-AHD, HD-CVI, or Analog cameras to the BNC video input ports on the rear panel of the DVR. For IP cameras, connect them to your network switch, and ensure the DVR is also connected to the same network.
- Connect Monitor: Connect a monitor to the DVR using either the HDMI or VGA port.
- Connect USB Mouse: Plug the USB mouse into one of the USB ports on the DVR.
- Connect to Network: Connect an Ethernet cable from the DVR's LAN port to your network router or switch for remote access.
- Connect Power: Connect the power adapter to the DVR's power input and then to a power outlet.
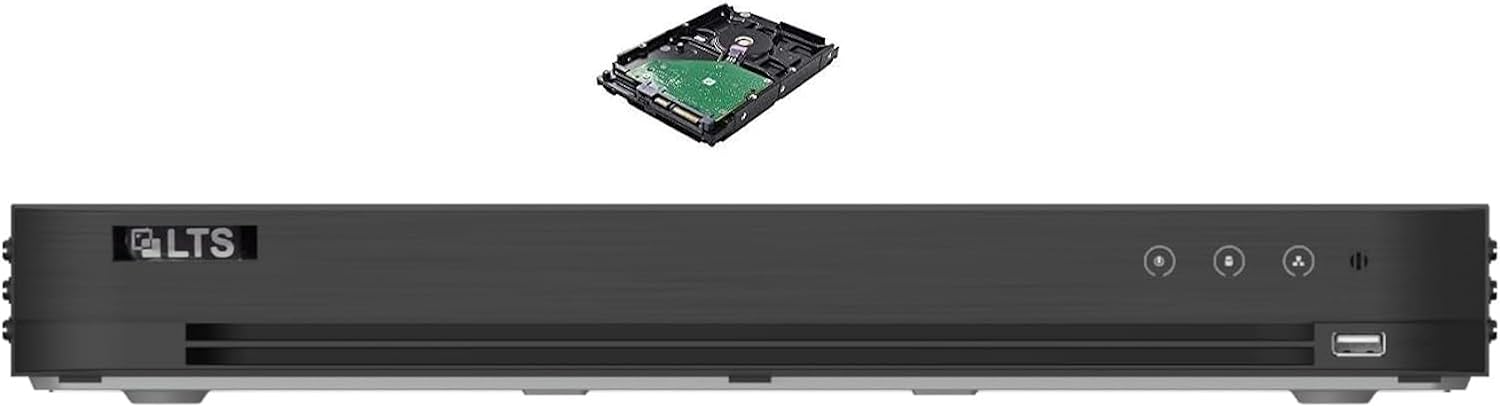
Figure 4.1: Front view of the DVR unit. This image shows the front panel of the DVR, including the USB port and control buttons, with a hard drive component floating above it, indicating internal storage.

Figure 4.2: Rear panel connections. This image details the rear panel of the DVR, highlighting the BNC video input ports (1-16), audio input/output, HDMI, VGA, LAN, USB, and power input ports.
4.2. Initial Configuration
- Power On: Turn on the DVR. The system will boot up and display the initial setup wizard on the connected monitor.
- Set Password: Follow the on-screen prompts to set a strong password for the administrator account. This is crucial for security.
- Network Settings: Configure network settings (DHCP or Static IP) to enable remote access.
- Date and Time: Set the correct date, time, and time zone.
- HDD Initialization: The pre-installed 4TB HDD should be automatically recognized. If prompted, initialize or format the HDD for recording.
- Add IP Cameras (if applicable): If using IP cameras, navigate to the camera management section to search for and add them to the DVR.
5. Operating Instructions
5.1. Live View
After initial setup, the DVR will display the live view of all connected cameras. You can switch between single-camera view, multi-camera grid views, and customize the display layout using the on-screen menu or mouse controls.
5.2. Recording
- Continuous Recording: Configure channels for 24/7 recording in the recording schedule settings.
- Motion Detection Recording: Set up motion detection zones and sensitivity for each camera. The DVR will record only when motion is detected.
- Scheduled Recording: Define specific time periods for recording based on your needs.
- Pre-Alarm Recording: Enable this feature to capture footage before a motion event is fully triggered.
5.3. Playback
To review recorded footage:
- Access the "Playback" menu from the main interface.
- Select the desired date and time range.
- Choose the camera channels you wish to view.
- Use the playback controls (play, pause, fast forward, rewind) to navigate through the footage.
5.4. Remote Access (Guarding Vision App)
- Download the "Guarding Vision" app from your smartphone's app store (iOS or Android).
- Create an account and log in.
- Add your DVR device by scanning the QR code displayed on the DVR's network settings or by manually entering its serial number.
- Once added, you can view live feeds, play back recordings, and receive alerts remotely.
6. Maintenance
- Regular Cleaning: Keep the DVR unit clean and free from dust. Use a soft, dry cloth. Do not use liquid cleaners.
- Ventilation: Ensure the DVR is placed in a well-ventilated area to prevent overheating. Do not block ventilation openings.
- Firmware Updates: Periodically check the manufacturer's website for firmware updates. Updating firmware can improve performance and security.
- Data Backup: Regularly back up important recorded footage to an external USB drive or network storage.
- Password Security: Change your DVR password periodically to maintain security.
7. Troubleshooting
- No Video Output on Monitor:
- Check HDMI/VGA cable connections. Ensure the monitor is powered on and set to the correct input source. Try restarting the DVR.
- No Camera Image:
- Verify camera power supply and video cable connections. For IP cameras, ensure they are properly configured on the network and added to the DVR.
- Cannot Access DVR Remotely:
- Check network cable connection to the DVR and router. Ensure network settings (IP address, gateway, DNS) are correct. Verify port forwarding rules on your router if not using P2P (Guarding Vision). Confirm the Guarding Vision app is correctly configured.
- Recording Not Working:
- Check if the HDD is installed, initialized, and has sufficient free space. Verify recording schedules and motion detection settings. The HDD may need to be formatted or replaced if faulty.
- System Freezes or Restarts:
- Ensure adequate ventilation to prevent overheating. Check power supply stability. If issues persist, contact technical support.
8. Specifications
| Feature | Specification |
|---|---|
| Video Compression | H.265, H.265+ |
| Video Input | 16-ch BNC (1.0Vp-p, 75Ω) |
| Supported Camera Types | HD-TVI, HD-AHD, HD-CVI, Analog, IP Camera (up to 2 IP cameras, 4MP) |
| Audio Compression | G.711u |
| Audio Input/Output | 1-ch RCA (2.0 Vp-p, 1 KΩ) input / 1-ch RCA output |
| Video Output | 1 HDMI (up to 4K), 1 VGA (up to 1920x1080P), 1 CVBS |
| Recording Resolution | Up to 4MP |
| SATA Interfaces | 2 SATA interfaces |
| Max HDD Capacity | Up to 6 TB per HDD (Total 12TB if 2 HDDs are used) |
| Pre-installed HDD | 4 TB |
| USB Ports | 2 x USB 2.0 |
| Mobile Apps | Guarding Vision (iPhone, Android) |
| Item Weight | 8 pounds |
9. Warranty and Support
For warranty information, please refer to the terms and conditions provided at the time of purchase or contact your vendor directly. DIYSecuritycameraworld products typically come with a standard manufacturer's warranty covering defects in materials and workmanship.
For technical support, troubleshooting assistance, or to inquire about replacement parts, please contact DIYSecuritycameraworld customer service or visit their official website. Have your product model and serial number ready when contacting support.
Manufacturer: DiysecurityCameraWorld