1. Introduction
This user manual provides essential information for the safe and efficient operation of your new Gorenje BO7732CLB Classico built-in oven. Please read these instructions carefully before installation, first use, and maintenance to ensure proper functioning and to prevent damage or injury. Keep this manual in a safe place for future reference.
2. Safety Instructions
Always adhere to the following safety precautions to reduce the risk of fire, electric shock, personal injury, or damage to the appliance.
- Electrical Safety: Ensure the oven is correctly installed by a qualified technician and connected to a properly grounded electrical outlet. Do not use extension cords or adapters. Disconnect the power supply before any maintenance or cleaning.
- Child Safety: This appliance is not intended for use by persons (including children) with reduced physical, sensory or mental capabilities, or lack of experience and knowledge, unless they have been given supervision or instruction concerning use of the appliance by a person responsible for their safety. Children should be supervised to ensure that they do not play with the appliance.
- Hot Surfaces: The oven and its accessible parts become hot during use. Exercise caution to avoid touching heating elements. Use oven mitts when handling hot dishes or parts.
- Flammable Materials: Do not store flammable materials in or near the oven. Do not use the oven for heating the room.
- Proper Use: Use the oven only for its intended purpose of cooking food. Do not line the oven cavity with aluminum foil or other materials, as this can impede heat circulation and damage the oven.
3. Product Overview
Familiarize yourself with the main components of your Gorenje BO7732CLB Classico built-in oven.
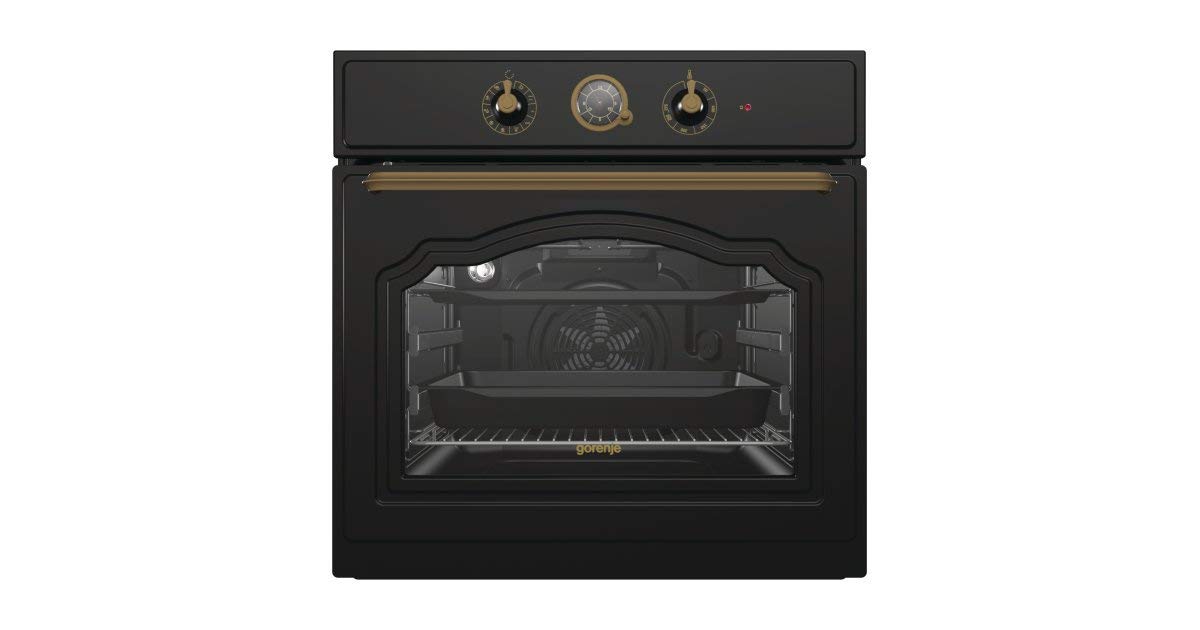
Figure 3.1: Front view of the Gorenje BO7732CLB Classico built-in oven, showing the control panel, oven door, and handle.
3.1 Main Components
- Control Panel: Located at the top, featuring control knobs and a digital display for setting functions, temperature, and time.
- Oven Door: Equipped with a handle for opening and closing, and a glass window for viewing food.
- Oven Cavity: The interior space where food is cooked, with multiple rack positions.
- Heating Elements: Located at the top and bottom of the cavity, and potentially a fan element for convection cooking.
- Accessories: Includes oven racks, baking tray, and possibly a deep baking pan.
4. Setup and Installation
Proper installation is crucial for the safe and efficient operation of your oven. It is recommended that installation be performed by a qualified technician.
4.1 Pre-installation Checks
- Cabinet Dimensions: Ensure the kitchen cabinet opening meets the required dimensions: 54.7 cm (H) x 59.7 cm (W) x 59.5 cm (D).
- Ventilation: Ensure adequate ventilation around the oven for proper heat dissipation.
- Power Supply: Verify that the electrical supply meets the oven's requirements (3300 W, Electric). A dedicated circuit is recommended.
4.2 Mounting the Oven
- Carefully slide the oven into the prepared cabinet opening.
- Secure the oven to the cabinet using the screws provided, typically through mounting holes located on the oven frame.
4.3 Electrical Connection
Connect the oven to the electrical supply according to local regulations and the wiring diagram provided with the appliance. This must be done by a qualified electrician.
4.4 First Use Preparation
- Remove all packaging materials, stickers, and accessories from the oven cavity.
- Clean the interior of the oven with a damp cloth and mild detergent, then dry thoroughly.
- Heat the empty oven for approximately 60 minutes at maximum temperature (e.g., 250°C) using a conventional heating function. This will burn off any manufacturing residues and odors. Ensure the kitchen is well-ventilated during this process.
5. Operating Instructions
This section details how to use your Gorenje BO7732CLB Classico oven for various cooking tasks.
5.1 Control Panel Overview
The control panel typically consists of:
- Function Selector Knob: Used to choose the desired cooking function (e.g., conventional heat, fan-assisted, grill).
- Temperature Selector Knob: Used to set the cooking temperature.
- Digital Display/Timer: Shows the current time, cooking time, and other settings. Buttons around the display are used for timer functions.
5.2 Setting the Time
Upon first connection to power or after a power outage, the display will flash. Refer to the specific instructions in your full manual for setting the clock. Typically, this involves pressing a timer button and using adjustment buttons to set hours and minutes.
5.3 Selecting a Cooking Function and Temperature
- Turn the Function Selector Knob to the desired cooking mode (e.g., "Upper and Lower Heater" for conventional baking, "Fan with Heater" for convection).
- Turn the Temperature Selector Knob to the required temperature for your recipe.
- The oven will begin to preheat. The indicator light will turn off when the set temperature is reached.
5.4 Setting the Cooking Time (Timer)
Your oven may have various timer functions:
- Minute Minder: An audible alarm that sounds after a set period, without affecting oven operation.
- Cooking Time: Sets the duration for which the oven will operate. The oven will switch off automatically when the time expires.
- End Time: Allows you to program the oven to switch off at a specific time of day.
Consult your full manual for detailed instructions on setting each timer function using the digital display buttons.
6. Maintenance and Cleaning
Regular cleaning and maintenance will ensure the longevity and optimal performance of your oven.
6.1 General Cleaning
- Exterior: Clean the exterior surfaces with a soft cloth and mild detergent. Avoid abrasive cleaners or scouring pads.
- Interior: For light soiling, wipe the oven cavity with a damp cloth after each use once it has cooled. For stubborn stains, use a specialized oven cleaner, following the product's instructions carefully. Ensure the oven is well-ventilated after cleaning.
- Glass Door: Clean the glass door with a soft cloth and glass cleaner.
6.2 Replacing the Oven Lamp
Ensure the oven is disconnected from the power supply before attempting to replace the lamp. Unscrew the protective glass cover, replace the old lamp with a new heat-resistant oven lamp (typically E14, 25W), and then reattach the cover.
7. Troubleshooting
Before contacting customer service, refer to the following table for common issues and their potential solutions.
| Problem | Possible Cause | Solution |
|---|---|---|
| Oven does not heat up. | No power supply; oven not switched on; fuse blown. | Check power connection; ensure oven is switched on; check household fuse box. |
| Oven light does not work. | Lamp is faulty. | Replace the oven lamp (see Section 6.2). |
| Food is not cooking evenly. | Incorrect rack position; oven door not closed properly; excessive food quantity. | Adjust rack position; ensure door is fully closed; reduce food quantity or cook in batches. |
| Smoke or strong odor during first use. | Residues from manufacturing process. | This is normal. Continue initial heating process (see Section 4.4) with good ventilation. |
8. Specifications
Technical data for the Gorenje BO7732CLB Classico Built-in Oven.
- Model: 732965
- Brand: Gorenje
- Type: Built-in Electric Oven
- Dimensions (H x W x D): 54.7 cm x 59.7 cm x 59.5 cm
- Weight: 32.7 kg
- Capacity: 71 Liters
- Power Consumption: 3300 W
- Fuel Type: Electric
- Color: Black
- Heating Method: Heat conduction
9. Warranty and Support
For warranty information, please refer to the separate warranty card provided with your appliance or visit the official Gorenje website. In case of technical issues or questions not covered in this manual, please contact Gorenje customer support or your authorized service center. Always have your model number (732965) and serial number ready when contacting support.
Do not attempt to repair the appliance yourself, as this may void your warranty and pose safety risks.


