1. Introduction
This manual provides essential instructions for the installation, operation, and maintenance of the RMSTATOR Voltage Regulator, model RM30806--M--Y. This component is designed as a direct replacement part for specific Yamaha motorcycle models, ensuring proper electrical system function.
2. Product Overview
The RMSTATOR Voltage Regulator is a high-grade electrical component designed to convert alternating current (AC) generated by the stator into direct current (DC) and regulate the voltage supplied to the motorcycle's battery and electrical system. It features an improved heat sink design for enhanced thermal management and charging capabilities. The package includes the voltage regulator rectifier unit and a connector kit for installation.

Image: The RMSTATOR Voltage Regulator unit shown with its accompanying connector kit.
3. Compatibility
This RMSTATOR Voltage Regulator (OEM Repl.# 4XY-81960-00-00) is compatible with various Yamaha motorcycle models. It is crucial to verify your vehicle's production number and compare the physical appearance of this unit with your original part before installation.
Compatible Yamaha Models:
- Yamaha FZ6 600 (2004-2009)
- Yamaha Road Star 1700 series (2005-2007)
- Yamaha Royal Star Midnight Tour Deluxe 1300 (2006-2007)
- Yamaha Royal Star Midnight Venture 1300 (2002-2007)
- Yamaha Royal Star Tour Deluxe 1300 (2005-2009)
- Yamaha Royal Star Tour Deluxe S 1300 (2008-2010)
- Yamaha Royal Star Venture 1300 (1999-2009)
- Yamaha Royal Star Venture S 1300 (2008-2013)
- Yamaha SR 400 (2015-2018)
- Yamaha V Star 1100 series (2003-2009)
- Yamaha WR 250 R (2008-2020)
- Yamaha WR 250 X (2008-2011)
- Yamaha YZF R6 600 (2006-2008, 2010-2016)
Note: For KingQuad LTA 700X 2006, two possible regulators exist. Ensure your production number matches F.NO.5SAAP41A 67110001~ (OEM# 32800-42F00) for this specific RM30806 model.
4. Safety Information
Always disconnect the motorcycle's battery before performing any electrical work. Wear appropriate personal protective equipment, including safety glasses. Ensure the motorcycle is stable and secure during installation. If you are unsure about any step, consult a qualified motorcycle technician.
5. Setup / Installation
The following steps provide general guidance for replacing a voltage regulator. Always refer to your specific motorcycle's service manual for detailed, model-specific instructions and torque specifications.
- Preparation: Park the motorcycle on a level surface and ensure the engine is cool. Disconnect the negative (-) terminal of the battery first, followed by the positive (+) terminal.
- Locate the Old Regulator: Identify the existing voltage regulator on your motorcycle. Its location varies by model, but it is often found near the battery, under the seat, or on the frame.
- Disconnect Wiring: Carefully disconnect the electrical connectors from the old regulator. Note the orientation and connection points.
- Remove Old Regulator: Unbolt and remove the old voltage regulator from its mounting bracket.
- Inspect Mounting Area: Clean the mounting surface to ensure good heat dissipation for the new regulator.
- Install New Regulator: Position the new RMSTATOR voltage regulator in the same location as the old one. Secure it with the appropriate fasteners. Ensure a firm, stable mount.
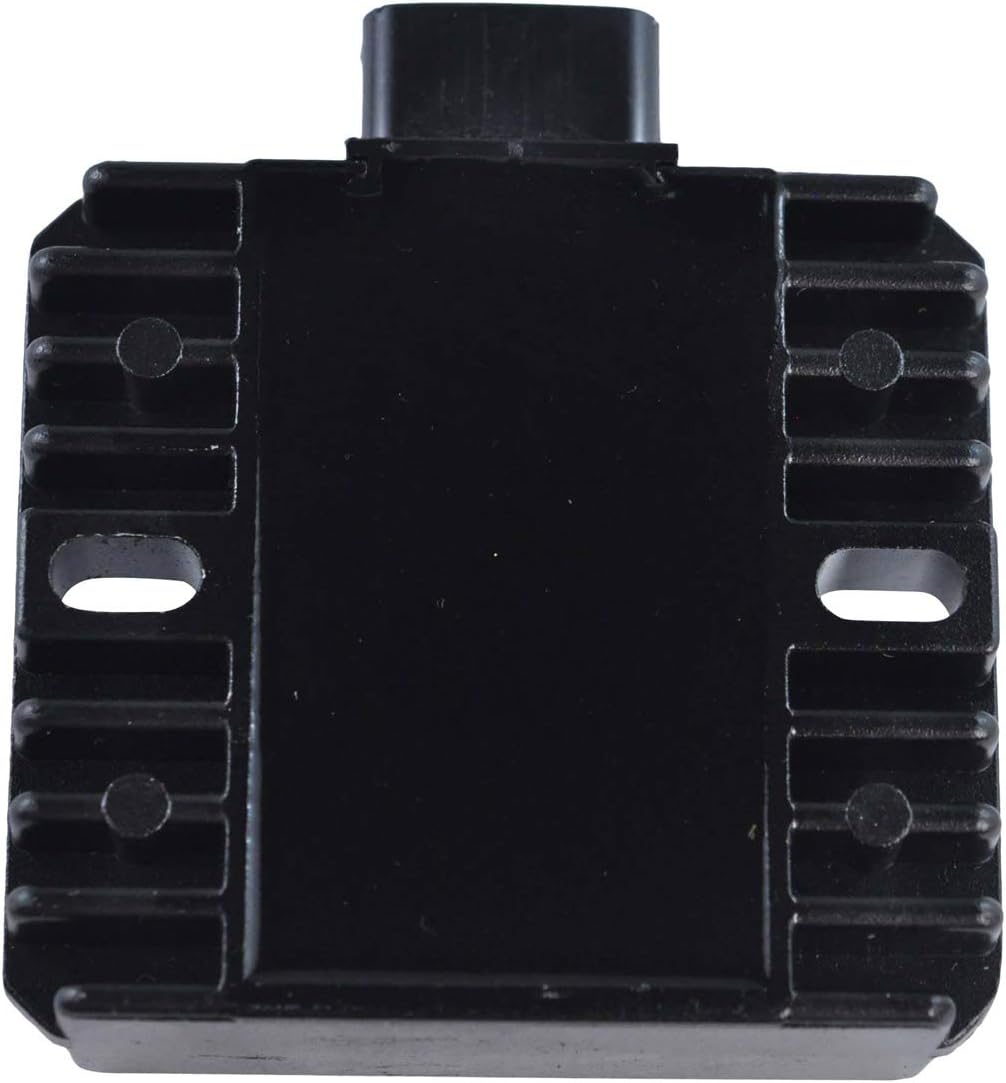
Image: Top view of the RMSTATOR voltage regulator, highlighting the mounting holes and heat sink fins for proper installation.
- Connect Wiring: Connect the electrical connectors to the new regulator. Ensure all connections are secure and properly seated. If using the provided connector kit, ensure terminals are crimped correctly and sealed.

Image: Detailed view of the electrical connector on the RMSTATOR voltage regulator, illustrating the pin configuration for correct wiring.
- Reconnect Battery: Reconnect the positive (+) battery terminal first, then the negative (-) terminal.
- Test System: Start the motorcycle and check the battery voltage with a multimeter. The voltage should be within the manufacturer's specified range (typically 13.5V to 14.8V at idle or slightly above).
6. Operating Principles
The voltage regulator is a critical component of your motorcycle's charging system. Its primary functions are:
- AC to DC Conversion: It rectifies the alternating current (AC) produced by the stator into direct current (DC) that the battery and electrical components require.
- Voltage Regulation: It maintains a stable output voltage to prevent overcharging or undercharging the battery, protecting the electrical system from damage due to voltage fluctuations.
- Heat Dissipation: The integrated heat sink helps dissipate excess heat generated during operation, ensuring the longevity and efficiency of the unit.
7. Maintenance
Regular maintenance of the voltage regulator is generally not required beyond periodic inspection.
- Visual Inspection: Periodically check the regulator for any signs of physical damage, corrosion on terminals, or loose connections.
- Cleanliness: Ensure the heat sink fins are free from dirt, debris, or mud, which can impede heat dissipation and lead to overheating.
- Wiring Integrity: Verify that all wiring connected to the regulator is intact, not frayed, and securely connected.
8. Troubleshooting
If you experience issues with your motorcycle's charging system, the voltage regulator may be a contributing factor.
| Symptom | Possible Cause | Action |
|---|---|---|
| Battery Overcharging (e.g., boiling battery, strong sulfur smell, high voltage readings) | Faulty voltage regulation, internal short in regulator. | Test regulator output voltage. If consistently high, replace the regulator. |
| Battery Undercharging / No Charge (e.g., dim lights, difficulty starting, low voltage readings) | Faulty rectifier, open circuit in regulator, stator issue, loose connections. | Check all wiring connections. Test stator output. Test regulator for proper rectification and voltage output. Replace if faulty. |
| Intermittent Electrical Problems | Loose connections, intermittent regulator failure, overheating. | Inspect all connections. Ensure regulator is properly mounted and cooling. Test regulator under various operating conditions. |
Always use a multimeter to diagnose electrical issues. Consult your motorcycle's service manual for specific testing procedures and expected values for your model.
9. Specifications
| Brand | RMSTATOR |
| Model Number | RM30806--M--Y |
| OEM Part Number (Replacement) | 4XY-81960-00-00 (Yamaha) |
| Item Weight | 5.6 ounces |
| Product Dimensions | 14.8 x 9.3 x 5 inches |
| Exterior Finish | Metallic |
10. Warranty and Support
For warranty information and technical support regarding your RMSTATOR Voltage Regulator, please contact the seller or the manufacturer directly. Keep your proof of purchase for any warranty claims. Always refer to your motorcycle's official service manual for vehicle-specific electrical system diagrams and diagnostic procedures.