Introduction
Thank you for choosing the DYNAVOICE Challenger Sub-8 Active Subwoofer. This 8-inch active subwoofer is designed to enhance your home audio experience by providing deep, powerful bass. This manual will guide you through the setup, operation, and maintenance of your new subwoofer to ensure optimal performance and longevity.
Please read this manual thoroughly before using the product and retain it for future reference.
Safety Information
To prevent fire, electric shock, and injury, please observe the following safety precautions:
- Do not expose this appliance to rain or moisture.
- Do not place objects filled with liquids, such as vases, on the appliance.
- Ensure proper ventilation. Do not block any ventilation openings.
- Do not install near any heat sources such as radiators, heat registers, stoves, or other apparatus (including amplifiers) that produce heat.
- Protect the power cord from being walked on or pinched, particularly at plugs, convenience receptacles, and the point where they exit from the appliance.
- Only use attachments/accessories specified by the manufacturer.
- Unplug this appliance during lightning storms or when unused for long periods of time.
- Refer all servicing to qualified service personnel. Servicing is required when the apparatus has been damaged in any way, such as power-supply cord or plug is damaged, liquid has been spilled or objects have fallen into the apparatus, the apparatus has been exposed to rain or moisture, does not operate normally, or has been dropped.
Package Contents
Please check that all items are present and in good condition:
- DYNAVOICE Challenger Sub-8 Active Subwoofer
- Power Cable
- User Manual (this document)
Note: An interconnect cable to the amplifier is not included and must be purchased separately if required for your setup.
Product Features
- Active Subwoofer: Integrated amplifier for powerful bass reproduction.
- 8-inch Woofer: Delivers deep and impactful low frequencies.
- Power Output: 125 Watts maximum, 90 Watts RMS.
- Frequency Response: 25-180 Hz for a wide range of bass tones.
- Adjustable Controls: Independent controls for frequency (crossover) and volume.
- Auto On/Off Function: Automatically powers on when an audio signal is detected and off after a period of inactivity.
- Versatile Inputs: Stereo RCA, LFE RCA, and High-Level (banana connection) inputs for compatibility with various audio systems.
- Gold-Plated Connectors: Ensures optimal signal transfer and corrosion resistance.
- Compact Design: Black finish with a black fabric front grille, suitable for floor placement.
Setup
1. Placement
Place the subwoofer on a stable, level surface, preferably on the floor. Experiment with different locations in your room to find the position that provides the most balanced and impactful bass response. Avoid placing it directly in a corner, which can sometimes lead to boomy or exaggerated bass.
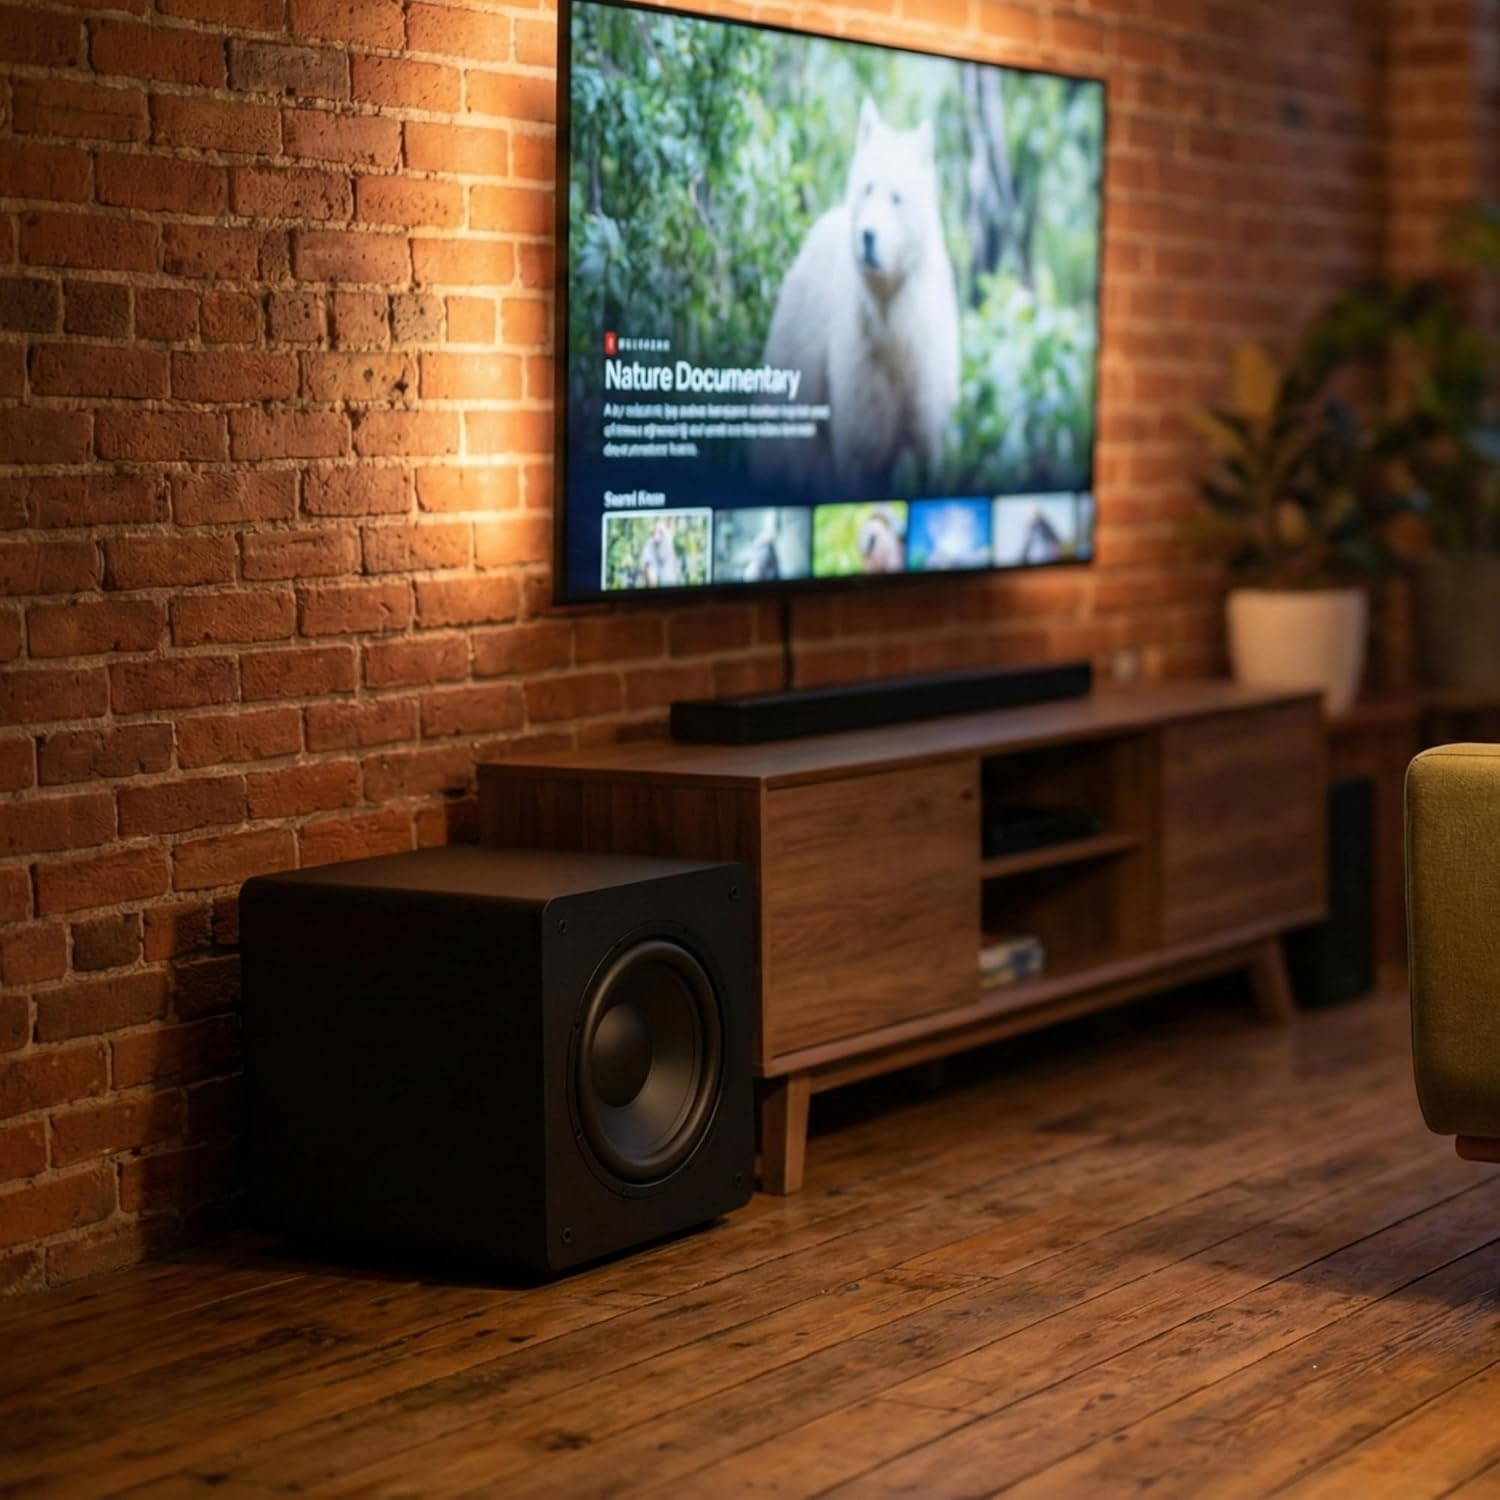
Image: The DYNAVOICE Challenger Sub-8 subwoofer positioned next to a television and media console, demonstrating a typical home audio setup.
2. Connections
Ensure the subwoofer is powered off before making any connections.

Image: Detailed view of the subwoofer's rear panel, highlighting the various input terminals and control knobs for volume, phase, and crossover frequency.
- LFE Input (Recommended for AV Receivers): Connect a single RCA cable from the LFE or Subwoofer Output of your AV receiver to the LFE input on the subwoofer.
- Stereo RCA Inputs (for Stereo Amplifiers/Preamps): Connect RCA cables from the stereo pre-out or line-out of your amplifier/preamplifier to the left (L) and right (R) RCA inputs on the subwoofer.
- High-Level Inputs (for Amplifiers without Line Outputs): If your amplifier does not have dedicated line-level outputs, connect speaker cables from your amplifier's speaker outputs to the high-level inputs (banana connections) on the subwoofer. Ensure correct polarity (+ to + and - to -).
3. Power Connection
Once all audio connections are made, connect the supplied power cable to the subwoofer's power inlet and then to a suitable 220V AC power outlet.
Operating
1. Power On/Off
- Locate the main power switch on the rear panel of the subwoofer. Flip it to the 'ON' position.
- The subwoofer features an Auto On/Off function. When set to 'AUTO', the subwoofer will automatically power on when it detects an audio signal and enter standby mode after a period of no signal.
2. Adjusting Controls
- Volume: Use the 'VOLUME' knob to adjust the overall output level of the subwoofer. Start with a low setting and gradually increase it until the bass blends seamlessly with your main speakers.
- Crossover (Frequency): The 'CROSSOVER' knob sets the upper frequency limit for the subwoofer. Adjust this to match the low-frequency capabilities of your main speakers. A common starting point is 80 Hz. If your main speakers are small, you might set it higher (e.g., 100-120 Hz). If they are large, you might set it lower (e.g., 60 Hz).
- Phase: The 'PHASE' switch (0°/180°) helps to ensure that the subwoofer's sound waves are in sync with your main speakers. Listen to music with strong bass and switch between 0° and 180°. Choose the setting that provides the most impactful and coherent bass.
Maintenance
To maintain the appearance and performance of your subwoofer:
- Cleaning: Use a soft, dry cloth to wipe the cabinet. For stubborn marks, a slightly damp cloth can be used, followed by a dry cloth. Avoid abrasive cleaners or solvents.
- Grille: The fabric grille can be gently vacuumed to remove dust.
- Placement: Ensure the subwoofer is not exposed to direct sunlight, extreme temperatures, or high humidity.
- Ventilation: Keep the rear panel's heat sink and ventilation clear of obstructions to prevent overheating.
Troubleshooting
If you experience issues with your subwoofer, refer to the table below for common problems and solutions:
| Problem | Possible Cause | Solution |
|---|---|---|
| No sound from subwoofer | Power switch is off No audio signal Volume too low Incorrect connections | Ensure power switch is ON Check source device and amplifier Increase volume knob Verify all audio cables are securely connected to correct inputs |
| Weak or distorted bass | Incorrect crossover setting Phase mismatch Subwoofer placement Source material quality | Adjust 'CROSSOVER' knob Toggle 'PHASE' switch (0°/180°) Experiment with different subwoofer positions Try different audio sources |
| Subwoofer does not turn on automatically | Auto On/Off not enabled Input signal too low | Ensure power switch is set to 'AUTO' Increase the output level from your source device or amplifier |
| Humming or buzzing noise | Ground loop Loose connections Interference | Try plugging the subwoofer into a different electrical outlet Ensure all cables are tightly connected Move audio cables away from power cables |
Specifications

Image: The DYNAVOICE Challenger Sub-8 subwoofer with its compact dimensions clearly indicated, showing a cube-like form factor.
| Feature | Specification |
|---|---|
| Model Name | Challenger Sub-8 |
| Model Number | DYNCHALSUW8NGO |
| Speaker Type | Active Subwoofer |
| Woofer Size | 8 inches |
| Max Power Output | 125 Watts |
| RMS Power Output | 90 Watts |
| Frequency Response | 25 - 180 Hz |
| Input Voltage | 220 Volts |
| Connectivity Technology | Wired (RCA, High-Level) |
| Audio Output Mode | Stereo |
| Special Features | Auto On/Off Function |
| Dimensions (H x W x D) | 29 x 29 x 29 cm (approx. 11.4 x 11.4 x 11.4 inches) |
| Item Weight | 9 kg (approx. 19.8 lbs) |
| Color | Black |
Warranty Information
Specific warranty details for the DYNAVOICE Challenger Sub-8 are not provided in this manual. Please refer to the warranty card included with your product or contact your retailer or the manufacturer directly for information regarding warranty coverage and terms.
Customer Support
For technical assistance, troubleshooting beyond this manual, or service inquiries, please contact your authorized DYNAVOICE dealer or visit the official DYNAVOICE website for support resources.