
TIN SUM SOLAR ENERGY BYT-240
TIN SUM SOLAR ENERGY 300W LED Solar Flood Light Instruction Manual
Model: BYT-240
1. Introduction
This manual provides detailed instructions for the installation, operation, and maintenance of your TIN SUM SOLAR ENERGY 300W LED Solar Flood Light (Model BYT-240). Please read this manual thoroughly before use to ensure proper function and longevity of the product. This solar flood light is designed for outdoor use, providing bright and energy-efficient illumination for various applications.
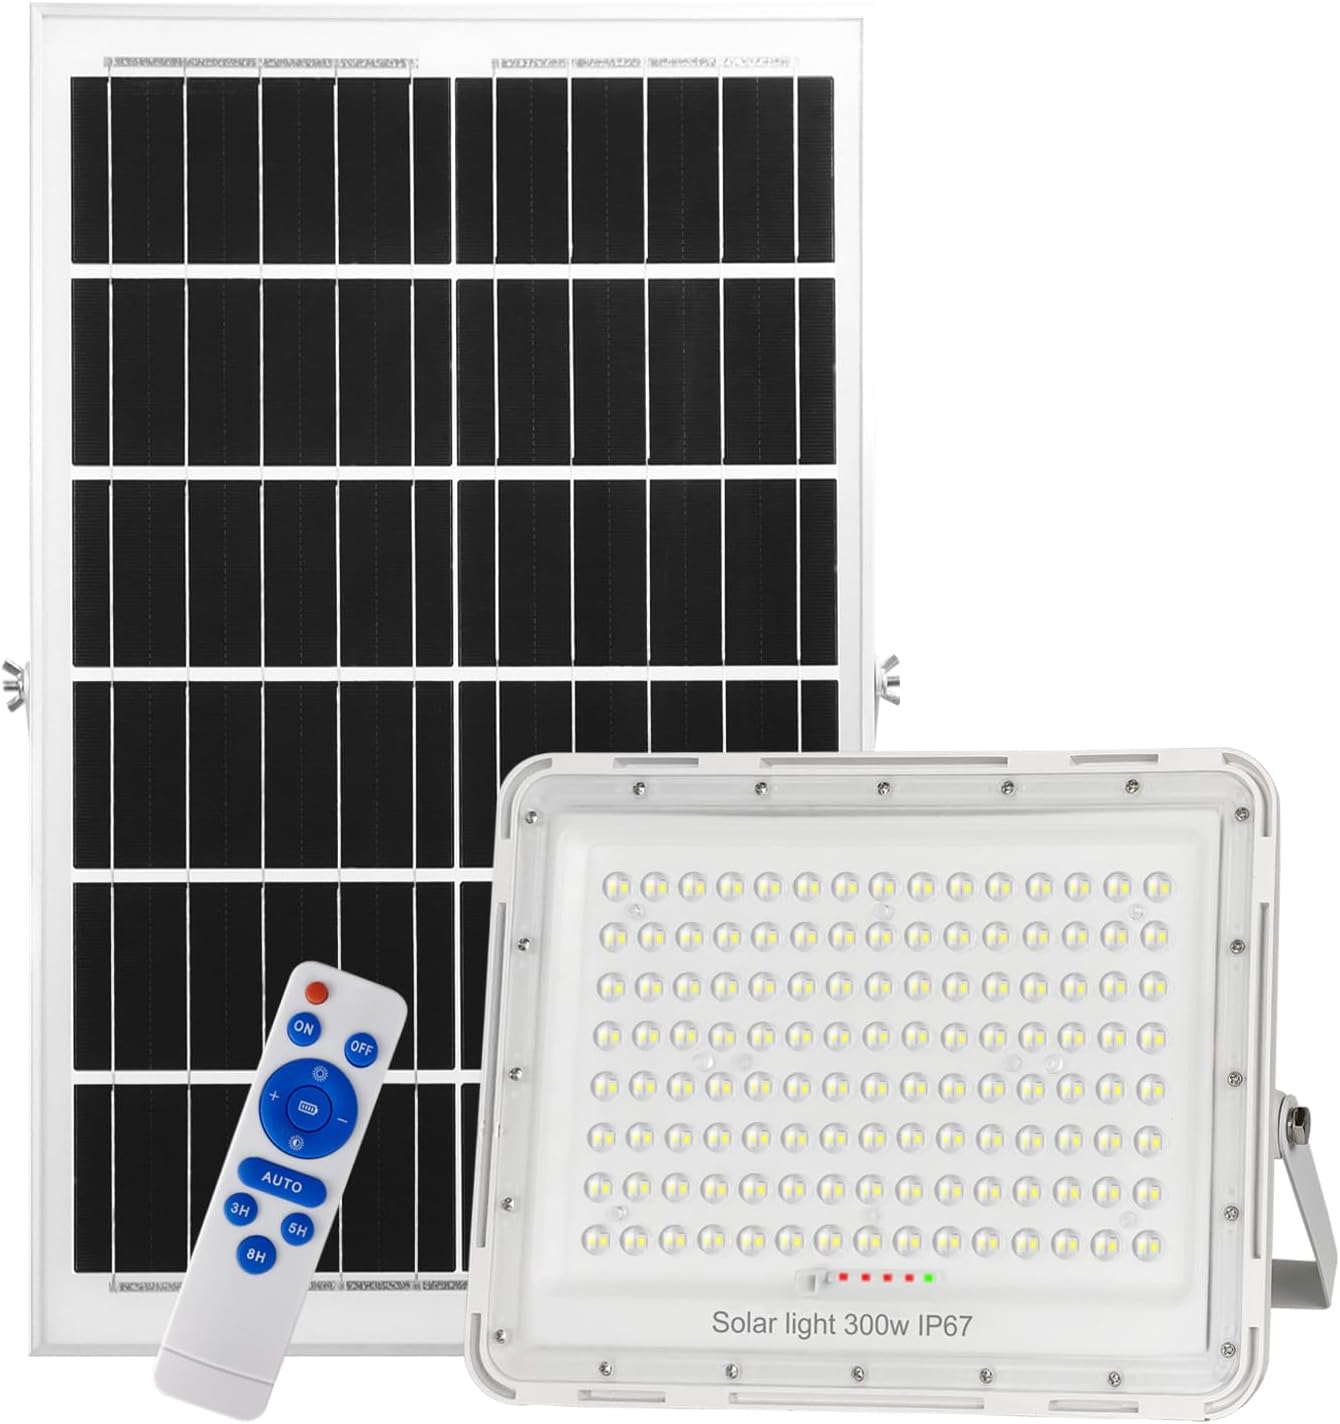
Image 1.1: TIN SUM SOLAR ENERGY 300W LED Solar Flood Light, Solar Panel, and Remote Control.
2. Safety Information
- Ensure all components are securely fastened during installation to prevent falling.
- Do not disassemble or modify the product. Unauthorized modifications may cause damage and void the warranty.
- Keep the solar panel clean to ensure optimal charging efficiency.
- Avoid direct eye exposure to the LED light when it is operating, as it is very bright.
- Dispose of batteries according to local regulations.
- Do not install the solar panel in shaded areas. Maximum direct sunlight exposure is crucial for proper charging.
3. Package Contents
Verify that all items are present in the package:
- LED Flood Light (1 unit)
- Solar Panel (1 unit)
- Remote Control (1 unit)
- Mounting Brackets and Screws (for light and solar panel)
- Extension Cable (5 meters / 16.4 feet)
- Batteries (pre-installed in the flood light)
- Instruction Manual
4. Product Overview
The TIN SUM SOLAR ENERGY 300W LED Solar Flood Light system consists of a high-brightness LED flood light, a solar panel for charging, and a remote control for convenient operation. Key features include:
- Super Brightness: 24000 lumens, 6500K color temperature, illuminating over 3150 sq ft.
- Energy Efficient: Entirely solar-powered, no electricity cost.
- Durable Design: IP67 waterproof rating, aluminum and PC material for robust outdoor use.
- Remote Control: Offers auto modes, gradient mode, full/half brightness, and timer settings (2/4/6/8 hours).
- Adjustable Components: Both the solar panel and flood light feature adjustable brackets for optimal positioning.
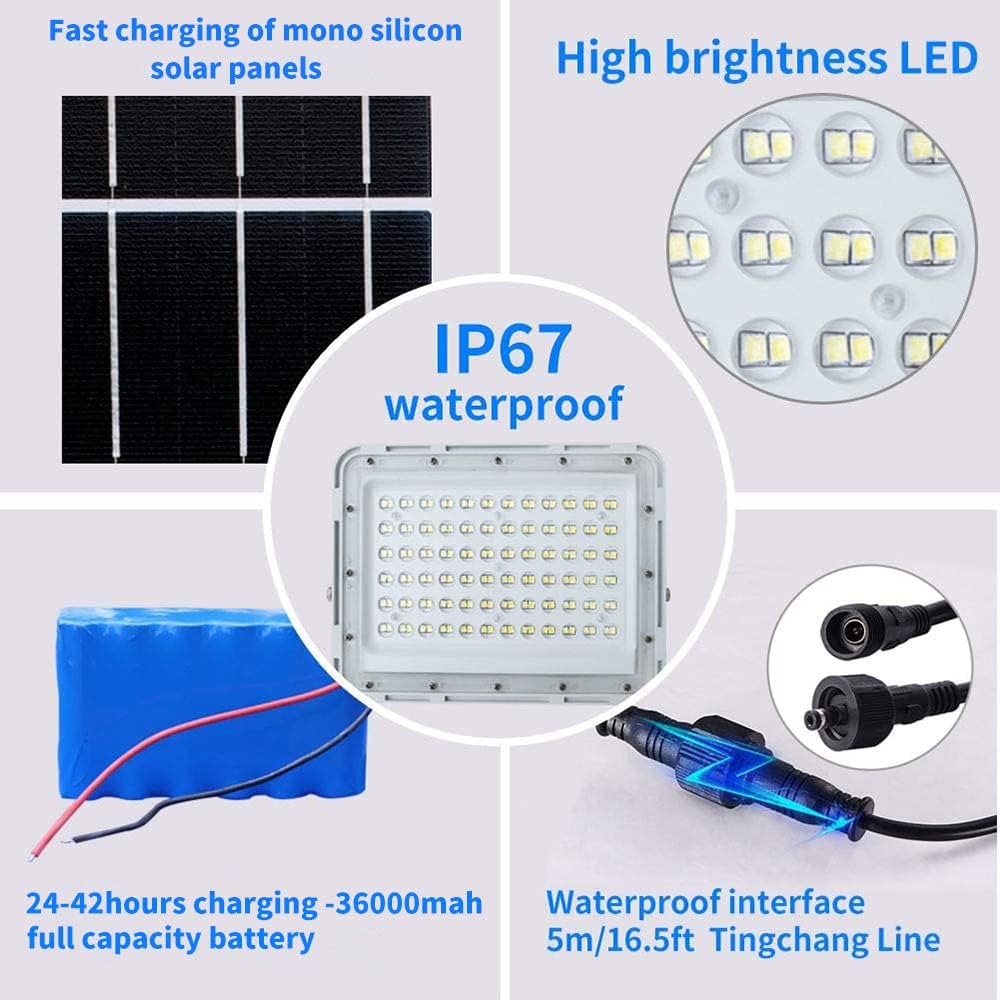
Image 4.1: Key components and features of the solar flood light.

Image 4.2: Detailed view of the flood light's construction and indicator lights.
5. Setup and Installation
The solar flood light offers flexible installation options. Ensure the solar panel is placed in a location that receives maximum direct sunlight throughout the day for optimal charging.
5.1 Choosing an Installation Location
- Solar Panel: Mount the solar panel in an unshaded area, facing south (in the Northern Hemisphere) or north (in the Southern Hemisphere) for maximum sun exposure. Avoid areas with trees, buildings, or other obstructions that might cast shadows.
- Flood Light: The flood light can be installed in the desired illumination area. The 5-meter (16.4 ft) extension cable allows for separation between the solar panel and the light.

Image 5.1: Proper solar panel placement to avoid obstructions.
5.2 Mounting the Components
There are two primary installation methods: hanging or fixed with screws. The package includes necessary mounting hardware.
- Assemble Brackets: Attach the adjustable brackets to both the solar panel and the flood light using the provided screws.
- Mount Solar Panel: Secure the solar panel bracket to your chosen surface (wall, pole, roof) using appropriate screws or bolts. Adjust the angle to optimize sun exposure.
- Mount Flood Light: Secure the flood light bracket to your desired location. The light's bracket allows for 180-degree rotation, and the entire unit can be adjusted up to 120 degrees for optimal light direction.
- Connect Cable: Connect the solar panel cable to the flood light using the waterproof extension cable. Ensure a secure connection.

Image 5.2: Example of solar panel and flood light installation with the 16.5ft extension cable.

Image 5.3: Illustration of a typical pole-mounted installation.
Video 5.1: Official product video demonstrating the solar flood light's features and installation flexibility.
6. Operating Instructions
The solar flood light is controlled via the included remote control. Ensure the remote control has a clear line of sight to the light's sensor.
6.1 Remote Control Functions

Image 6.1: Remote control layout and functions.
- ON/OFF: Press 'ON' to turn the light on, 'OFF' to turn it off.
- Brightness Adjustment: Use the '+' and '-' buttons to increase or decrease the light intensity.
- AUTO Mode: Press 'AUTO' for dusk-to-dawn operation. The light will automatically turn on at dusk and turn off at dawn.
- Timer Modes: Select '3H', '5H', or '8H' to set the light to stay on for 3, 5, or 8 hours respectively after activation.
- Gradient Mode: This mode may adjust brightness automatically based on remaining battery power to extend lighting duration.
6.2 Battery Indicator
The flood light features a battery indicator to show the current charge level.
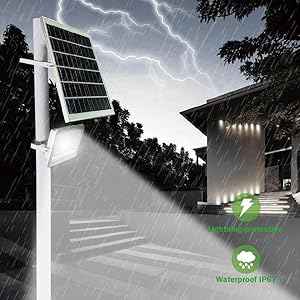
Image 6.2: Battery charge level indicator.
7. Maintenance
- Clean Solar Panel: Regularly wipe the solar panel surface with a soft, damp cloth to remove dust, dirt, or debris. A clean panel ensures maximum charging efficiency.
- Check Connections: Periodically inspect all cable connections to ensure they are secure and free from corrosion or damage.
- Battery Care: The internal lithium-ion batteries are designed for long life. Avoid prolonged storage in a completely discharged state.
8. Troubleshooting
If you encounter issues with your solar flood light, refer to the following common problems and solutions:
| Problem | Possible Cause | Solution |
|---|---|---|
| Light does not turn on at night. | Insufficient solar charge; Solar panel is shaded; Remote control battery low or out of range; Light is in OFF mode. | Ensure solar panel receives 6-8 hours of direct sunlight daily. Relocate panel if shaded. Check remote battery and proximity. Press 'ON' or 'AUTO' on the remote. |
| Light stays on for a short duration. | Insufficient solar charge; Overcast weather; Timer mode activated. | Ensure optimal solar panel placement and cleanliness. Allow several sunny days for full charge. Check remote settings for active timer modes. |
| Remote control is unresponsive. | Remote battery depleted; Obstruction between remote and light sensor; Remote out of range. | Replace remote control batteries. Ensure clear line of sight to the light's sensor. Operate remote within 10 meters (32.8 ft) of the light. |
| Light flickers or dims unexpectedly. | Low battery charge; Loose connection. | Allow the solar panel to charge fully. Check all cable connections between the solar panel and the flood light. |
9. Specifications
| Feature | Specification |
|---|---|
| Model Number | BYT-240 |
| Wattage | 300 Watts |
| Brightness | 24000 Lumens |
| Color Temperature | 6500 Kelvin |
| Material | Aluminum, PC |
| Water Resistance Level | IP67 Waterproof |
| Power Source | Solar Powered |
| Control Method | Remote Control |
| Product Dimensions | 23"L x 3.1"W x 14.1"H |
| Item Weight | 11 Pounds |
| Batteries | 4 Lithium Ion batteries (included) |
| Cable Length | 5 meters (16.4 feet) |
10. Warranty and Support
TIN SUM SOLAR ENERGY products are covered by a 2-year unlimited quality assurance. If the product is damaged upon opening or if you experience any issues, please contact our customer service team. We are available 24/7 to assist you.
For additional protection, extended protection plans are available for purchase:
- 3-Year Protection Plan
- 4-Year Protection Plan
- Complete Protect (monthly plan covering eligible purchases)
Please refer to your purchase documentation for specific contact details and warranty claim procedures.
Ask a question about this manual
Ask about setup, troubleshooting, compatibility, parts, safety, or missing instructions. Manuals+ will review the question and use this page’s manual context to help answer it.