1. Introduction
This manual provides essential information for the safe and effective use of your Sony Cyber-Shot DSC-RX100 VA Digital Camera. Please read it thoroughly before operating the camera and retain it for future reference.
The Sony Cyber-Shot DSC-RX100 VA is a compact digital camera featuring a 20.1 MP 1" Exmor RS BSI CMOS Sensor and a BIONZ X Image Processor, designed for high-quality still images and UHD 4K video recording. It includes a Zeiss Vario-Sonnar T* f/1.8-2.8 lens (24-70mm equivalent) and a 3.0" 1229k-Dot Multi-Angle Xtra Fine LCD.
2. Setup
2.1 Unpacking and Checking Contents
Carefully unpack your camera and verify that all included items are present. The standard package includes:
- Sony Cyber-shot DSC-RX100 VA Digital Camera
- NP-BX1 Replacement Battery
- USB Cable (for charging and data transfer)
- Power Adapter
- Wrist Strap
- Instruction Manual (this document)
Additional accessories may be included depending on your purchase bundle, such as a SanDisk 64GB Extreme PRO UHS-I SDXC Memory Card, Premium Flexible Tripod, Deluxe Point & Shoot Camera Case, Deluxe Cleaning Kit, High Quality Dust Cleaner Blower, Lens Pen Cleaner, and SD Card USB Reader.
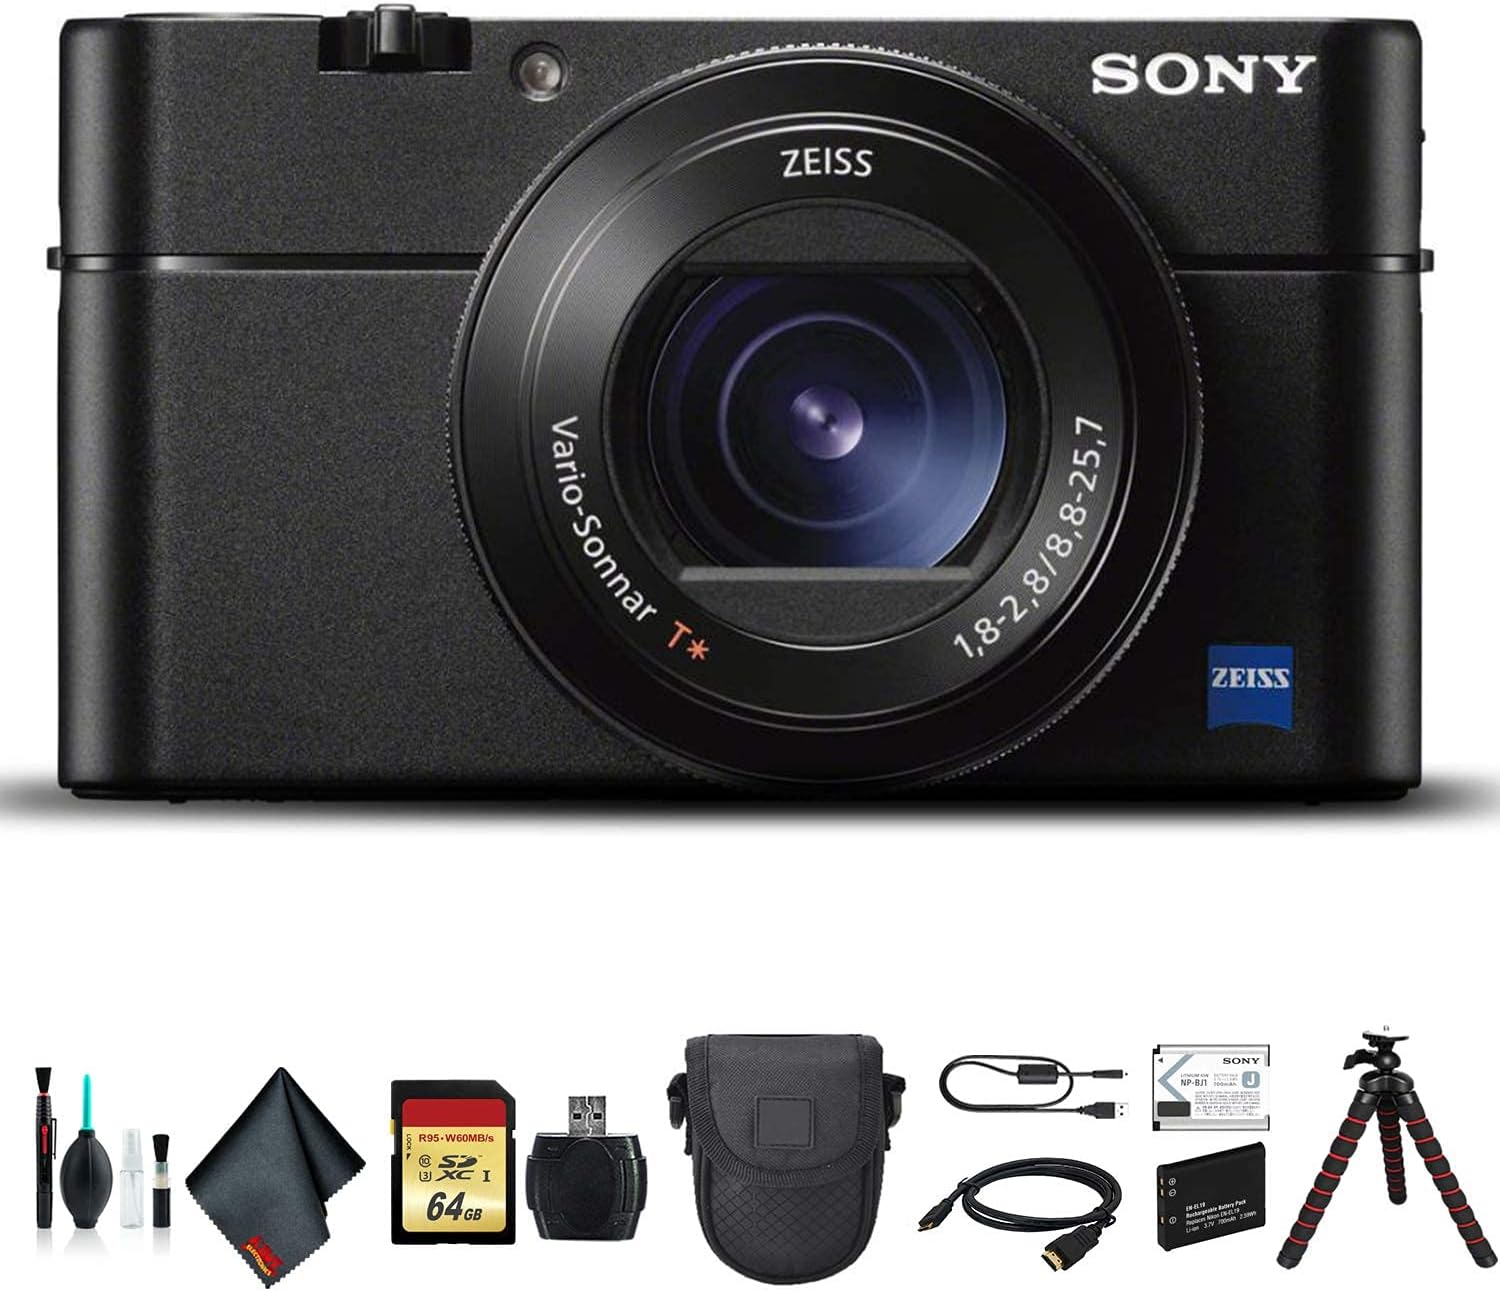
Figure 2.1: Sony Cyber-Shot DSC-RX100 VA camera and typical bundled accessories.
2.2 Battery Installation and Charging
- Open the battery cover on the bottom of the camera.
- Insert the NP-BX1 battery with the correct orientation, ensuring it clicks into place.
- Close the battery cover securely.
- Connect the camera to a power outlet using the supplied USB cable and power adapter to charge the battery. The charging indicator will light up.
2.3 Memory Card Installation
The camera supports SDXC memory cards. A SanDisk 64GB Extreme PRO UHS-I SDXC Memory Card may be included.
- Open the memory card slot cover, usually located near the battery compartment.
- Insert the memory card with the contacts facing the correct direction until it clicks into place.
- Close the memory card slot cover.
2.4 Initial Power On
Press the POWER button to turn on the camera. Follow the on-screen prompts to set the date, time, and language.
3. Operating the Camera
3.1 Camera Controls Overview
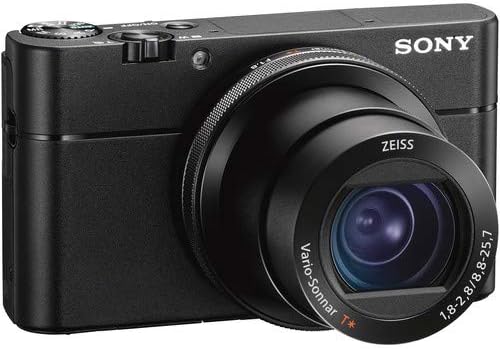
Figure 3.1: Front view of the Sony Cyber-Shot DSC-RX100 VA camera, showing the lens and control ring.

Figure 3.2: Rear view of the Sony Cyber-Shot DSC-RX100 VA camera, displaying the LCD screen and control buttons.
Familiarize yourself with the main controls:
- Shutter Button: Press halfway to focus, fully to take a picture.
- Zoom Lever: Controls optical and digital zoom.
- Mode Dial: Selects shooting modes (e.g., Program Auto, Aperture Priority, Shutter Priority, Manual, Movie).
- Control Ring: Located around the lens, customizable for various functions like zoom, aperture, or shutter speed.
- MENU Button: Accesses camera settings.
- Fn (Function) Button: Provides quick access to frequently used settings.
- DISP (Display) Button: Changes the information displayed on the LCD screen or viewfinder.
- Control Wheel: Navigates menus and adjusts settings.
- MOVIE Button: Starts and stops video recording.
- FINDER Button: Activates or retracts the electronic viewfinder.
3.2 Taking Photos
- Turn on the camera.
- Select your desired shooting mode using the Mode Dial.
- Frame your shot using the LCD screen or the pop-up OLED Tru-Finder EVF.
- Press the shutter button halfway to achieve focus. The camera features Contrast Detection Autofocus with 150 autofocus points.
- Press the shutter button fully to capture the image.
3.3 Recording Videos
The DSC-RX100 VA supports internal UHD 4K video recording and S-Log2 Gamma for advanced color grading.
- Turn on the camera.
- Press the dedicated MOVIE button to start recording.
- Press the MOVIE button again to stop recording.
The camera also offers slow-motion video recording at up to 960 fps.
3.4 Playback
To view your photos and videos, press the Playback button (usually indicated by a triangle icon). Use the Control Wheel to navigate through your media.
3.5 Connecting to a Computer
You can transfer photos and videos to a computer using the supplied USB cable or by removing the SD card and using an SD Card USB Reader.
- Via USB Cable: Connect the camera to your computer using the USB cable. The camera will appear as a removable drive.
- Via SD Card Reader: Insert the memory card into the SD Card USB Reader, then connect the reader to your computer.
4. Maintenance
4.1 Cleaning the Camera
Regular cleaning helps maintain optimal performance and image quality.
- Lens: Use a lens brush or blower to remove dust. For smudges, apply a small amount of lens cleaning solution to a microfiber cloth and gently wipe the lens in a circular motion. A lens pen cleaner can also be used.
- Camera Body: Wipe with a soft, dry cloth. For stubborn dirt, slightly dampen the cloth with water.
- LCD Screen: Use a clean, dry microfiber cloth.
Caution:
- Never use organic solvents such as alcohol, benzene, or paint thinner to clean the camera.
- Avoid touching the lens or sensor directly with your fingers.
4.2 Storage
When not in use, store the camera in a cool, dry place away from direct sunlight and extreme temperatures. If storing for an extended period, remove the battery.
4.3 Battery Care
- Charge the battery fully before first use.
- Avoid fully discharging the battery frequently to prolong its lifespan.
- Store batteries in a cool, dry place.
5. Troubleshooting
If you encounter issues with your camera, refer to the following common solutions:
| Problem | Possible Cause / Solution |
|---|---|
| Camera does not turn on | Battery is depleted or incorrectly inserted. Charge the battery or reinsert it correctly. |
| Cannot take pictures | Memory card is full, locked, or not inserted. Check card status, free up space, or insert correctly. |
| Images are blurry | Camera shake, incorrect focus, or low light. Use a faster shutter speed, ensure proper focus, or use a tripod. |
| Video recording stops unexpectedly | Memory card speed is insufficient for 4K video, or card is full. Use a high-speed card (UHS-I Speed Class 10, V30 recommended). |
| LCD screen is blank | Display setting might be off. Press the DISP button to cycle through display modes. |
For more detailed troubleshooting or issues not listed here, please refer to the official Sony support website or contact their customer service.
6. Specifications
Key technical specifications for the Sony Cyber-Shot DSC-RX100 VA (DSC-RX100M5A) camera:
- Effective Still Resolution: 20.1 MP
- Sensor Type: 1" Exmor RS BSI CMOS
- Image Processor: BIONZ X
- Lens: Zeiss Vario-Sonnar T* f/1.8-2.8 (24-70mm equivalent)
- Image Stabilization: Digital
- Video Resolution: UHD 4K (2160p)
- Frame Rate (Video): Up to 960 fps (slow motion)
- Screen Size: 3.0" (1229k-Dot Multi-Angle Xtra Fine LCD)
- Viewfinder: 2359k-Dot OLED Tru-Finder Pop-Up EVF
- Autofocus Points: 150 (Contrast Detection)
- Continuous Shooting: 10 FPS
- Supported File Formats: JPEG, RAW
- Memory Card Type: SDXC (up to 64 GB supported)
- Connectivity: USB, HDMI
- Battery Type: Lithium Ion (NP-BX1)
- Weight: Approximately 2.7 Pounds (with battery and memory card)
7. Warranty and Support
Your Sony Cyber-Shot DSC-RX100 VA Digital Camera is covered by a manufacturer's warranty. Please refer to the warranty card included with your product for specific terms and conditions, including the warranty period and coverage details.
For technical support, service, or further inquiries, please visit the official Sony support website or contact Sony customer service directly. Keep your purchase receipt and product serial number handy when seeking support.
Sony Support Website: https://www.sony.com/electronics/support


