1. Product Overview
The Rotary 13749 Steering Cable is a direct replacement for Stiga OEM part number 1134-2032-04. This cable is designed for center articulating riding mower models, ensuring proper steering function and control.
Model: Rotary 13749
Replaces OEM: Stiga 1134-2032-04

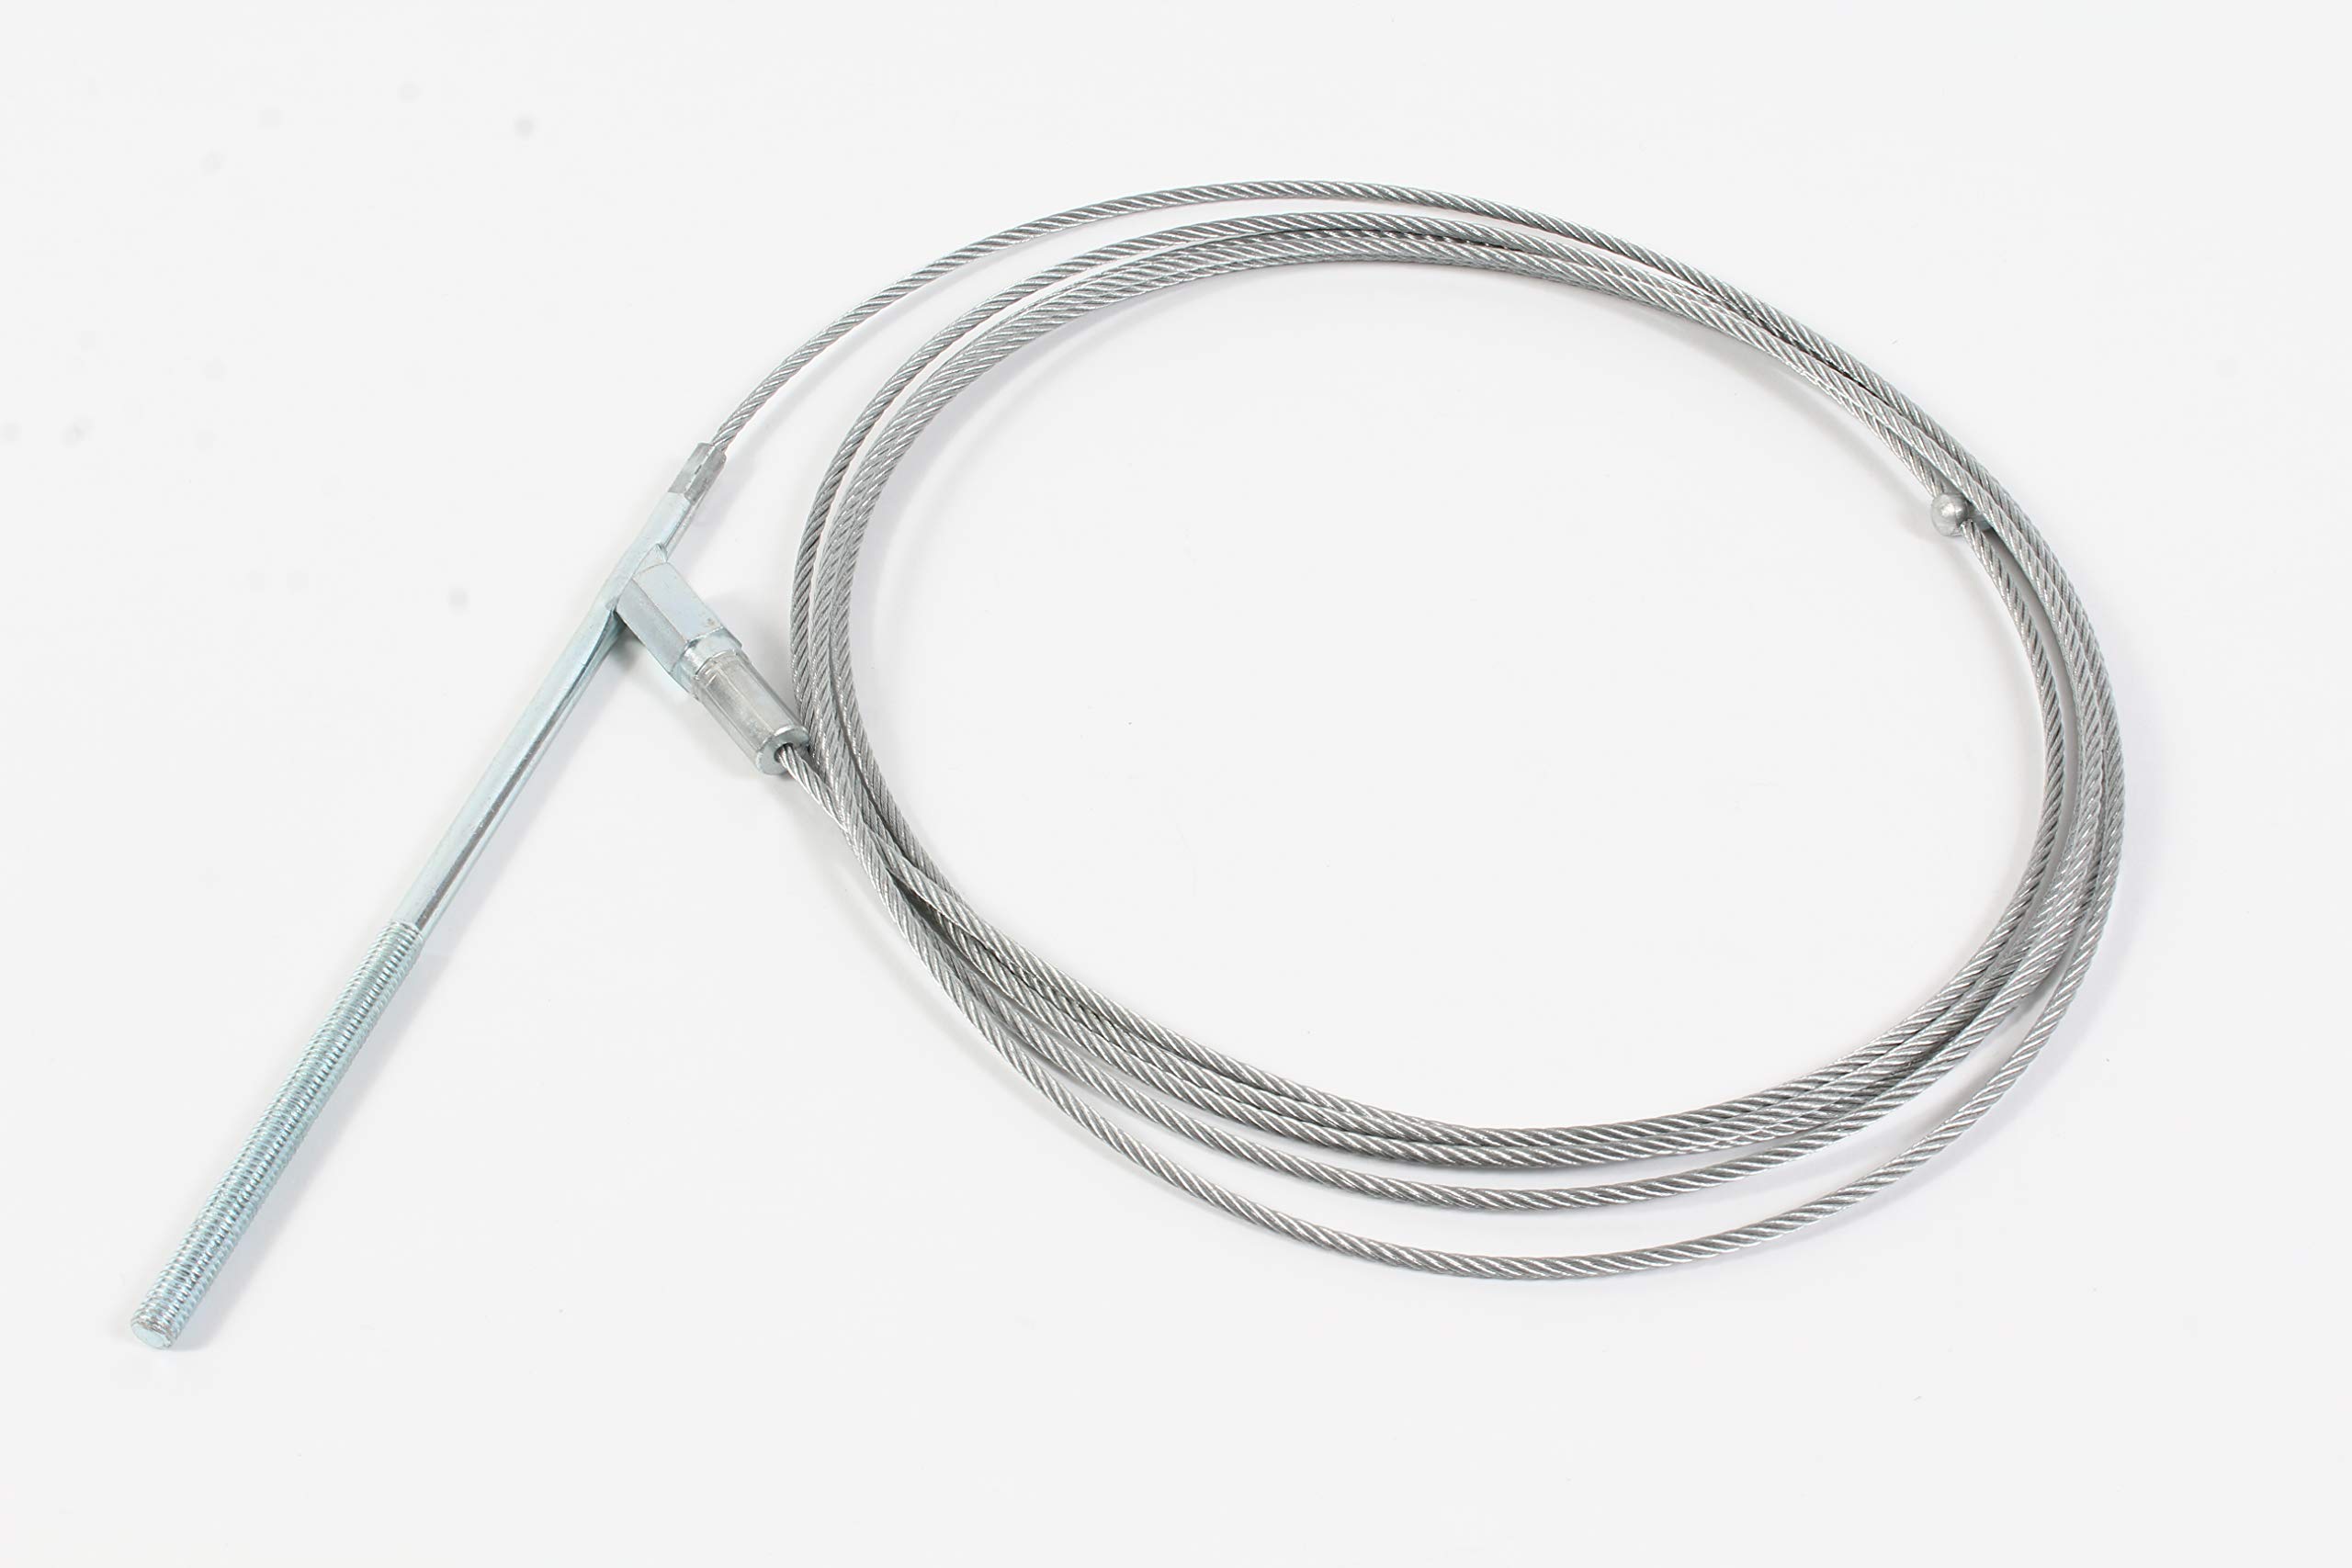
Image 1: Rotary 13749 Steering Cable. This image displays the full length of the steering cable, coiled for packaging, with its end fittings visible.
2. Compatibility
This steering cable is compatible with the following center articulating riding mower models:
- Stiga: Ready, Villa Compact, Villa III
- Castelgarden: 2105M, 2125H, 2125M, 2135H
3. Specifications
- Total Length: 147 inches (approximately 373.4 cm)
- Part Number: Rotary 13749
- OEM Replacement: Stiga 1134-2032-04
4. Installation Instructions
Safety First: Before beginning any installation, ensure the mower is turned off, the engine is cool, and the spark plug wire is disconnected to prevent accidental starting. Wear appropriate safety gear, including gloves and eye protection.
- Prepare the Mower: Park the mower on a flat, stable surface. Engage the parking brake if available.
- Locate Existing Cable: Identify the old steering cable. Note its routing and how it connects to the steering mechanism and the articulating chassis. Taking photos can be helpful for reassembly.
- Remove Old Cable: Disconnect the old cable from both ends. This typically involves removing retaining clips, bolts, or nuts. Carefully pull the old cable out from its routing path.
- Install New Cable: Route the new Rotary 13749 steering cable along the exact path of the old cable. Ensure it is not kinked, pinched, or rubbing against any moving parts or sharp edges.
- Connect New Cable: Attach the new cable securely to the steering mechanism and the articulating chassis using the appropriate hardware. Ensure all connections are tight and secure.
- Test Steering: With the engine off, slowly turn the steering wheel from lock to lock. Observe the cable movement and the articulation of the mower chassis. Ensure there is no binding or excessive play.
- Final Check: Reconnect the spark plug wire. Start the mower and perform a low-speed test in a safe, open area to confirm proper steering function.
If you are unsure about any step, it is recommended to consult a qualified service technician or refer to your mower's specific service manual.
5. Maintenance
Regular maintenance helps prolong the life of your steering cable and ensures safe operation:
- Inspection: Periodically inspect the cable for signs of wear, fraying, kinks, or damage. Check the end fittings for corrosion or looseness.
- Lubrication: Apply a suitable cable lubricant to the exposed portions of the cable and its end connections annually, or as recommended by your mower's manufacturer.
- Cleaning: Keep the cable and its routing path free from dirt, debris, and grass clippings.
- Adjustment: Ensure the steering system has the correct tension and free play as specified in your mower's manual.
6. Troubleshooting
| Symptom | Possible Cause | Solution |
|---|---|---|
| Stiff Steering | Lack of lubrication, cable binding, or damaged cable. | Lubricate cable, check routing for obstructions, inspect for damage and replace if necessary. |
| Loose Steering / Excessive Play | Loose connections, stretched cable, or worn steering components. | Check all connections for tightness. If cable is stretched or components are worn, replacement may be required. |
| No Steering Response | Broken cable or completely disconnected ends. | Inspect cable for breakage. Reconnect any disconnected ends or replace the cable if broken. |
7. Safety Information
- Always disconnect the spark plug wire before performing any maintenance or installation.
- Wear appropriate personal protective equipment (PPE), including gloves and eye protection.
- Ensure all parts are correctly installed and secured before operating the mower.
- If you are not confident in performing the installation, seek professional assistance.
8. Warranty and Support
For warranty information or technical support regarding your Rotary 13749 Steering Cable, please contact Rotary customer service or refer to the original purchase documentation. Keep your proof of purchase for warranty claims.
Contact Information: Please refer to the manufacturer's official website or your product packaging for the most current support contact details.


