1. Introduction
This manual provides essential instructions for the safe and efficient operation, setup, and maintenance of your Dibea D500Pro Robotic Vacuum Cleaner. Please read this manual thoroughly before using the product and retain it for future reference.
The Dibea D500Pro is a 2-in-1 robotic cleaner designed for both vacuuming and mopping. Its D-shape design allows for effective cleaning along walls and in corners, while its strong suction and quiet operation ensure a thorough and undisturbed cleaning experience. The robot features self-charging capabilities and is suitable for various hard floor types.
2. Product Overview
Key Features
- 2-in-1 Functionality: Vacuuming and Mopping capabilities.
- D-Shape Design: Optimized for cleaning corners and edges.
- Strong Suction: Three adjustable suction levels (Quiet, Standard, Max) up to 900Pa.
- Quiet Operation: Operates at approximately 60dB.
- Self-Charging: Automatically returns to its charging base when battery is low.
- Long Battery Life: Up to 120 minutes runtime on a single charge.
- No-Roller Brush Design: Prevents hair tangling.
- Multiple Cleaning Modes: Auto, Path, Max, Edge, Mopping, Spot.
- Obstacle Climbing: Capable of climbing over barriers up to 15mm.
Components and Functions
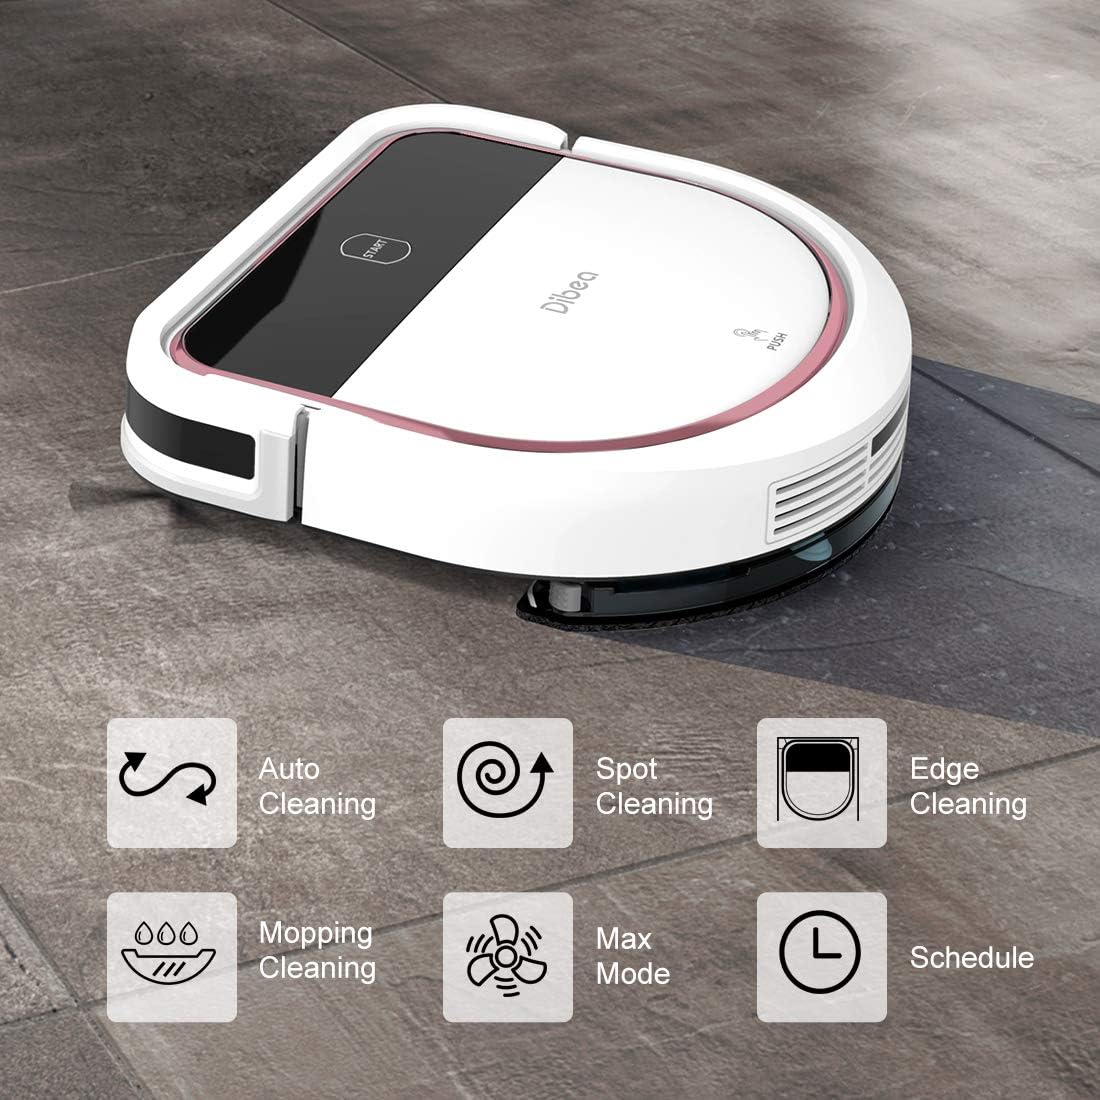
Figure 2.1: Dibea D500Pro with icons representing its cleaning modes: Auto, Spot, Edge, Mopping, Max, and Schedule.

Figure 2.2: Underside of the D500Pro with no-roller brush design and illustration of suction levels for different debris.

Figure 2.3: Internal view showing the HEPA filtration system and strong suction.
3. Setup
- Unpacking: Carefully remove all components from the packaging. Ensure all accessories are present.
- Charging Base Placement: Place the charging base in an open, uncluttered area against a wall. Ensure it is positioned flat on a hard floor to maintain stability.
- Power Connection: Connect the power adapter to the charging base and plug it into a wall outlet.
- Initial Charge: Before first use, ensure the power switch on the robot is ON. Place the robot on the charging base to fully charge.

Figure 3.1: Illustration of the robot's battery and self-charging function.

Figure 3.2: The robot docked at its charging station.
4. Operating Instructions
Starting and Stopping
- To Start: Ensure the power switch on the side of the robot is ON. Press the 'Start' button on the robot's top panel or use the remote control to initiate cleaning.
- To Pause/Stop: Press the 'Start' button again on the robot or the corresponding button on the remote control.
Cleaning Modes
The Dibea D500Pro offers six distinct cleaning modes to suit various needs:
- Auto Mode: The robot intelligently navigates to clean the entire area.
- Path Mode: Cleans in a systematic, back-and-forth pattern.
- Edge Mode: Focuses on cleaning along walls and furniture edges.
- Mopping Mode: Engages the mopping function for wet cleaning. Ensure the water tank is filled and properly installed.
- Spot Mode: Concentrates cleaning on a specific small area.
Select your desired cleaning mode using the remote control.

Figure 4.1: The robot is suitable for various floor types including wood, tile, and laminate.
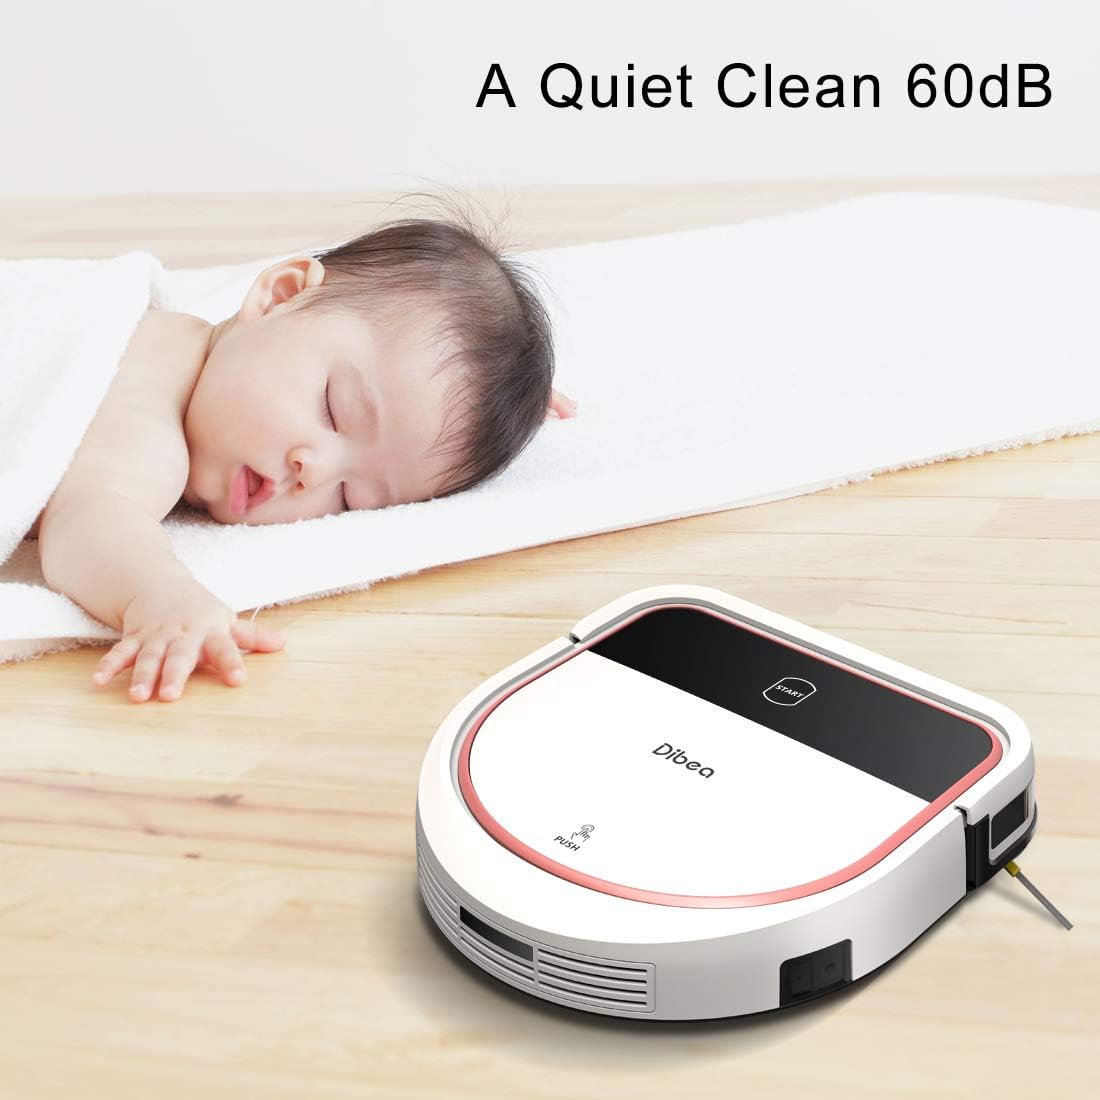
Figure 4.2: The D500Pro operates quietly, minimizing disturbance.

Figure 4.3: The robot can navigate over obstacles up to 1.5cm in height.
5. Maintenance
Regular maintenance is crucial for optimal performance and longevity of your Dibea D500Pro.
- Dust Bin: Empty the dust bin after every use.
- Filters: Wash the filter regularly. It is recommended to change the HEPA filter every 3 months.
- Charging: Always keep the vacuum robot charged on the home base when not in use to maintain battery health.
- Water Tank (Mopping Mode): When moving the machine, remove the water tank and keep the machine horizontal. Remove the water tank when the machine is not in use and discharge all water from the tank to prevent damage to the mainboard.
- Avoid Specific Debris: Do not use the robot to clean water, glass, or crushed tiles.
6. Troubleshooting
If you encounter any issues with your Dibea D500Pro, please refer to the following common solutions:
- Robot not starting: Ensure the side power switch is ON and the robot is sufficiently charged.
- Poor suction: Check if the dust bin is full and empty it. Clean or replace the HEPA filter. Ensure there are no blockages in the suction inlet.
- Robot not charging: Verify the charging base is properly plugged in and the robot is correctly docked. Clean the charging contacts on both the robot and the base.
- Robot getting stuck frequently: Clear obstacles from the cleaning path. Ensure the robot is not attempting to climb over barriers higher than 15mm.
- Mopping function not working: Ensure the water tank is filled and correctly installed. Check for any blockages in the water dispenser.
For persistent issues, please contact customer support.
7. Specifications
| Feature | Detail |
|---|---|
| Product Dimensions | 21.06 x 14.17 x 5.43 inches |
| Item Weight | 8.67 pounds |
| Manufacturer | Dibea |
| ASIN | B07SYP3TD6 |
| Batteries | 1 Lithium Ion battery required (included) |
| Form Factor | Robotic |
| Specific Use | Hard floor cleaning |
8. Warranty and Support
Dibea offers lifetime technical support for the D500Pro Robotic Vacuum Cleaner. For any inquiries or assistance, please contact our customer service. Our team aims to resolve your problems within 24 hours.


