1. Introduction
This manual provides instructions for the setup, operation, and maintenance of your Ducky One 2 Mini RGB Mechanical Keyboard. Please read this manual thoroughly before using the product to ensure proper functionality and longevity.
2. Key Features
- Brand new bezel design and dual layer PCB.
- PBT Double Shot seamless keycaps for durability and clear legends.
- Supports Ducky Macro 2.0 for advanced customization.
- 3-level adjustable feet for ergonomic positioning.
- Detachable USB-C cable for portability and easy replacement.
- New RGB lighting modes and architecture for customizable illumination.
- 60% compact size, designed for portability and space-saving.
- Includes 10 additional random color Double Shot PBT keycaps and a random Zodiac Year spacebar for personalization.
- Equipped with Cherry MX Silent Red mechanical switches for quiet operation.
3. Setup Guide
3.1 Package Contents
- Ducky One 2 Mini RGB Mechanical Keyboard
- Detachable USB-C cable
- 10 additional random color Double Shot PBT keycaps
- 1 random Zodiac Year spacebar
- Keycap puller tool
3.2 Connecting the Keyboard
Connect the detachable USB-C cable to the USB-C port on the keyboard and the other end to an available USB port on your computer. The keyboard will automatically be recognized by your system.

Image: The Ducky One 2 Mini RGB keyboard connected via its detachable USB-C cable.
3.3 Adjusting Keyboard Height
The keyboard features 3-level adjustable feet on its underside. Flip out the desired feet to adjust the typing angle for optimal comfort.

Image: The underside of the Ducky One 2 Mini RGB keyboard, illustrating the adjustable feet in an extended position.
3.4 DIP Switch Settings
On the underside of the keyboard, there are DIP switches that allow for hardware-level configuration changes. Refer to the specific Ducky One 2 Mini manual for detailed functions of each switch. These switches can alter key functions or keyboard modes.

Image: A close-up of the underside of the Ducky One 2 Mini RGB keyboard, highlighting the DIP switches for advanced configuration.
3.5 Initial Overview and Setup
Video: An overview of the Ducky One 2 Mini RGB keyboard, demonstrating its physical features, keycap removal, and initial connection.
4. Operating Instructions
4.1 60% Layout Functionality
The Ducky One 2 Mini features a 60% layout, meaning it omits the number pad, function row, navigation cluster, and arrow keys found on full-size keyboards. These functions are typically accessed via a combination of the Fn key and other keys. Refer to the keyboard's printed legends or the official Ducky manual for specific key combinations.
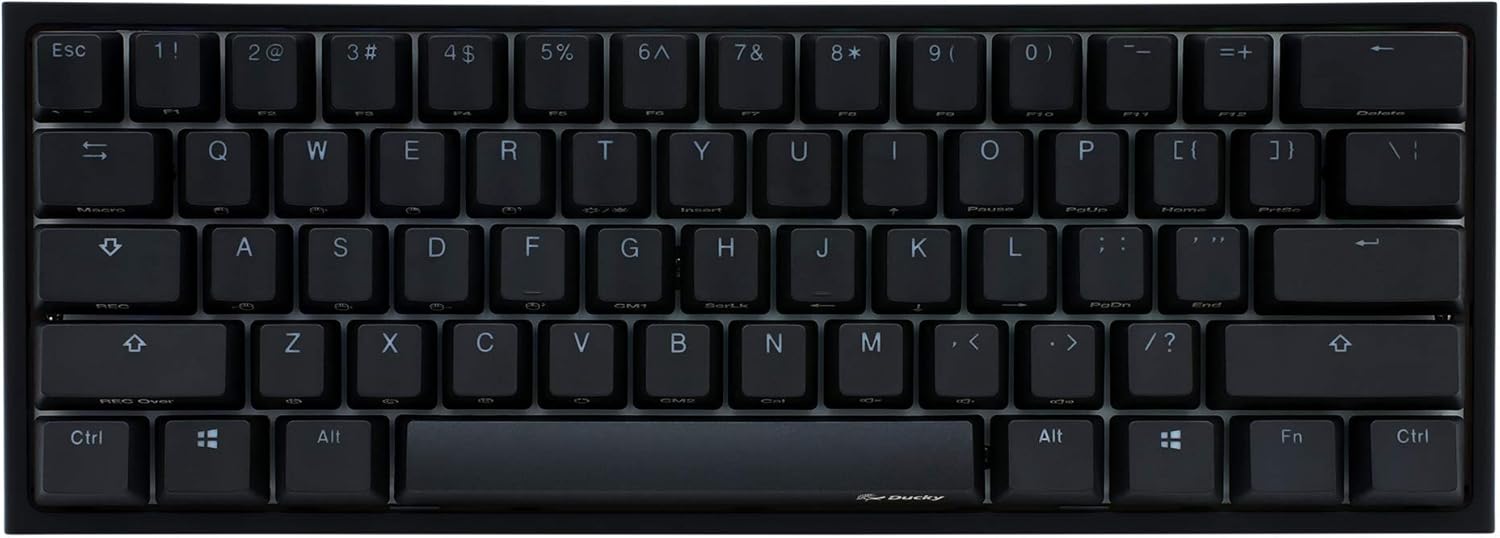
Image: A top-down view of the Ducky One 2 Mini RGB keyboard, showcasing its compact 60% layout.
4.2 RGB Lighting Customization
The keyboard supports various RGB lighting modes and effects. These can be customized directly on the keyboard using specific key combinations (often involving the Fn key) or through Ducky's software. The lighting can be adjusted for color, brightness, and effect speed.

Image: The Ducky One 2 Mini RGB keyboard illuminated with a vibrant, multi-color backlighting effect.

Image: The Ducky One 2 Mini RGB keyboard showcasing a purple and pink backlighting scheme.
Video: A short demonstration of the Ducky One 2 Mini RGB keyboard's backlighting in action.
4.3 Ducky Macro 2.0
The Ducky One 2 Mini supports Ducky Macro 2.0, allowing users to program custom macros and key functions directly on the keyboard hardware. This enables advanced customization without requiring software installation. Detailed instructions for macro programming are available in the comprehensive Ducky manual.
4.4 General Usage and Features Overview
Video: A review highlighting various features and general usage of the Ducky One 2 Mini RGB keyboard.
5. Maintenance
5.1 Cleaning the Keyboard
To maintain optimal performance and appearance, regularly clean your keyboard. Use a soft, lint-free cloth to wipe down the keycaps and chassis. For deeper cleaning, a can of compressed air can be used to remove dust and debris from between the keys. Avoid using harsh chemicals or abrasive materials.
5.2 Keycap Replacement
The Ducky One 2 Mini comes with a keycap puller tool and additional keycaps for customization. To replace a keycap, gently use the keycap puller to remove the existing keycap. Align the new keycap with the switch stem and press down firmly until it clicks into place.
6. Troubleshooting
6.1 macOS Compatibility Issue (Keyboard Freezing)
Some users have reported an issue where the keyboard "freezes" (LEDs turn off, typing stops) when used with macOS, particularly during system updates. This can be resolved by following these steps:
- Press and hold Fn + Alt + P for 3 seconds, until only the number keys and A-F row are lit.
- Enter "05AC024F" on the keyboard.
- Unplug the USB-C cable, then plug it back in.
This procedure is a known community fix and may resolve the issue. Ensure your keyboard firmware is up to date for general compatibility improvements.
6.2 "Twang" or "Ping" Sound from Keys
Some users may notice a "twang" or "ping" sound on certain keystrokes, particularly with Cherry MX Silent Red switches. This is often due to spring resonance within the switch or the keyboard's internal plate. While generally not indicative of a defect, it is a characteristic of some mechanical keyboards. Aftermarket modifications like switch lubing or adding dampening material can reduce this sound, but these are advanced procedures and may void your warranty if not performed correctly.
7. Specifications
| Brand | Ducky |
| Model | One 2 Mini RGB |
| Switch Type | Mechanical (Cherry MX Silent Red) |
| Keyboard Layout | 60% (QWERTY) |
| Connectivity Technology | USB-C (Detachable) |
| Keyboard Backlighting | RGB |
| Keycaps | PBT Double Shot Seamless |
| Material | Plastic |
| Item Weight | 1.31 Pounds |
| Compatible Devices | PC |
| Included Components | 10 additional random color Double Shot PBT keycaps, 1 random Zodiac Year spacebar, Detachable USB-C cable |
8. Warranty and Support
For warranty information, technical support, or service inquiries, please refer to the official Ducky website or contact your local retailer. Keep your proof of purchase for warranty claims.
Official Ducky Website: duckychannel.com.tw