A-Tech B07SYCS2MN
A-Tech 32GB DDR3/DDR3L 1600MHz ECC LRDIMM Memory Module User Manual
Model: B07SYCS2MN
1. Introduction and Product Overview
This manual provides essential information for the A-Tech 32GB DDR3/DDR3L 1600MHz PC3L-12800 ECC LRDIMM Memory Module. This module is designed to enhance the performance of compatible server and workstation systems by providing additional memory capacity and improving data processing capabilities.
It is crucial to understand that this memory module is specifically engineered for server and workstation environments and is not compatible with standard desktop or laptop systems.

Image: A-Tech 32GB DDR3L 1600MHz ECC LRDIMM Memory Module in its retail packaging, highlighting the brand, capacity, and specifications.
2. Product Features
- Capacity: 32 GB (1 x 32 GB Module)
- Memory Type: DDR3 / DDR3L
- Speed: 1600 MHz (PC3L-12800 / PC3L-12800L)
- Form Factor: DDR3L DIMM (240-Pin)
- Error Correction: ECC LRDIMM (Load Reduced DIMM)
- Rank: 4Rx4 - Quad Rank x4
- Voltage: 1.35V - DDR3 Low Voltage (operates at 1.35V or 1.5V)
- Designed to maximize system performance by speeding up loading times and boosting responsiveness.
- Specifically compatible with select server and workstation systems.

Image: Front view of the A-Tech 32GB DDR3L 1600MHz ECC LRDIMM Memory Module, showing the heat spreader and label with specifications.

Image: Graphic illustrating the performance benefits of A-Tech memory, emphasizing reduced bottlenecks and improved data processing for servers.
3. Specifications
| Attribute | Detail |
|---|---|
| RAM Size | 32 GB |
| RAM Technology | DDR3 / DDR3L |
| Memory Speed | 1600 MHz (PC3L-12800 / PC3L-12800L) |
| Voltage | 1.35 Volts (operates at 1.35V or 1.5V) |
| Form Factor | 240-Pin DIMM |
| ECC Type | ECC LRDIMM (Load Reduced DIMM) |
| Rank | 4Rx4 - Quad Rank x4 |
| Product Dimensions | 5.25 x 1.18 x 0.15 inches (133.35 x 30 x 3.81 mm) |
| Compatible Devices | Server, Workstations |

Image: Technical diagram illustrating the precise dimensions of the A-Tech memory module in both millimeters and inches.
4. Setup and Installation
Installing memory modules requires careful handling to prevent damage to the module or your system. Always consult your server or workstation's specific manual for detailed installation instructions, as procedures may vary by manufacturer and model.
4.1. Important Precautions
- Static Electricity: Memory modules are sensitive to electrostatic discharge (ESD). Always ground yourself before handling the module by touching a metal, unpainted surface on your computer chassis or by wearing an anti-static wrist strap.
- Power Off: Ensure your system is completely powered off and unplugged from the power source before opening the chassis.
- Handle with Care: Hold the memory module by its edges, avoiding contact with the gold connectors or the chips.
- Compatibility: Verify that your system supports DDR3L ECC LRDIMM memory. This module is designed for server and workstation systems only.

Image: Angled view of the A-Tech 32GB DDR3L 1600MHz ECC LRDIMM Memory Module, showing its physical design and heat spreader.
4.2. General Installation Steps (Consult System Manual for Specifics)
- Power down your server or workstation and disconnect all power cables.
- Open the system chassis according to your system's manual.
- Locate the memory slots on the motherboard.
- If replacing existing modules, gently push the retention clips outward to release the old module and remove it.
- Align the notch on the A-Tech memory module with the key in the memory slot.
- Insert the module firmly into the slot, applying even pressure to both ends until the retention clips snap into place.
- Ensure the module is seated correctly and the clips are fully engaged.
- Close the system chassis and reconnect power cables.
- Power on your system. The system should automatically detect the new memory.
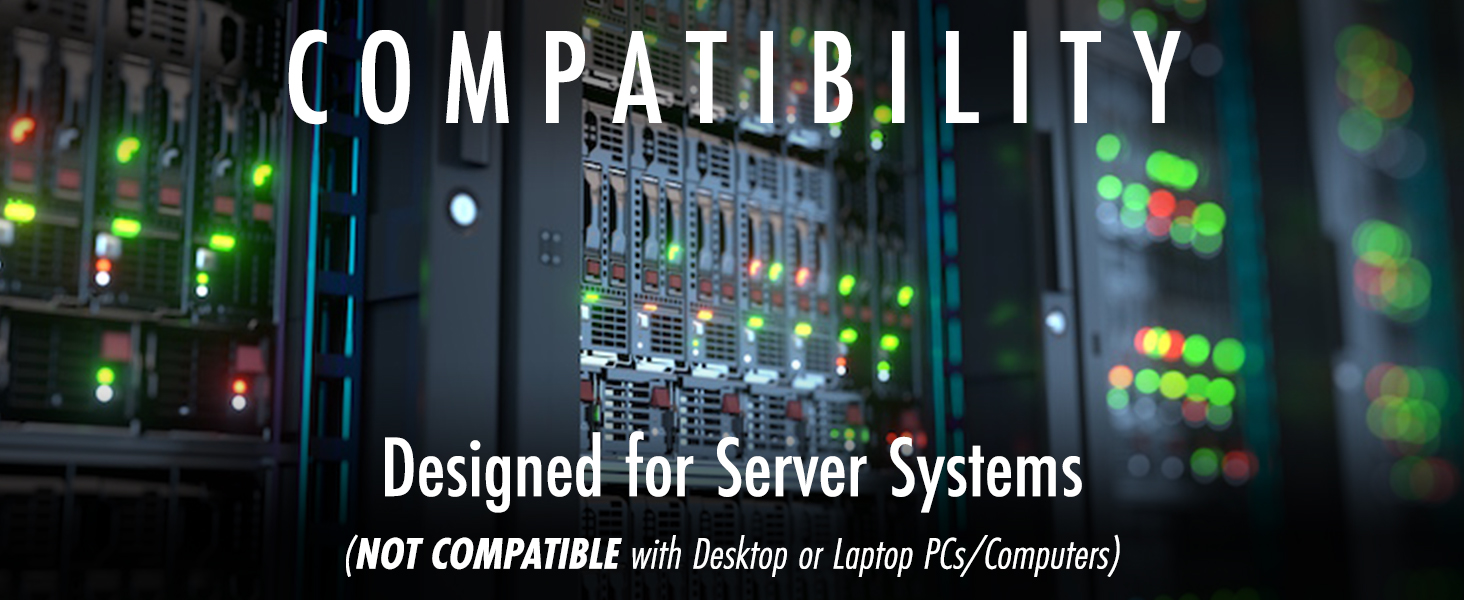
Image: Graphic emphasizing the compatibility of A-Tech memory modules specifically with server systems, explicitly stating non-compatibility with desktop or laptop PCs.
5. Operating Considerations
Once installed, the A-Tech memory module operates automatically with your system's motherboard and operating system. No specific software or drivers are required for its basic function.
5.1. System Recognition
Upon first boot after installation, your system's BIOS/UEFI will detect the new memory configuration. In some cases, you may need to enter the BIOS/UEFI setup to confirm the new memory size or adjust settings if necessary, though this is rare for standard memory upgrades.
5.2. Performance Benefits
The primary benefit of installing additional or upgraded memory is improved system responsiveness, faster application loading, and enhanced multitasking capabilities, especially in demanding server or workstation environments.
6. Maintenance
Memory modules are generally maintenance-free components. However, adhering to general computer maintenance practices can help ensure their longevity and optimal performance.
- Keep System Clean: Regularly clean the interior of your server or workstation to prevent dust buildup, which can impede airflow and lead to overheating. Use compressed air to gently clear dust from components, including memory modules and their slots.
- Environmental Control: Operate your system in a well-ventilated area with stable temperature and humidity to prevent thermal stress on components.
- Avoid Physical Contact: Once installed, avoid touching the memory modules unless performing maintenance or upgrades, always following ESD precautions.
7. Troubleshooting
If you encounter issues after installing the A-Tech memory module, consider the following troubleshooting steps:
- System Not Booting / No Display:
- Ensure the memory module is fully seated in its slot. Gently press down on both ends until the clips snap.
- Verify that the module's notch aligns correctly with the slot's key.
- Try reseating the module.
- If multiple modules are installed, try booting with only one module at a time to identify a potentially faulty module.
- Check your system's manual for specific memory slot population rules.
- Incorrect Memory Size Detected:
- Ensure your system's BIOS/UEFI is updated to the latest version, as older versions might not fully support newer, higher-capacity modules.
- Confirm that your motherboard officially supports the total amount of RAM installed and the specific type (ECC LRDIMM).
- System Instability / Crashes:
- Run a memory diagnostic tool (e.g., MemTest86) to check for errors.
- Ensure proper system cooling to prevent overheating.
- Compatibility Issues:
- Double-check that your system is a server or workstation and not a desktop or laptop. This module is not compatible with consumer-grade PCs.
- Verify that your system requires ECC LRDIMM memory. Mixing different ECC types (e.g., Registered, Unbuffered) is generally not supported.

Image: Graphic highlighting A-Tech's commitment to reliability through extensive quality control testing of all memory modules.
8. Warranty and Support
A-Tech provides a Lifetime Warranty for all orders. This warranty covers defects in materials and workmanship under normal use.
For technical assistance, troubleshooting, or warranty claims, please contact A-Tech's customer support. They offer complimentary United States based Tech Support before, during, and after your purchase.
Visit the official A-Tech website for more information and support resources: https://atechmemory.com/
You can also find additional information and FAQs on their brand store: A-Tech Components Amazon Store
Ask a question about this manual
Ask about setup, troubleshooting, compatibility, parts, safety, or missing instructions. Manuals+ will review the question and use this page’s manual context to help answer it.