1. Introduction
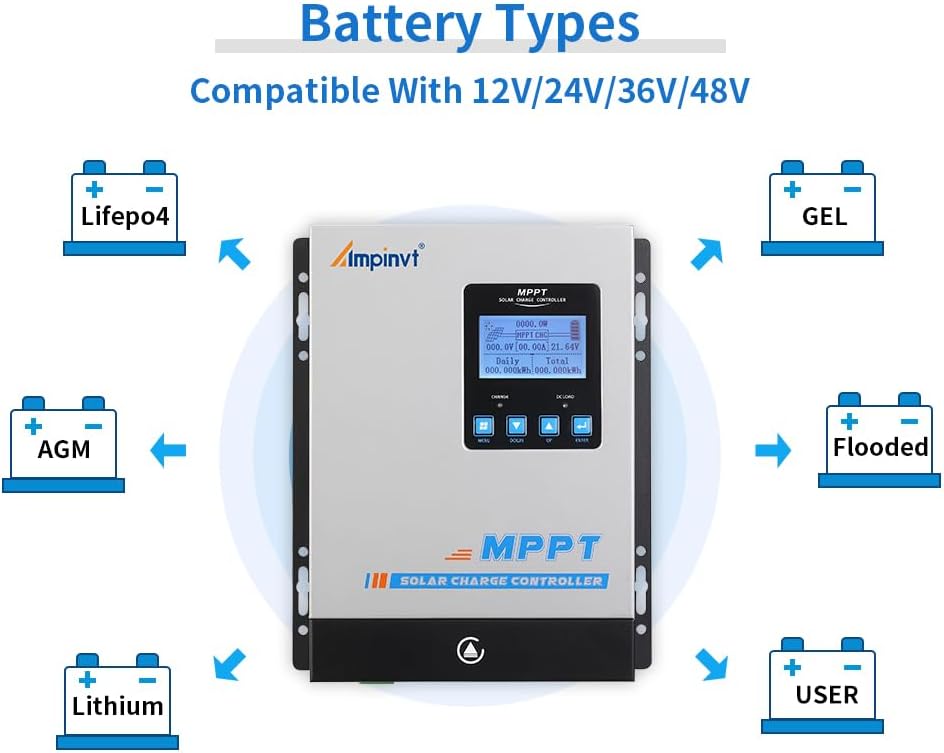
This user manual provides essential information for the safe and efficient operation of your AMPINVT 80 Amp MPPT Solar Charge Controller. This advanced controller is designed to maximize power harvesting from your solar panels and efficiently charge various battery types, including Lead-acid (Sealed, AGM, Gel, Flooded) and Lithium batteries. It automatically identifies 12V, 24V, 36V, and 48V system voltages and features an LCD display for real-time monitoring and control.

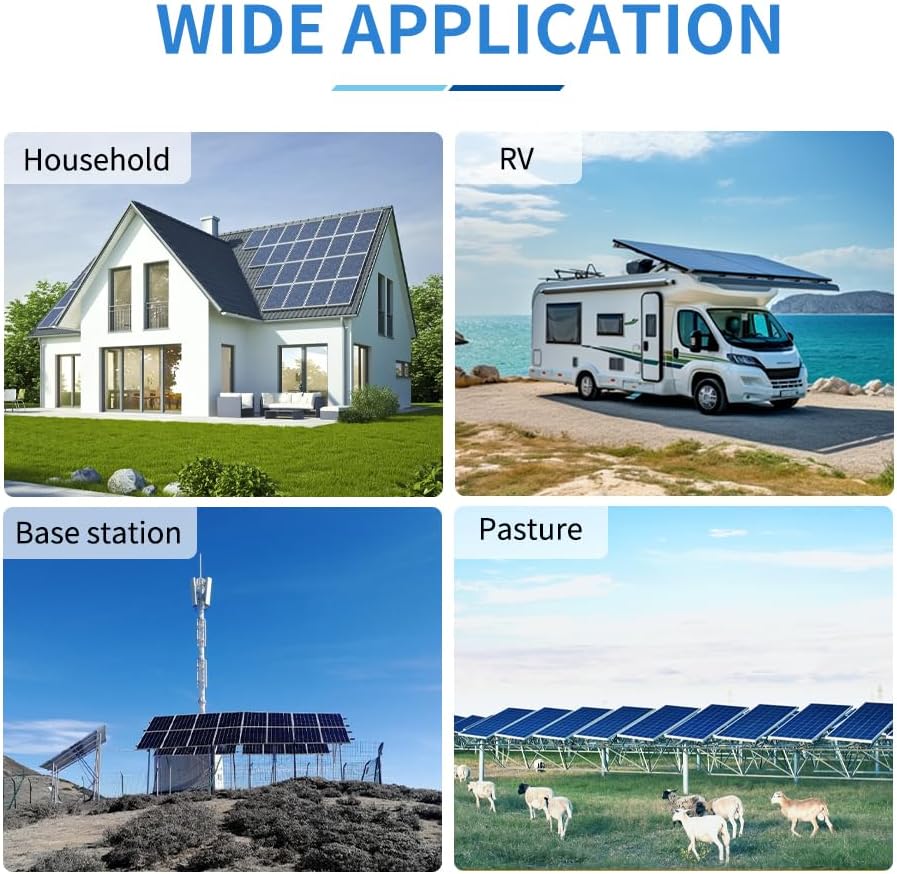
Key features include a tracking rate of maximum power ≥99% and a maximum conversion rate >98%. It is suitable for a wide range of applications, such as solar RV setups, household power systems, and industrial field monitoring.
This video provides a general overview of the Ampinvt MPPT Solar Charge Controller, showcasing its design and primary functions.
2. Safety Information
Please read and understand all safety instructions before installation and operation to prevent injury or damage to the controller and connected equipment.
- Battery Connection First: Always connect the battery to the controller first. Ensure the battery voltage is sufficient for the controller to recognize the correct system voltage.
- NEVER Connect Solar Panel Array Without Battery: Do not connect the solar panel array to the controller before connecting the battery.
- Disassembly Sequence: The disassembly sequence is contrary to the wiring order (disconnect solar panels first, then battery).
- Inverter/Charger Connection: DO NOT connect any Inverter, wind turbine, alternator, or external charger directly into the charge controller. Connect the Inverter directly to the battery.
- Solar Input Voltage: Ensure solar input voltage is at least 3V higher than the battery's voltage and that the total input power is within the specified range.
- Installation Location: DO NOT install the charging controller in direct sunlight to avoid power loss due to overheating.
- Ventilation: Remove all clutter around the controller to reduce interference and ensure enough space for heat dissipation (approximately 20cm clearance).
- Tight Connections: Ensure all connections going into and from the controller are tight.
- Polarity: DO NOT let the positive (+) and negative (-) terminals of the battery touch each other.
3. Product Overview
The AMPINVT MPPT Solar Charge Controller is housed in a durable metal casing, designed for efficient heat dissipation and long-term reliability. It features an intuitive LCD display and user-friendly buttons for easy operation and monitoring.

Components and Interface

- Cooling Fan: For heat dissipation.
- Hang Bracket: For mounting the controller.
- LCD Display: Shows operating data and working conditions.
- Menu Button: Accesses the menu options.
- Down Button: Navigates down or decreases values.
- Up Button: Navigates up or increases values.
- Enter Button: Confirms selections.
- Temperature Interface: For connecting the external temperature sensor.
- Solar Panel Terminals: Connects to solar panel array.
- Battery Terminals: Connects to the battery bank.
- DC Load Terminals: Connects to DC loads.
- RS485 Port: For communication, including Wi-Fi remote monitoring (requires additional purchase).
Product Dimensions
The controller has physical dimensions of approximately 9.05 inches (L) x 3.58 inches (W) x 12 inches (H) and weighs about 9.2 pounds.

This video showcases the different models of the AMPINVT Solar Charge Controller (40A, 60A, 80A, 120A), highlighting their physical appearance and size variations.
4. Setup and Installation
Proper installation is crucial for the performance and longevity of your solar charge controller. Follow these steps carefully:
- Mounting: Install the controller in a well-ventilated area, away from direct sunlight and heat sources. Ensure at least 20cm of clear space around the unit for proper airflow.
- Battery Connection: Connect the battery to the controller first. Ensure the battery voltage is sufficient for the controller to auto-detect the system voltage (12V/24V/36V/48V).
- Solar Panel Connection: After the battery is connected, connect the solar panel array to the controller. Ensure the maximum input voltage (150V PV) and power (1140W for 12V, 2260W for 24V, 3420W for 36V, 4540W for 48V) are not exceeded. The MPPT best working voltage range is DC18V-DC80V (12V), DC30V-DC100V (24V), DC65V-DC150V (48V).
- DC Load Connection: Connect your DC loads to the designated terminals.
- Tighten Connections: Double-check all wiring connections to ensure they are secure and tight to prevent loose connections and potential hazards.

5. Operating Instructions
The LCD display provides comprehensive information about the system's performance and allows for configuration adjustments.
LCD Display and Buttons
The LCD display shows real-time operating data, including daily power generation curves and current curves. Use the Menu, Down, Up, and Enter buttons to navigate through the display and adjust settings.
Battery Type Configuration
The controller supports charging for four types of batteries: Lead-acid (Sealed, AGM, Gel, Flooded) and User-defined (Lithium Battery). Ensure you select the correct battery type in the settings for optimal charging and battery health.
Load Control Modes
The controller offers multiple load control modes, allowing you to manage the power supply to your DC loads based on various parameters.
Wi-Fi Remote Monitoring (Optional)
The RS485 communication port enables Wi-Fi remote monitoring capabilities. This requires an additional purchase of a Wi-Fi module. Once connected, you can monitor and set parameters via a mobile application compatible with Android and iOS systems. The app allows for real-time wireless monitoring and offers a one-key restore to factory settings.
This video demonstrates the ease of operation for the AMPINVT MPPT solar charge controller, guiding users through its interface and functions.
This video provides insights into the AMPINVT 40A, 60A, and 80A solar charge controllers, focusing on their battery charging capabilities.
6. Maintenance
Regular maintenance ensures the optimal performance and lifespan of your solar charge controller.
- Connection Checks: Periodically inspect all wiring connections to ensure they remain tight and free from corrosion.
- Cleaning: Keep the controller clean and free from dust and debris. Use a dry cloth for cleaning.
- Ventilation: Ensure the cooling fan and ventilation openings are not obstructed.
7. Troubleshooting
This section addresses common issues you might encounter with your solar charge controller.
- Charging Indicator On/Off: If the charging indicator is intermittently on and off, and the charging current fluctuates, this is generally normal. It often occurs on cloudy days or in the evening when light is insufficient, indicating the controller is adjusting to available solar input.
- Controller Buzzing: If the controller produces a buzzing sound, it is typically due to the internal fan operating to dissipate heat. This is a normal function, especially under heavy load or high ambient temperatures. Allow the fan to operate as needed.
- Low Charging Current: If the charging current is almost zero when the controller is in floating charge mode, it may indicate that the solar input power is too low for the maximum input power capacity, or the battery is already fully charged.
8. Specifications
| Feature | Specification |
|---|---|
| Model | AP-80C |
| Brand | AMPINVT |
| Rated Current | 80 Amp |
| System Voltage | 12V/24V/36V/48V Auto |
| Max PV Input Voltage | 150V PV |
| MPPT Best Working Voltage Range | DC18V-DC80V (12V); DC30V-DC100V (24V); DC65V-DC150V (48V) |
| Max Input Power (12V System) | 1140W |
| Max Input Power (24V System) | 2260W |
| Max Input Power (36V System) | 3420W |
| Max Input Power (48V System) | 4540W |
| Display Type | LCD |
| Product Dimensions | 9.05 x 3.58 x 12 inches |
| Item Weight | 9.2 pounds |
| Material | Plastic (Note: Product description mentions metal casing, but specifications list plastic. User should verify.) |
| Country of Origin | China |
9. Warranty and Support
For warranty information and technical support, please refer to the documentation included with your product or contact AMPINVT customer service directly. Protection plans may be available for purchase separately to extend coverage beyond the standard warranty period.