
1. Product Overview
The A/C Pro Arctic Freeze Reusable R-134a Gauge & Hose is designed to assist in recharging your vehicle's air conditioning system. It features a diagnostic gauge, an easy-to-use trigger dispenser, and a 90-degree coupler for accessing ports in tight positions.
The integrated gauge allows you to:
- Diagnose if a refrigerant recharge is necessary.
- Identify the current low-side pressure in the AC system.
- Monitor pressure increases during the recharge process for accurate filling.
This product is specifically designed for EPA compliance and is compatible only with R-134a refrigerant cans that feature self-sealing valve can tops.
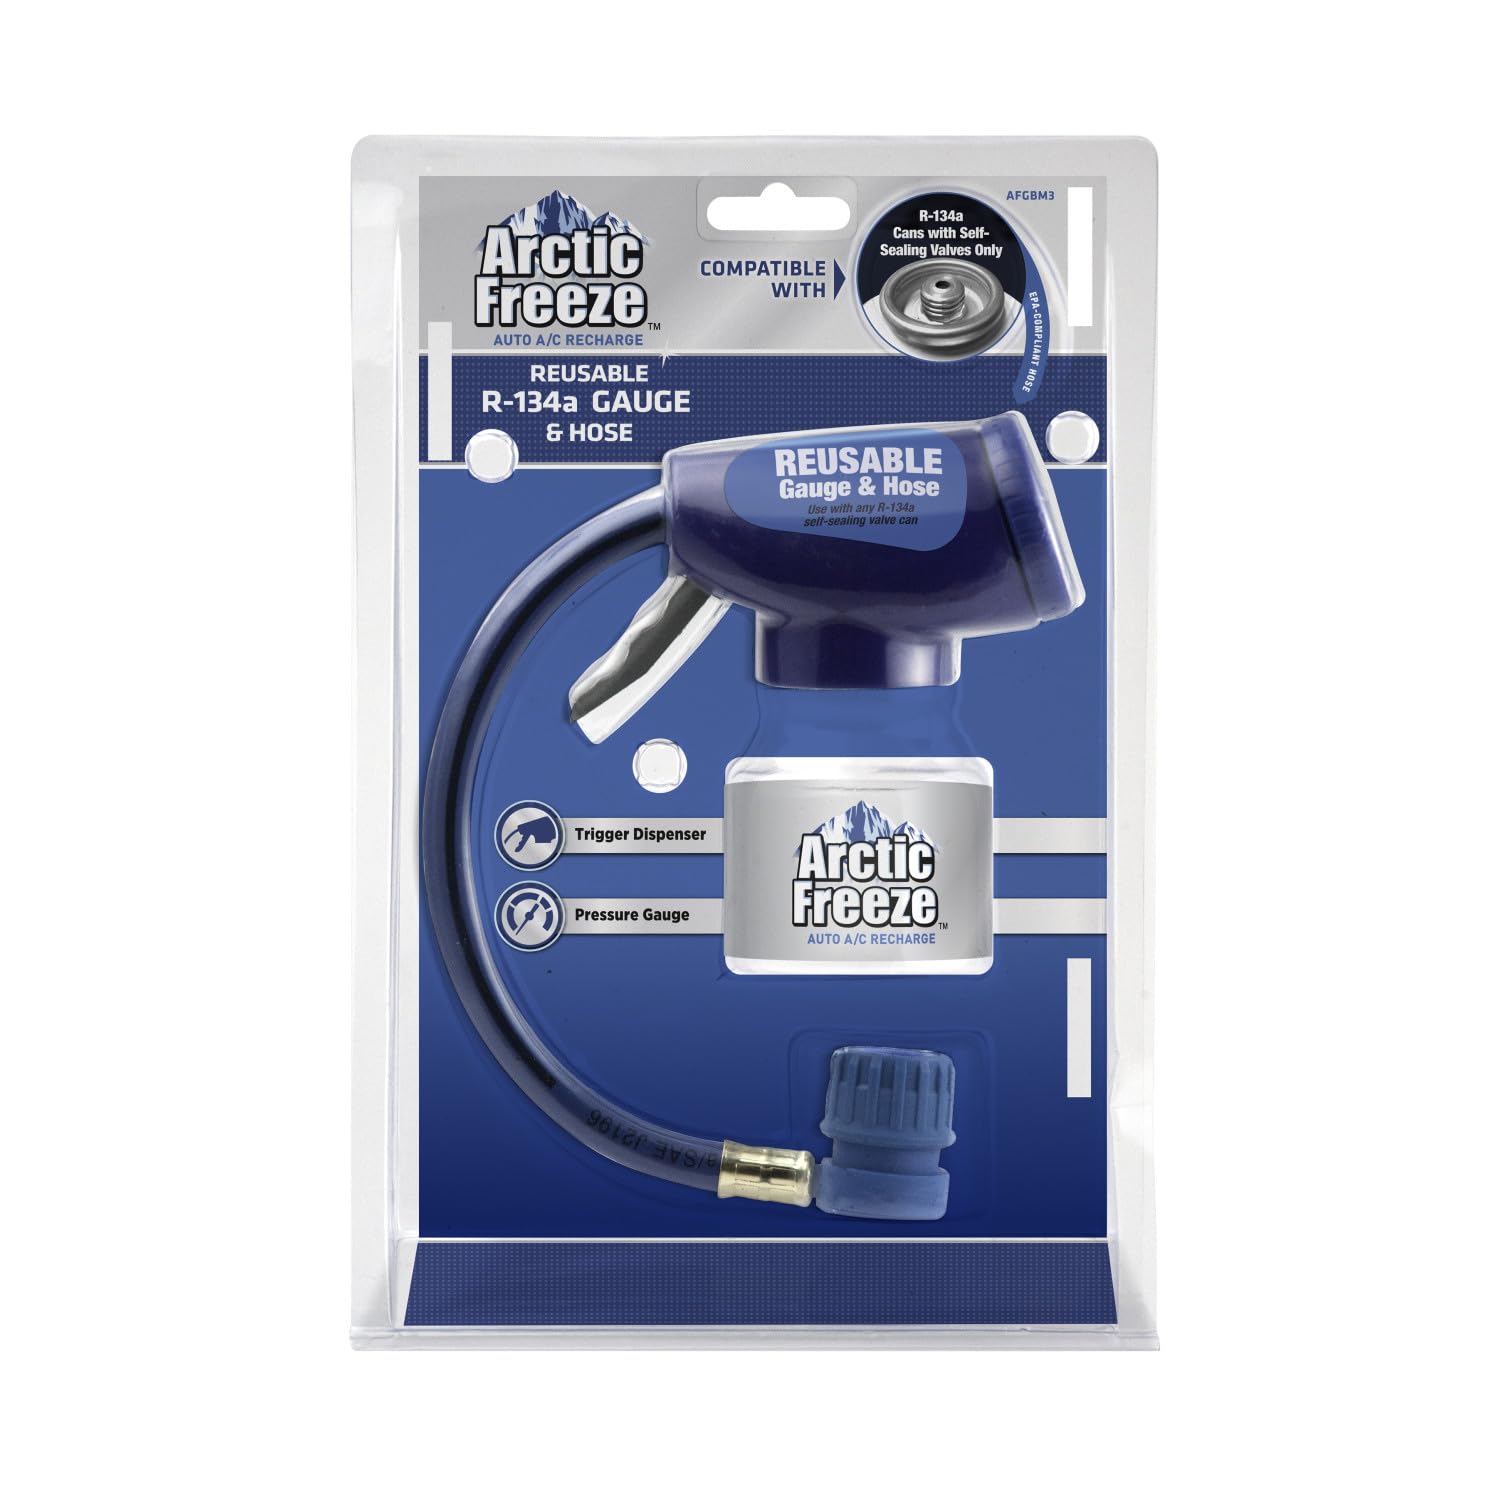
Image 1: The A/C Pro Arctic Freeze R-134a Refrigerant Gauge and Hose kit, including the blue gauge and hose assembly, ready for use with a refrigerant can.
2. Setup Instructions
Before beginning, ensure your vehicle's engine is off and cool. Wear appropriate safety gear, including gloves and eye protection.
- Prepare the Refrigerant Can: Ensure you are using an R-134a refrigerant can with a self-sealing valve. Shake the can thoroughly according to its instructions.
- Attach Gauge to Can: Screw the gauge and hose assembly onto the top of the R-134a refrigerant can. Hand-tighten until snug. Do not overtighten.
- Locate the Low-Side Service Port: Open your vehicle's hood and locate the low-side AC service port. This port is typically marked with an 'L' and is smaller than the high-side port. It usually has a black or blue cap. Refer to your vehicle's service manual if you have difficulty locating it.
- Connect to Vehicle: With the engine still off, pull back the collar on the quick-connect coupler of the gauge hose and firmly push it onto the low-side service port. Release the collar to ensure a secure connection. The 90-degree coupler design assists in connecting to hard-to-reach ports.
3. Operating Instructions
Once the gauge and hose are securely connected to the refrigerant can and the vehicle's low-side port, you can proceed with checking the pressure and recharging.
- Start Vehicle and AC: Start your vehicle's engine and turn the air conditioning to its maximum setting (highest fan speed, coldest temperature, recirculation on). Allow the engine to run for a few minutes to stabilize.
- Read Initial Pressure: Observe the pressure reading on the gauge. The gauge will indicate the current low-side pressure of your AC system. Consult your vehicle's manual or the gauge's color-coded zones for optimal pressure ranges based on ambient temperature.
- Interpret Gauge Readings:
- Red Zone: Indicates overcharged or system malfunction. Do not add refrigerant. Seek professional service.
- Yellow Zone: Indicates low charge. Refrigerant may be added carefully.
- Green Zone: Indicates optimal charge. No refrigerant addition is needed.
- Add Refrigerant (if needed): If the gauge indicates a low charge (yellow zone), hold the refrigerant can upright and squeeze the trigger dispenser for 5-10 seconds. Release the trigger and check the gauge reading. Repeat this process, shaking the can periodically, until the gauge needle enters the green zone. Do not overcharge the system.
- Monitor AC Performance: While adding refrigerant, periodically check the temperature of the air coming from your vehicle's vents. It should become noticeably colder.
- Disconnect: Once the desired pressure is reached and the AC is blowing cold air, release the quick-connect coupler from the low-side service port. Replace the service port cap.
- Store Can: If the refrigerant can is not empty, disconnect the gauge and hose assembly from the can and store the can in a cool, dry place away from direct sunlight and heat.
Important: Always follow the specific instructions provided with your R-134a refrigerant can, as procedures may vary slightly.
4. Maintenance
Proper maintenance ensures the longevity and accuracy of your A/C Pro Arctic Freeze Gauge and Hose.
- Cleaning: After each use, wipe down the gauge and hose with a clean, dry cloth to remove any dirt, grease, or refrigerant residue. Do not immerse the gauge in water.
- Inspection: Periodically inspect the hose for cracks, kinks, or signs of wear. Check the quick-connect coupler for any damage or debris that might prevent a secure seal.
- Storage: Store the gauge and hose assembly in a clean, dry environment, away from extreme temperatures and direct sunlight. Keep it protected from physical damage.
5. Troubleshooting
If you encounter issues while using the A/C Pro Arctic Freeze Gauge and Hose, consider the following:
- No Pressure Reading:
- Ensure the quick-connect coupler is fully seated and locked onto the vehicle's low-side service port.
- Verify the engine is running and the AC is on maximum.
- Check if the refrigerant can is properly attached and has refrigerant inside.
- Refrigerant Not Flowing:
- Confirm the refrigerant can is an R-134a type with a self-sealing valve. Some older cans or cans from other regions may have different valve types.
- Ensure the can is held upright during dispensing.
- Check for any blockages in the hose or coupler.
- AC Still Not Cold After Recharging:
- The system may have a leak. Refrigerant will escape over time if there's a leak.
- There might be other issues with your vehicle's AC system (e.g., compressor failure, electrical problem).
- Consult a certified automotive technician for diagnosis and repair.
- Overcharging Indication (Red Zone): If the gauge immediately reads in the red zone, do not add refrigerant. This indicates an overcharged system or a severe malfunction. Adding more refrigerant can damage the system.
6. Specifications
| Feature | Detail |
|---|---|
| Brand | A/C Pro |
| Model Number | AFGBM3-6 |
| Item Type Name | Auto A/C Recharge |
| Color | No Color |
| Material | Plastic |
| Item Dimensions (L x W x H) | 2.3 x 6.8 x 10.3 inches |
| Folded Size | 6.8" x 2.3" x 10.3" |
| Item Weight | 0.14 kg |
| Number of Items | 1 |
| Number of Pieces | 1 |
| Included Components | ARCTIC FREEZE Auto A/C Recharge |
| Manufacturer | InterDynamics |
7. Warranty Information
This product is sold without a manufacturer's warranty. Please refer to the retailer's return policy for any issues upon purchase.
8. Support
For further assistance or questions regarding the use of this product, please:
- Consult your vehicle's owner's manual for specific AC system requirements and service port locations.
- Refer to the instructions provided with the R-134a refrigerant can you are using.
- Contact the manufacturer, InterDynamics, for product-specific inquiries.
- Seek advice from a qualified automotive technician for complex AC system issues or repairs.