Introduction
This manual provides detailed instructions for the installation, operation, and maintenance of your Aurlane Tiled Shower Tray, model FAC113. This product is a waterproof extruded polystyrene shower tray with an integrated gutter and diamond slope, designed to be tiled over. It includes a brushed stainless steel drain and a 60mm drain kit with a 40mm outlet. The tray is designed to be cut to size to fit your specific bathroom requirements.
Safety Information
- Always wear appropriate personal protective equipment (PPE) during installation, including gloves and eye protection.
- Ensure the installation area is clean, dry, and well-ventilated.
- Verify that all plumbing connections are secure and watertight to prevent leaks.
- If cutting the tray, use appropriate tools and follow safety guidelines for cutting polystyrene materials.
- Consult a professional plumber or installer if you are unsure about any step of the installation process.
Package Contents
Please check that all components are present before beginning installation:
- 1 x Aurlane Tiled Shower Tray (Model FAC113, 90 x 140 x 4 cm)
- 1 x Brushed Stainless Steel Drain
- 1 x Drain Kit (60mm diameter, 40mm outlet)
- Assembly instructions (separate document)
Setup and Installation
The Aurlane Tiled Shower Tray is designed for straightforward installation. Refer to the separate assembly instructions included with your product for detailed diagrams and step-by-step guidance. Below are general steps and considerations:
1. Preparation
- Measure and Mark: Carefully measure the installation area. The shower tray can be cut to size if needed. Mark the desired dimensions on the tray.
- Cut to Size (if necessary): Using appropriate tools, precisely cut the extruded polystyrene tray to your marked dimensions. Ensure clean edges for proper sealing.
- Prepare Subfloor: Ensure the subfloor is level, clean, dry, and structurally sound. Any unevenness must be corrected before installation.
2. Drain Installation
- Connect Drain Kit: Attach the provided 60mm drain kit to the integrated gutter of the shower tray. Ensure a secure and watertight connection to the 40mm outlet.
- Plumbing Connection: Connect the drain kit to your existing wastewater plumbing system. Test for leaks before proceeding.
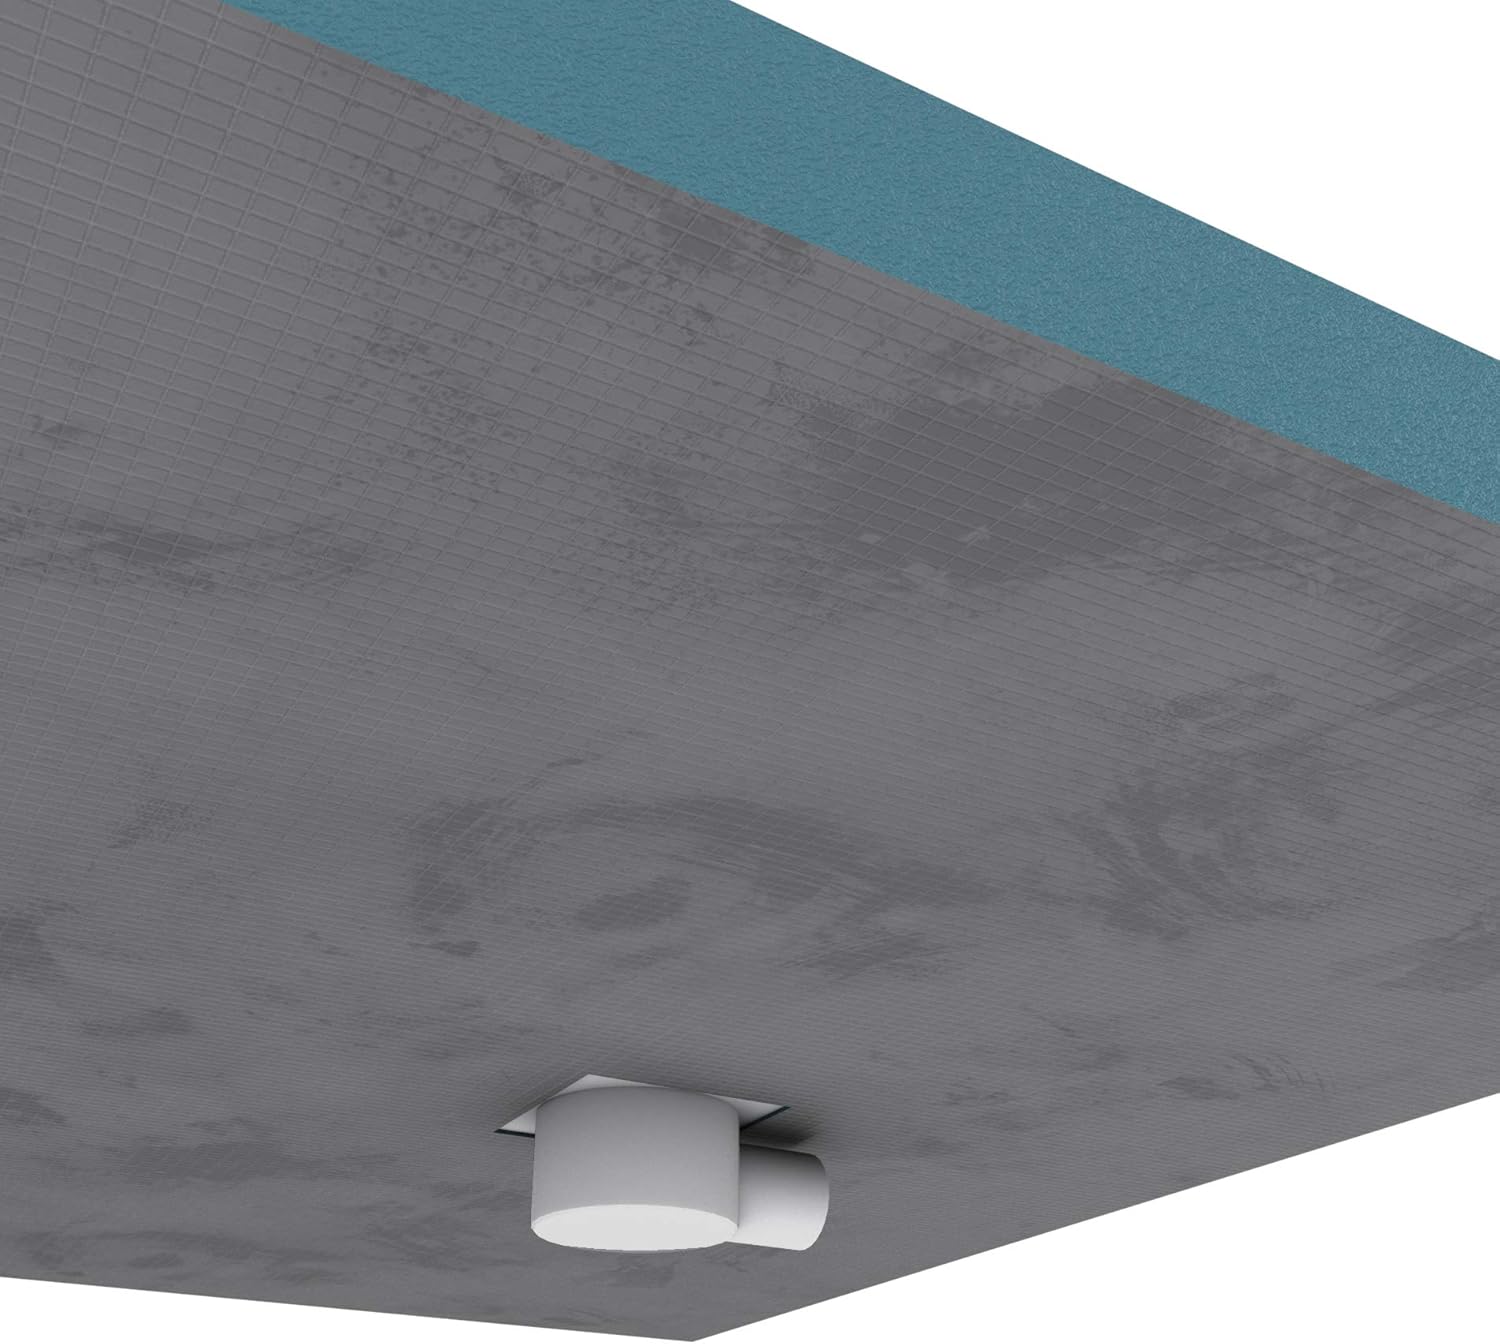
Image: Bottom view of the Aurlane shower tray, showing the drain connection point. This illustrates how the drain kit connects to the underside of the tray.
3. Tray Placement and Adhesion
- Apply Adhesive: Apply a suitable waterproof adhesive (e.g., tile adhesive or construction adhesive recommended for polystyrene) evenly to the subfloor where the tray will be placed.
- Position Tray: Carefully place the shower tray onto the adhesive, ensuring it is level and correctly aligned with the plumbing. Apply gentle pressure to ensure full contact.
- Curing Time: Allow the adhesive to cure completely according to the manufacturer's instructions before proceeding with tiling.

Image: Top view of the Aurlane shower tray, showing the integrated linear drain and the surface ready for tiling. The diamond slope is visible, directing water towards the drain.
4. Tiling
- Apply Tiles: Once the tray is securely in place, apply your chosen tiles directly onto the tray's surface, following standard tiling practices. Ensure proper slope towards the integrated drain.
- Grout and Seal: Grout the tiles and apply a waterproof sealant around all edges and joints to ensure a completely watertight shower area.

Image: An Aurlane shower tray partially tiled, demonstrating the process of applying tiles over the waterproof polystyrene base. The integrated drain is visible.
Operating Instructions
Once installed and fully cured, your Aurlane Tiled Shower Tray functions as a standard shower base. The integrated diamond slope ensures efficient water drainage towards the brushed stainless steel gutter. Ensure the drain cover is properly seated before use.
Maintenance
- Regular Cleaning: Clean the tiled surface and the stainless steel drain regularly with mild, non-abrasive bathroom cleaners. Avoid harsh chemicals or abrasive tools that could damage the tiles or the drain finish.
- Drain Maintenance: Periodically remove the stainless steel drain cover and clean any hair or debris from the drain trap to ensure optimal water flow and prevent blockages.
- Sealant Inspection: Regularly inspect the sealant around the edges of the shower tray and reapply if any signs of wear or cracking are observed to maintain watertight integrity.
Troubleshooting
- Slow Drainage: If water drains slowly, remove the drain cover and clear any obstructions (hair, soap scum) from the drain trap. Ensure the drain pipe is not blocked.
- Water Pooling: If water pools on the shower tray surface, it may indicate an issue with the initial installation's slope or an obstruction in the drain. Re-check the drain for blockages. If the issue persists, professional inspection may be required to assess the tray's leveling or tiling slope.
- Leaks: Any signs of water leakage around the shower tray indicate a failure in the waterproofing or sealant. Immediately stop using the shower and inspect all sealed joints. Reapply sealant as necessary or consult a professional.
Specifications
| Feature | Detail |
|---|---|
| Brand | Aurlane |
| Model Number | FAC113 |
| Product Dimensions (H x W x L) | 4 x 90 x 140 centimeters |
| Material | Waterproof Extruded Polystyrene, Stainless Steel |
| Finish Type | Brushed Stainless Steel (drain) |
| Installation Type | Glue-down (Vastlijmen) |
| Shape | Rectangular |
| Drain Diameter | 60 mm |
| Drain Outlet Diameter | 40 mm |
| Cut to Size | Yes |
| Assembly Required | No (tray itself), Installation required (tiling, plumbing) |
Warranty and Support
For warranty information or technical support, please refer to the documentation provided with your purchase or contact Aurlane customer service directly. Keep your proof of purchase for warranty claims.