1. Introduction
Thank you for choosing the Sharper Image DX-4 Battery Charger (Type 2). This charger is specifically designed for the Sharper Image DX-4 Drone, providing a reliable and efficient way to recharge your drone's battery. This manual provides essential information for the safe and effective use of your charger. Please read it thoroughly before use and retain it for future reference.
2. Product Overview
The Sharper Image DX-4 Battery Charger (Type 2) is a compact USB-powered charging cable. It features a standard USB-A connector on one end for power input and a specialized connector on the other end for the DX-4 Drone battery.
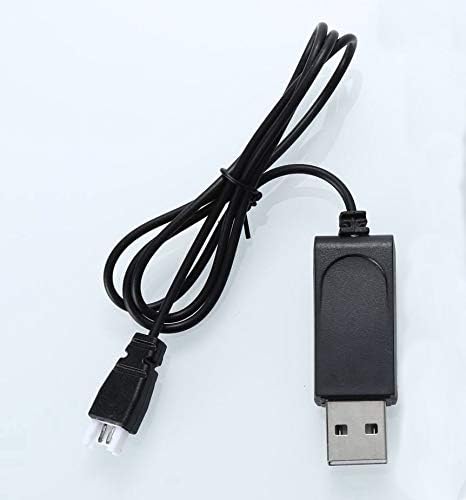
Figure 2.1: The Sharper Image DX-4 Battery Charger (Type 2), showing its compact design and cable.

Figure 2.2: Close-up view of the charger, illustrating the USB-A input connector and the drone battery output connector.
3. Setup
Setting up your DX-4 Battery Charger is a straightforward process. Ensure you have a compatible USB power source available.
3.1 Connecting to Power Source
- Locate a standard USB-A port on a power adapter (e.g., smartphone charger, computer USB port, power bank) that provides 5V DC output.
- Insert the USB-A end of the DX-4 Battery Charger into the USB power source.
- Observe the indicator light on the charger (if present). It may illuminate to indicate power is supplied.

Figure 3.1: The USB-A connector of the charger, ready to be plugged into a compatible USB power port.
3.2 Connecting to Drone Battery
- Ensure the drone battery is removed from the drone, if applicable, and is clean and dry.
- Carefully align the specialized connector of the DX-4 Battery Charger with the charging port on your Sharper Image DX-4 Drone battery.
- Gently push the connector into the battery port until it is securely seated. Do not force the connection.

Figure 3.2: The specialized connector designed to interface with the Sharper Image DX-4 Drone battery.
4. Operating Instructions
Once the charger is connected to both a power source and the drone battery, the charging process will begin automatically.
4.1 Charging Process
- When the battery is charging, the indicator light on the charger (if present) will typically show a specific status (e.g., red light).
- The charging time will vary depending on the battery's current charge level and capacity. Refer to your drone's manual for estimated charging times.
- Once the battery is fully charged, the indicator light will change (e.g., turn green or turn off) to signal completion.
4.2 Safety Precautions
- Do not leave charging batteries unattended.
- Use only with the specified Sharper Image DX-4 Drone battery.
- Avoid charging in extreme temperatures or direct sunlight.
- Keep the charger and battery away from water and moisture.
- If the charger or battery appears damaged, discontinue use immediately.
5. Maintenance
Proper care will extend the life of your battery charger.
- Cleaning: Use a soft, dry cloth to wipe the charger. Do not use liquid cleaners or solvents.
- Storage: Store the charger in a cool, dry place away from direct sunlight and extreme temperatures when not in use.
- Inspection: Periodically inspect the cable and connectors for any signs of wear or damage.
6. Troubleshooting
If you encounter issues with your charger, refer to the following common problems and solutions:
| Problem | Possible Cause | Solution |
|---|---|---|
| Battery not charging |
|
|
| Indicator light not working |
|
|
7. Specifications
| Feature | Detail |
|---|---|
| Model Number | dx4ch |
| Brand | VLM Group |
| Color | Black |
| Item Weight | 0.317 ounces |
| Package Dimensions | 4.57 x 3.23 x 0.71 inches |
| UPC | 738196916088 |
| Recommended Age | 12 years and up |
8. Warranty and Support
For warranty information and customer support regarding your Sharper Image DX-4 Battery Charger (Type 2), please refer to the documentation included with your original drone purchase or contact VLM Group customer service directly. Contact details can typically be found on the product packaging or the manufacturer's official website.
For further assistance, you may visit the product page on Amazon.