Introduction
This manual provides essential instructions for the safe installation, operation, and maintenance of your Eviva Lugano 42-inch Single Sink Bath Vanity. Please read all instructions carefully before beginning installation and retain this manual for future reference.
Safety Information
Always use appropriate safety gear when handling and installing the cabinet. Ensure the cabinet is securely mounted to the wall using the provided hardware and instructions. Be cautious of sharp edges and heavy weight to prevent injuries. Do not exceed the load limit of the cabinet.

Figure 1: Front view of the Eviva Lugano 42-inch Concrete Gray Single Sink Bath Vanity.
Setup and Installation
Unpacking and Inspection
Carefully remove all components from the packaging. Inspect the vanity and all parts for any damage. Do not discard packaging until installation is complete and the unit is confirmed to be in working order.
Tools Required
- Phillips head screwdriver
- Adjustable wrench
- Level
- Drill (if wall mounting)
- Sealant (silicone caulk)
- Measuring tape
Installation Steps
- Positioning: This vanity is designed for freestanding installation. Carefully position the vanity in its desired location.
- Leveling: Use a level to ensure the vanity is perfectly level. Adjust any leveling feet if present.
- Securing to Wall: To prevent tipping, especially in households with children, it is recommended to secure the vanity to the wall. Use appropriate wall anchors and screws (not always included) that are suitable for your wall type.
- Plumbing Connections: Connect the water supply lines and drain according to local plumbing codes. Ensure all connections are tight to prevent leaks. Apply sealant as necessary around the drain and faucet base.
- Faucet Installation: Install your chosen single-hole faucet onto the integrated sink top according to the faucet manufacturer's instructions.

Figure 2: Dimensions of the Eviva Lugano 42-inch Bath Vanity.
Operating Instructions
The Eviva Lugano vanity is designed for ease of use and efficient storage.
Drawers and Doors
The vanity features four soft-closing drawers and two soft-closing doors. To open, gently pull the integrated black handles. To close, push gently until the soft-close mechanism engages. Avoid forcing drawers or doors, as this can damage the glides and hinges.

Figure 3: View of the vanity with drawers and doors open, showcasing internal storage.
Integrated Sink
The acrylic top includes an integrated sink. Ensure proper water flow and drainage by regularly checking for obstructions in the drain. Do not place excessively hot items directly on the acrylic surface.
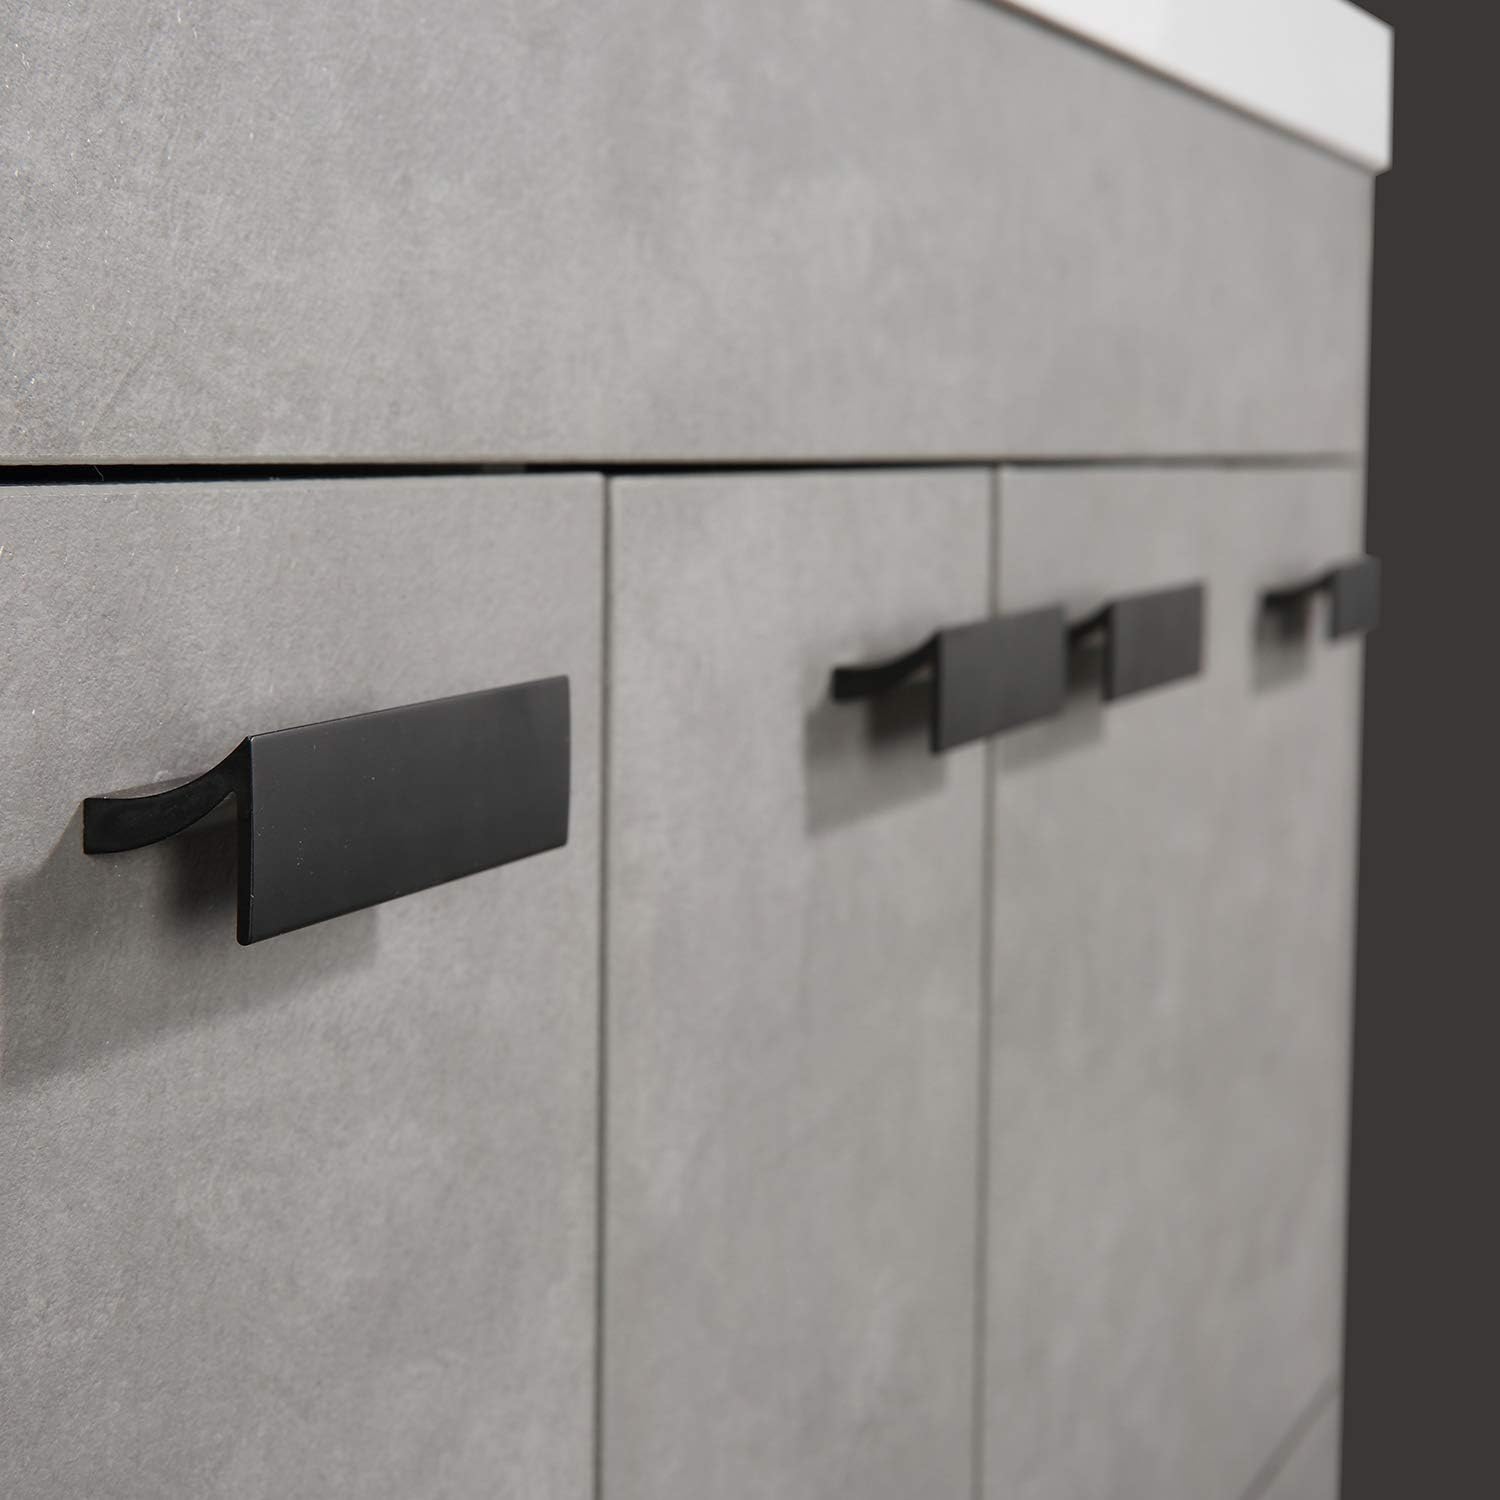
Figure 4: Detail of the black handles on the vanity.
Maintenance and Care
Cleaning the Vanity Body
For the Concrete Gray finish, wipe surfaces with a soft, damp cloth. Avoid abrasive cleaners, harsh chemicals, or solvents that can damage the finish. Dry immediately with a clean, soft cloth to prevent water spots.
Cleaning the Integrated Acrylic Sink Top
The acrylic integrated sink requires hand washing. Use mild soap and water with a soft cloth or sponge. Do not use abrasive pads, scouring powders, or strong chemical cleaners (e.g., ammonia-based cleaners, drain cleaners), as these can scratch, dull, or discolor the acrylic surface. Rinse thoroughly and dry.
General Care
- Regularly check plumbing connections for leaks and tighten if necessary.
- Avoid placing excessively heavy objects in drawers or on shelves to prevent damage.
- Protect surfaces from sharp objects or extreme temperatures.
Troubleshooting
This section addresses common issues you might encounter with your vanity.
Water Leaks
- Check Connections: Ensure all plumbing connections (faucet, supply lines, drain) are securely tightened.
- Sealant Integrity: Inspect the sealant around the sink and faucet base. Reapply silicone sealant if it appears cracked or compromised.
Drawers Not Closing Softly or Sticking
- Obstructions: Remove the drawer and check for any objects obstructing the soft-close glides or tracks.
- Alignment: Ensure the drawer is properly seated and aligned on its tracks. Gently push and pull to reset the mechanism.
- Overloading: Avoid overloading drawers, which can cause misalignment or damage to glides.
Surface Stains or Discoloration
- Acrylic Top: For stubborn stains on the acrylic sink, use a non-abrasive cleaner specifically designed for acrylic surfaces. Follow product instructions carefully.
- Vanity Body: For the Concrete Gray finish, if standard cleaning does not remove a stain, contact Eviva customer support for specific recommendations. Avoid harsh chemicals.
Specifications
| Feature | Detail |
|---|---|
| Brand | Eviva |
| Model Number | EVVN1000 |
| Size | 42 Inch |
| Color | Concrete Gray |
| Cabinet Material | Engineered Wood |
| Top Material | Acrylic |
| Handle Material | Black (Stainless Steel, Brass, Nickel, or Copper options may vary) |
| Number of Drawers | 4 |
| Number of Doors | 2 |
| Mounting Type | Wall Mount (recommended for stability) |
| Installation Type | Freestanding |
| Assembly Required | No (for main cabinet) |
| Item Depth | 19.5 inches |
Warranty Information
For detailed warranty information regarding your Eviva Lugano vanity, please contact Eviva customer support directly. It is important to retain your original proof of purchase for any warranty claims.
Customer Support
For further assistance, technical support, or any inquiries not covered in this manual, please visit the official Eviva website or contact their customer service department. Contact details can typically be found on the Eviva brand website or on your purchase documentation.