1. Introduction
This manual provides detailed instructions for the proper installation, operation, and maintenance of your Ade Advanced Optics RD3-009-OSP Red Dot Reflex Sight. Designed for precision and durability, this sight is specifically compatible with Springfield XD-M OSP pistols using the #1 mounting plate. Please read this manual thoroughly before use to ensure optimal performance and safety.

Image 1.1: Side view of the Ade Advanced Optics RD3-009-OSP Red Dot Reflex Sight.

Image 1.2: The RD3-009-OSP Red Dot Reflex Sight, highlighting recent design updates including the removal of rear locking screws and the addition of self-locking and Motion Awake technology.
2. What's in the Box
Your Ade Advanced Optics RD3-009-OSP package includes the following items:
- Ade Advanced Optics RD3-009-OSP Red Dot Reflex Sight
- Pre-assembled Picatinny mounting plate (may be affixed or packaged separately)
- Lens cloth
- Instruction Manual
- Recoil Reduction Rubber Shim
- Screws for connecting Picatinny Plate
- Allen Wrench
- Battery Opener Coin
- CR2032 Battery

Image 2.1: All components included in the Ade Advanced Optics RD3-009-OSP package.

Image 2.2: The product packaging for the Ade Advanced Optics RD3-009-OSP.
Unboxing Video
Video 2.1: This video provides a visual overview of the contents included in the Ade RD3-009 Red Dot Sight package, demonstrating each item.
3. Compatibility and Optic Cuts
The Ade RD3-009-OSP Red Dot Reflex Sight is designed to fit directly onto the Springfield XD-M OSP system using the #1 mount plate provided with your OSP pistol. This allows for direct mounting without needing to remove the rear sight.
Important Compatibility Notes:
- This optic is not compatible with standard Springfield XDM, XD, or XDS models. It is exclusively for XD-M OSP models.
- This optic is not compatible with the new HELLCAT OSP.
- The RD3-009-OSP is designed to fit optic cuts/plates compatible with the Vortex Venom, Burris Fastfire, or Docter footprint.
- Some aftermarket slides feature a precise optic cut based on the curved edge/corner of the Vortex Venom (e.g., PSA Dagger with Doctor cut). The Ade RD3-009 red dot does not have the same curve as the Vortex Venom and therefore will not fit aftermarket slides with a curved Vortex Venom optic cut.
Understanding Different Optic Cuts
The following video explains the differences between common optic cuts and how they affect compatibility with various red dot sights.
Video 3.1: This video provides an overview of various red dot optic cuts, including Docter, RMR, and RMSc/DPP, demonstrating how different footprints affect mounting compatibility.
4. Setup and Installation
Follow these steps to properly install your Ade Advanced Optics RD3-009-OSP Red Dot Reflex Sight:
- Prepare the Mounting Plate: If your red dot comes with a pre-assembled Picatinny mounting plate, use the provided Allen wrench to remove the two M3.5X6mm screws located behind the glass frame. This detaches the red dot from the Picatinny plate.
- Identify Your Handgun Plate: For Springfield XD-M OSP pistols, use the #1 mounting plate that came with your pistol. Ensure it is clean and free of debris.
- Install the Battery: Use the battery opener coin to open the battery compartment. Insert the CR2032 battery with the positive (+) side facing up. Close the compartment securely.
- Attach the Red Dot to the Handgun Plate: Carefully align the red dot sight with the #1 mounting plate on your Springfield XD-M OSP. Use the appropriate screws (provided with your red dot or handgun) to secure the sight to the plate. Ensure screws are tightened to the manufacturer's recommended torque specifications to prevent damage.
- Consider the Recoil Reduction Shim: If desired, place the recoil reduction rubber shim between the red dot sight and the mounting plate before securing it. This can help absorb recoil and enhance durability.
- Verify Secure Mounting: After installation, gently attempt to wiggle the red dot sight to ensure it is firmly attached and there is no movement.
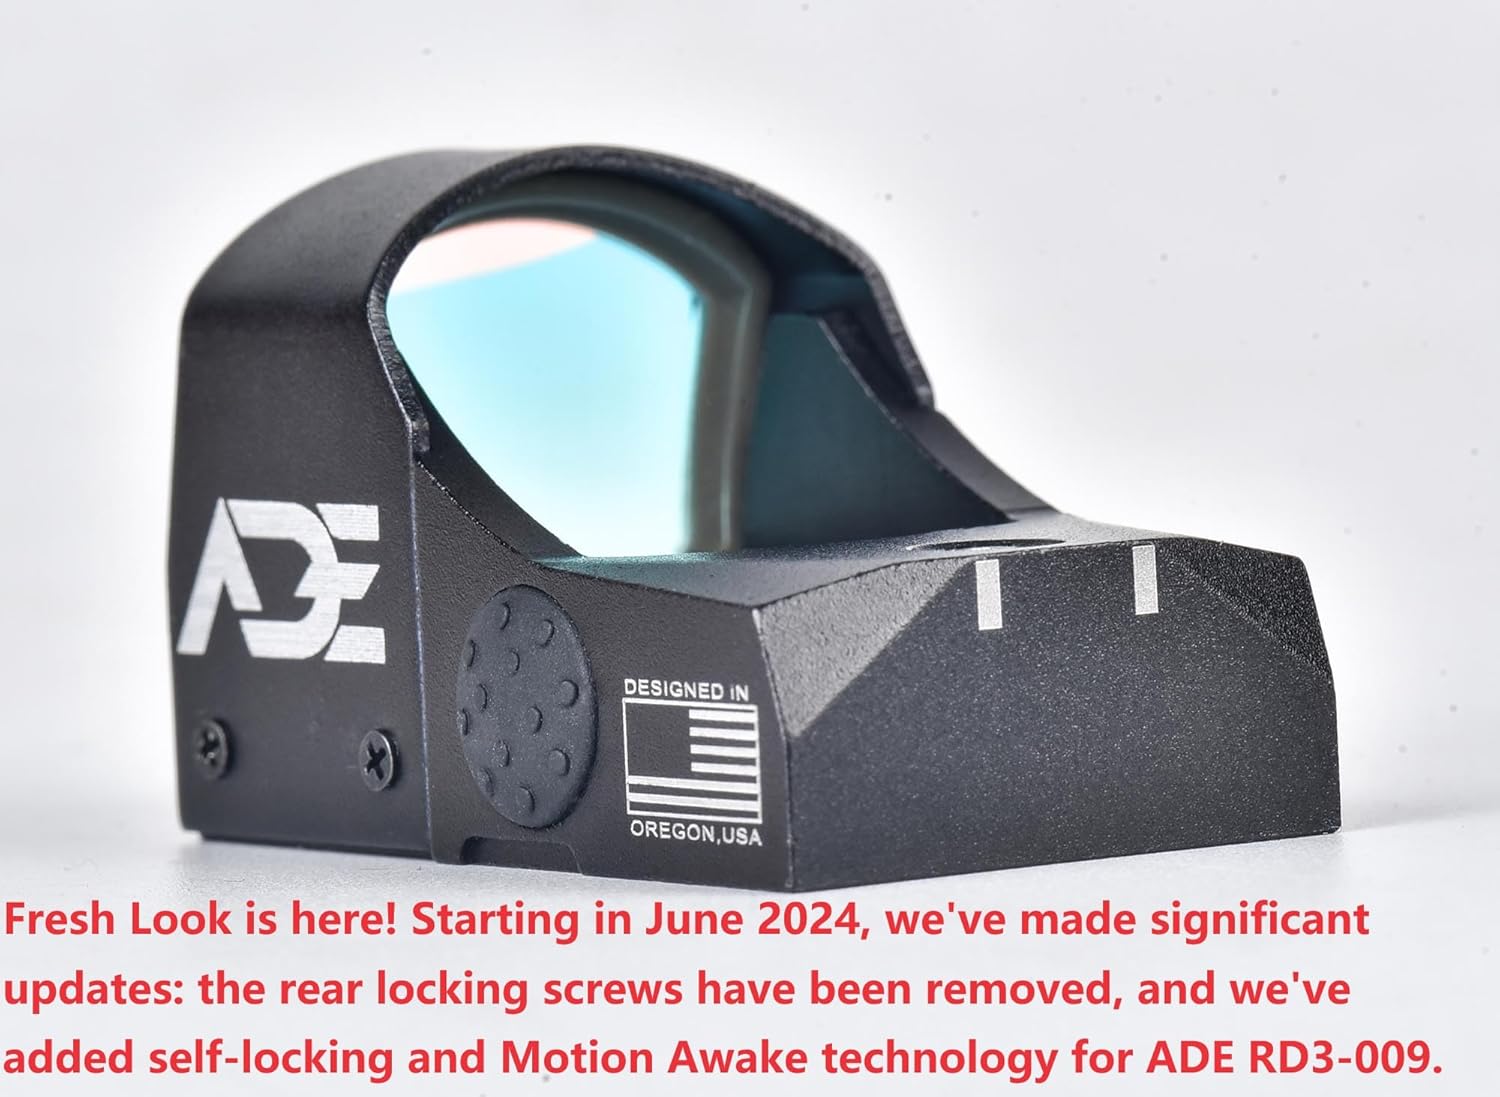
Image 4.1: Side view of the red dot sight, illustrating the location of the adjustment screws and the side button for brightness control.

Image 4.2: Front view of the red dot sight, showing the lens and overall compact design.
5. Operating Instructions
5.1. Power On/Off and Brightness Adjustment
The RD3-009-OSP features a single side button for control:
- Power On: The sight will automatically turn on when motion is detected (Motion Awake Technology).
- Brightness Cycle: Press the side button repeatedly to cycle through the available brightness settings, from lowest to highest, and then back to lowest.
- Manual Power Off: To manually turn off the sight for storage or extended periods of non-use, press and hold the side button for approximately 3 seconds.
- Power On from Manual Off: If manually turned off, press the side button once to power the sight back on. It will resume the last brightness setting.
5.2. Motion Awake Technology
This feature conserves battery life by automatically turning off the red dot when no motion is detected for approximately 5 minutes. Upon detecting any movement or vibration, the sight instantly powers back on to its last used brightness setting, ensuring it's ready when you are.
5.3. Windage and Elevation Adjustment
The red dot sight includes adjustment points for windage (horizontal) and elevation (vertical) to zero your optic. These adjustments are typically made using a small flat-head screwdriver or the provided tool. Each click of the adjustment mechanism moves the point of impact by a specific increment (e.g., MOA).
- Elevation Adjustment: Located on the top of the sight. Turning clockwise or counter-clockwise will adjust the vertical point of impact.
- Windage Adjustment: Located on the side of the sight. Turning clockwise or counter-clockwise will adjust the horizontal point of impact.
Always perform adjustments at a safe shooting range, following proper firearm safety protocols.

Image 5.1: Representation of the 6 MOA red dot reticle as seen through the sight.
6. Specifications
| Feature | Specification |
|---|---|
| Brand | Ade Advanced Optics |
| Model Name | RD3-009-OSP |
| Color | Red |
| Style | Tactical |
| Product Dimensions | 1.9"L x 1.1"W x 1.0"H |
| Item Weight | 0.9 Ounces |
| Material | Aluminum |
| Magnification Minimum | 1 x |
| Compatible Devices | Handgun (Springfield XD-M OSP) |
| Mounting Type | Picatinny Mount (via included plate), Docter Footprint (direct) |
| Reticle Type | Red Dot (6 MOA) |
| Waterproof Rating | IP67 |
| Battery Type | CR2032 |
| Special Features | Motion Awake Technology, Multi-coated lens |
7. Maintenance
- Lens Cleaning: Use the provided microfiber cloth to gently wipe the lens. For stubborn smudges, a small amount of lens cleaning solution designed for optics can be applied to the cloth, not directly to the lens. Avoid abrasive materials.
- Battery Replacement: When the red dot appears dim or fails to illuminate, replace the CR2032 battery using the battery opener coin. Ensure the new battery is inserted with the correct polarity.
- O-Ring Inspection: Periodically inspect the O-ring in the battery compartment for any signs of wear or damage. A damaged O-ring can compromise the sight's waterproof capabilities. Replace if necessary.
- General Care: Keep the sight free from excessive dirt, dust, and moisture. Store in a protective case when not in use.
8. Troubleshooting
If you encounter issues with your red dot sight, consider the following common solutions:
- Red Dot Not Appearing:
- Ensure the battery is correctly installed and not depleted. Replace if unsure.
- If the sight was manually turned off, press the side button to power it on.
- Check for any obstructions on the lens or emitter.
- Dot is Dim or Flickering:
- Replace the battery with a fresh CR2032.
- Adjust the brightness setting using the side button.
- Inaccurate Point of Impact:
- Ensure the sight is securely mounted to the pistol. Check all screws for proper torque.
- Re-zero the sight using the windage and elevation adjustments at a controlled range.
- Mounting Issues:
- Verify that your pistol is a Springfield XD-M OSP model and you are using the correct #1 mounting plate.
- Confirm that your slide's optic cut is compatible with the Docter footprint and does not have a curved edge specific to other optics like the Vortex Venom.
9. Warranty and Support
For warranty information, technical support, or any questions not covered in this manual, please contact Ade Advanced Optics Inc. directly. Refer to the warranty card included in your product packaging for specific terms and conditions.