1. Introduction
This manual provides essential instructions for the safe installation, operation, and maintenance of your Hydro Quip Heater Assembly, Model 48-9120-7P-K. This 5.5Kw, 230V, 12-inch Titanium Flo heater with a 48-inch cord is designed for efficient water heating in compatible systems. Please read this manual thoroughly before installation and use to ensure proper function and longevity of the unit.
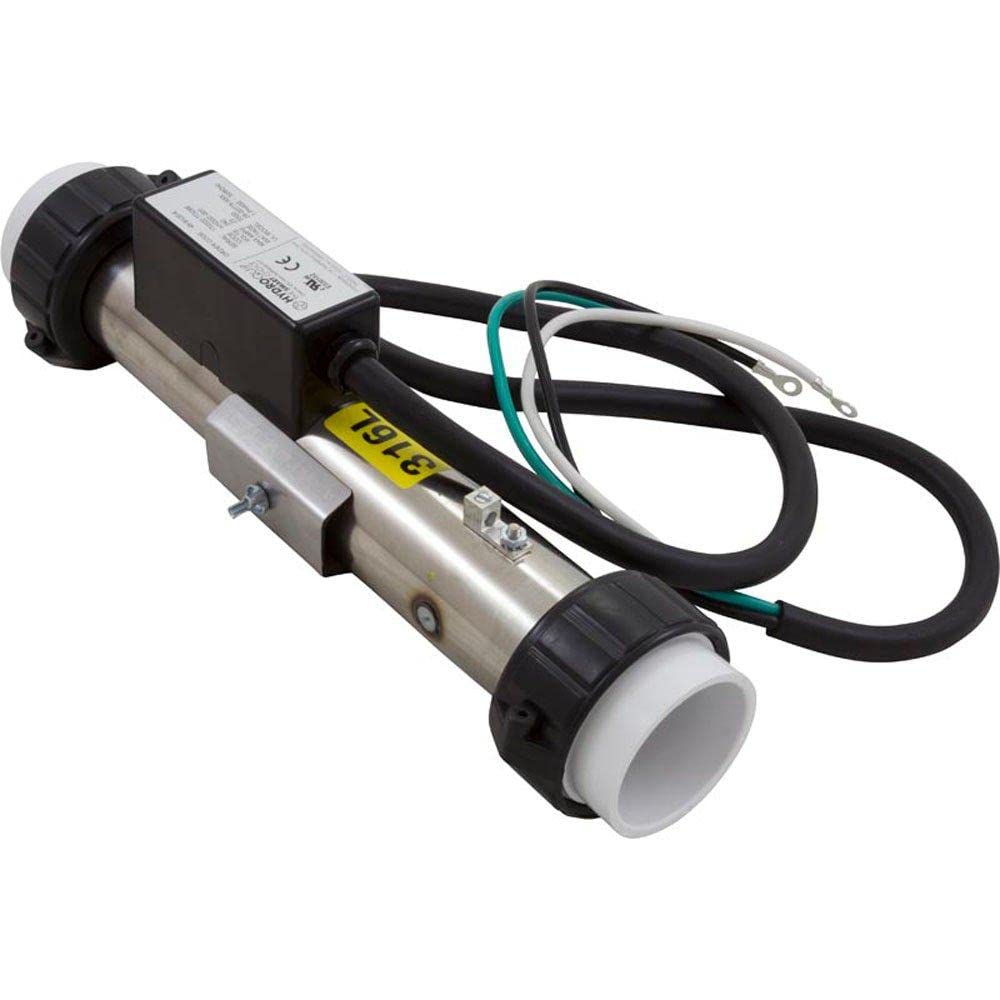
Figure 1: Hydro Quip 5.5Kw 230V 12 inch Titanium Flo Heater Assembly. This image shows the cylindrical heater unit with black end caps, a black control box, and attached electrical wiring (black, white, green) with terminal connectors. A yellow label with "316L" is visible on the heater body.
2. Safety Information
WARNING: Failure to follow these safety instructions could result in fire, electric shock, serious injury, or death. Always consult a qualified electrician or service technician for installation and servicing.
- Disconnect all power to the heater and associated equipment before performing any service or maintenance.
- Ensure the heater is properly grounded according to local and national electrical codes.
- Do not operate the heater if it is damaged or appears to be malfunctioning.
- Keep all flammable materials away from the heater.
- This heater is designed for specific applications. Do not use it for purposes other than its intended use.
- Installation must comply with all applicable local and national codes.
3. Setup and Installation
Proper installation is crucial for the safe and efficient operation of your Hydro Quip heater. It is recommended that installation be performed by a certified professional.
3.1 Pre-Installation Checklist
- Verify that the power supply matches the heater's requirements (230V, 5.5Kw).
- Ensure adequate space for installation and future servicing.
- Inspect the heater for any shipping damage. Do not install if damaged.
- Gather necessary tools and materials (e.g., pipe wrenches, electrical testers, sealant).
3.2 Plumbing Connection
- Ensure the system is drained and depressurized.
- Connect the heater assembly into the plumbing line, ensuring the flow direction matches the arrows (if present) on the heater body.
- Use appropriate unions and sealants to prevent leaks. Tighten connections securely but do not overtighten.
- After plumbing, fill the system and check for leaks before proceeding with electrical connections.
3.3 Electrical Connection
CAUTION: Electrical work should only be performed by a qualified electrician.
- Turn off the main power supply at the circuit breaker.
- Connect the 48-inch electrical cord to the control system or power source.
- Ensure proper wiring:
- Black wire: Line 1 (L1)
- White wire: Line 2 (L2)
- Green wire: Ground (GND)
- Secure all electrical connections within an approved junction box.
- Verify all connections are tight and free from corrosion.
4. Operation
Once installed and connected, the Hydro Quip heater operates in conjunction with your system's control panel. Refer to your main system's manual for specific instructions on setting temperature and operating modes.
- Initial Startup: After filling the system and checking for leaks, restore power. The heater will typically activate when the system calls for heat and water flow is detected.
- Temperature Control: Adjust the desired water temperature using your system's thermostat or control panel. The heater will maintain this temperature automatically.
- Flow Requirement: This "Flo" heater requires adequate water flow to operate safely. Ensure your pump is running and there are no obstructions in the plumbing. Low flow can cause the heater to shut off or sustain damage.
5. Maintenance
Regular maintenance ensures optimal performance and extends the lifespan of your heater.
- Annual Inspection: Have a qualified technician inspect the heater annually for signs of wear, corrosion, or electrical issues.
- Water Chemistry: Maintain proper water chemistry in your system. Imbalanced water can lead to scale buildup or corrosion, damaging the titanium heating element.
- Flow Sensor Check: Periodically check the flow sensor (if accessible) for debris that might impede its function.
- Cleaning: Keep the exterior of the heater clean and free from dust or debris. Do not use abrasive cleaners.
6. Troubleshooting
Before attempting any repairs, always disconnect power to the heater. If you are unsure about any step, contact a qualified service technician.
| Problem | Possible Cause | Solution |
|---|---|---|
| Heater not turning on | No power; tripped breaker; low flow; faulty thermostat/sensor. | Check power supply and breaker. Ensure adequate water flow. Consult system manual for thermostat diagnostics. |
| Water not heating sufficiently | Incorrect thermostat setting; undersized heater; element failure; poor insulation. | Verify thermostat setting. Ensure heater matches system requirements. Contact service for element check. |
| Heater cycles on/off rapidly | Low flow; air in system; faulty high-limit switch. | Check for proper water flow and air locks. Contact service for switch inspection. |
| Visible leaks | Loose plumbing connections; damaged seals/gaskets; cracked housing. | Tighten connections. Replace seals/gaskets. If housing is cracked, replace the unit. |
7. Specifications
| Feature | Detail |
|---|---|
| Model Number | 48-9120-7P-K |
| Power Rating | 5.5 Kw |
| Voltage | 230V |
| Heater Length | 12 inches |
| Element Material | Titanium |
| Cord Length | 48 inches |
| Product Dimensions | 20.5 x 5.9 x 5.5 inches |
| Item Weight | 4.2 pounds |
| Manufacturer | HYDRO-QUIP |
| ASIN | B07SFKPCFG |
8. Warranty Information
Hydro Quip products are manufactured to high-quality standards. This heater assembly typically comes with a manufacturer's limited warranty covering defects in materials and workmanship. The specific terms and duration of the warranty may vary. Please retain your proof of purchase. For detailed warranty information, refer to the documentation included with your purchase or contact Hydro Quip customer support.
9. Customer Support
If you have questions regarding the installation, operation, or maintenance of your Hydro Quip Heater Assembly, please contact your authorized dealer or Hydro Quip customer service. When contacting support, please have your model number (48-9120-7P-K) and proof of purchase readily available.
For the most current contact information, please visit the official Hydro Quip website.