1. Introduction
Thank you for purchasing the Sentern Portable Countertop Clear Ice Maker. This appliance is designed to produce high-quality, clear ice cubes quickly and efficiently, perfect for various beverages and food chilling needs. This manual provides essential information for the safe operation, maintenance, and troubleshooting of your new ice maker. Please read it thoroughly before first use and retain it for future reference.
2. Important Safety Information
To reduce the risk of fire, electric shock, or injury when using your ice maker, follow these basic precautions:
- Read all instructions before use.
- Connect to properly grounded outlets only.
- Do not immerse cord, plug, or appliance in water or other liquids.
- Unplug from outlet when not in use and before cleaning.
- Do not operate any appliance with a damaged cord or plug.
- Do not use outdoors.
- Do not place on or near a hot gas or electric burner, or in a heated oven.
- Use only potable water for ice production.
- Keep clear of vents and ensure proper air circulation.
- Supervise children when the appliance is in use.
3. Product Overview
The Sentern Portable Countertop Clear Ice Maker is designed for convenience and efficiency. Below are the key components and features of the appliance.
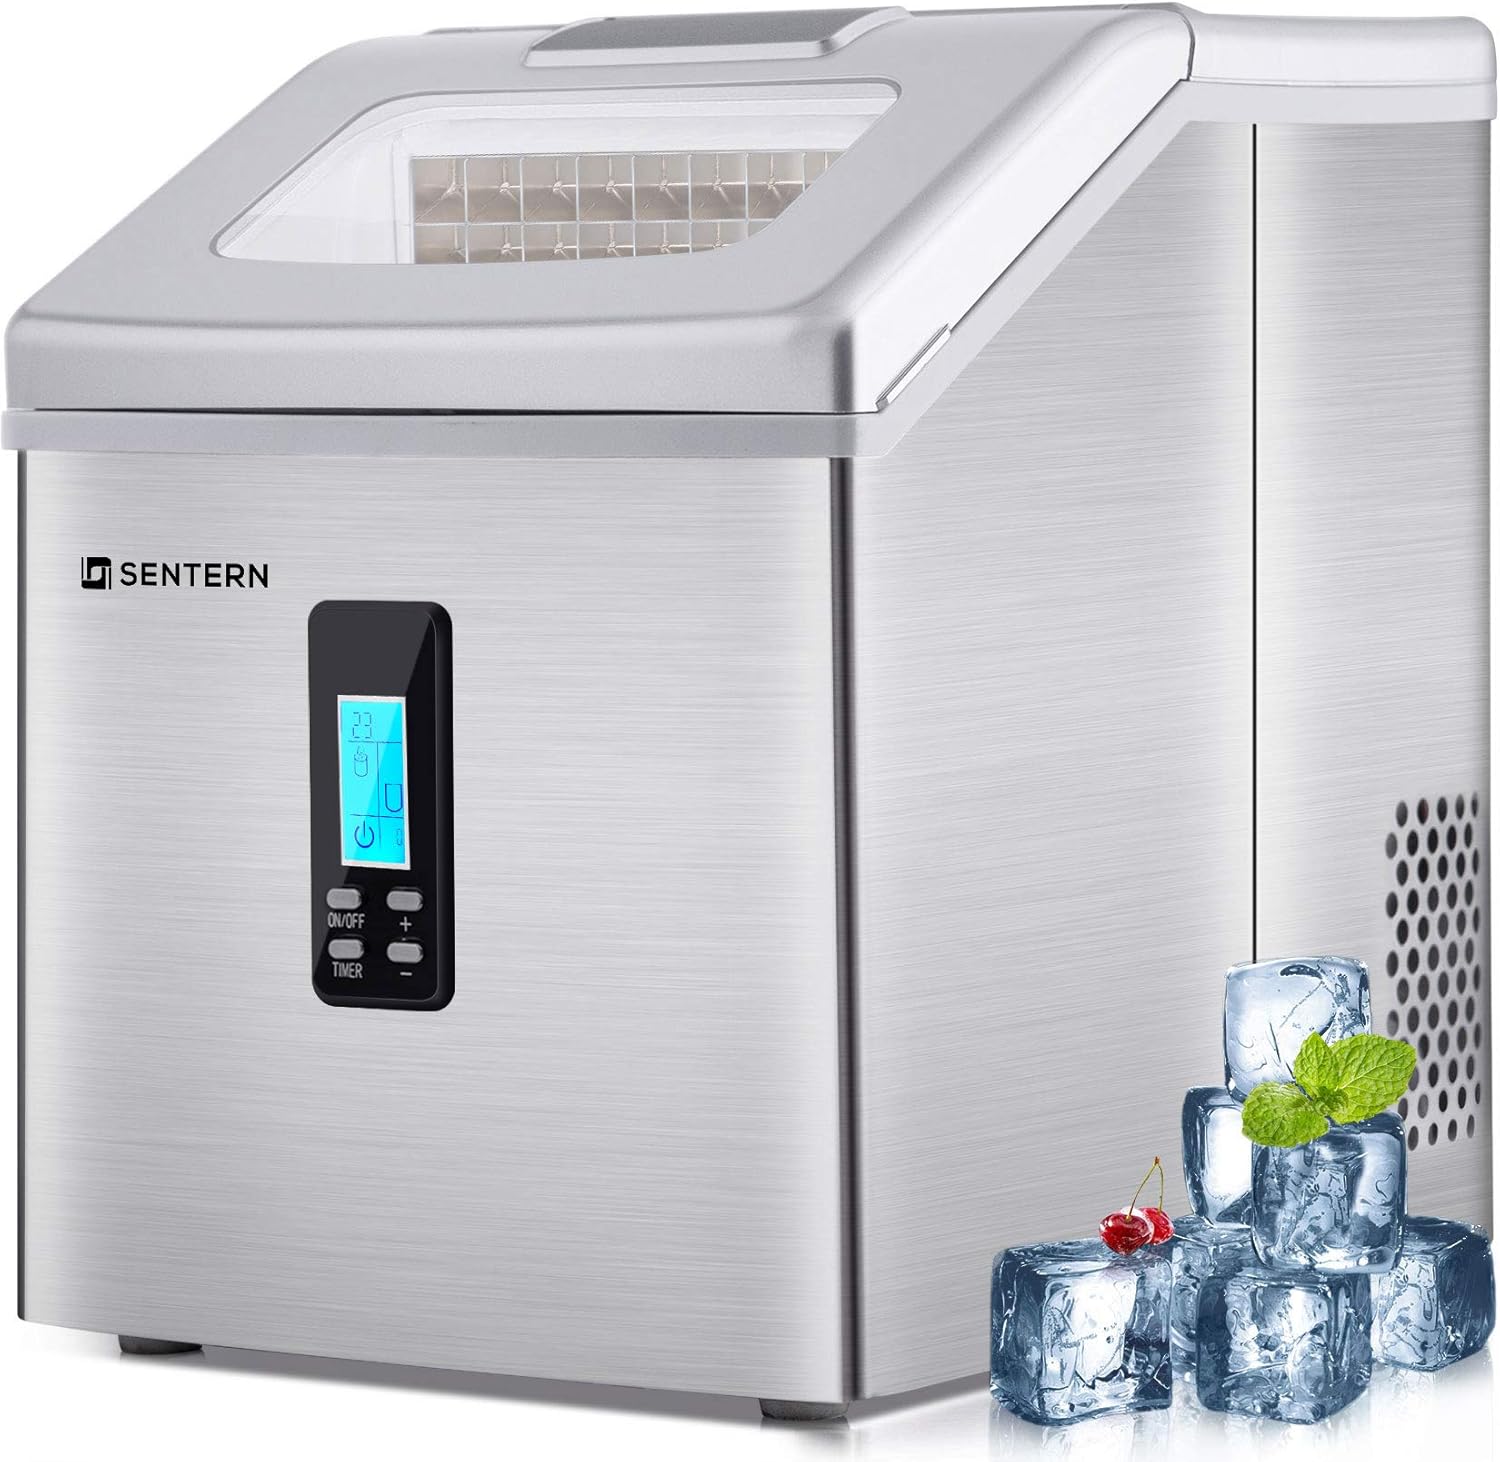
Figure 3.1: Front view of the Sentern Portable Countertop Clear Ice Maker. This image shows the sleek stainless steel finish and the control panel with digital display.
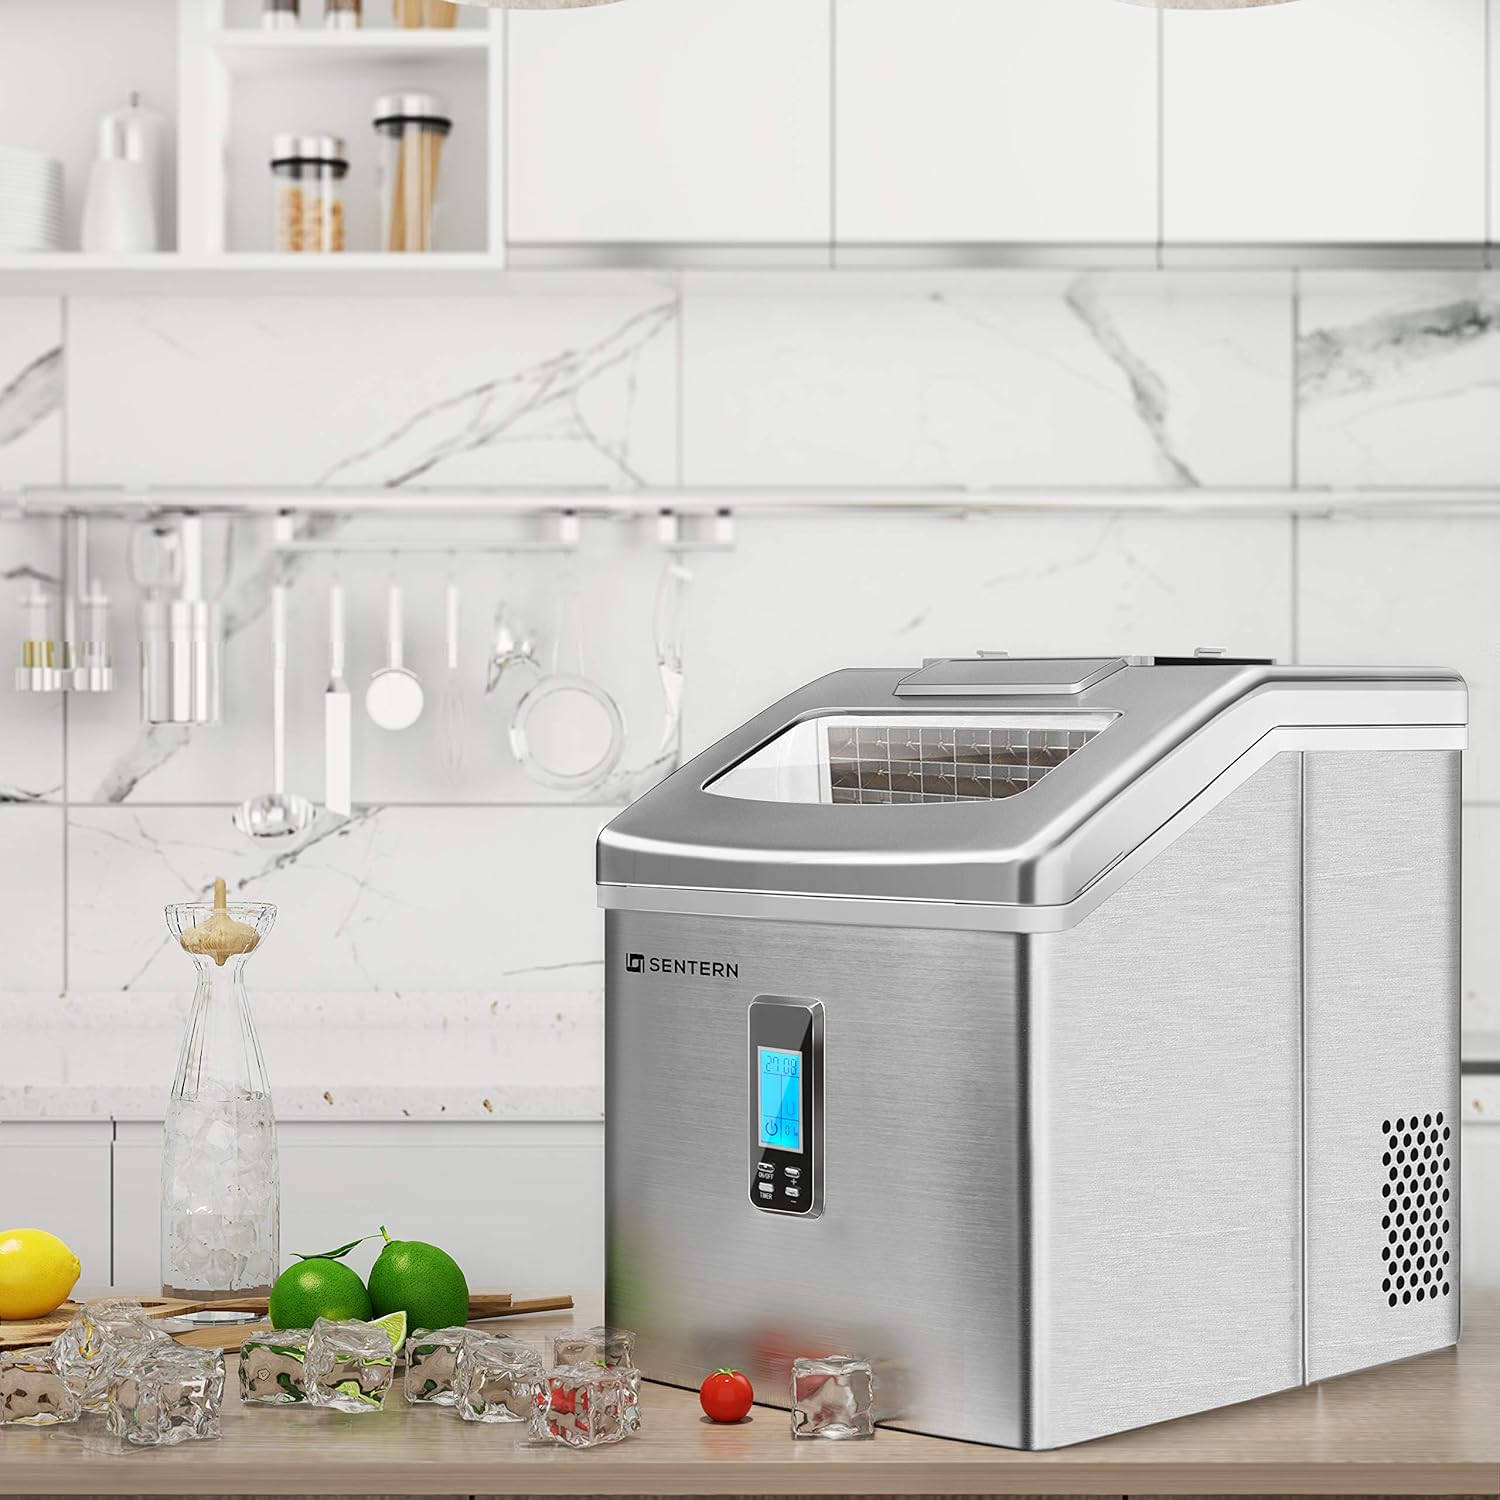
Figure 3.2: The ice maker positioned on a kitchen countertop, demonstrating its compact size and suitability for home environments.

Figure 3.3: Illustrates the compact and portable design of the ice maker, shown in use on a kitchen counter with a person preparing a drink.
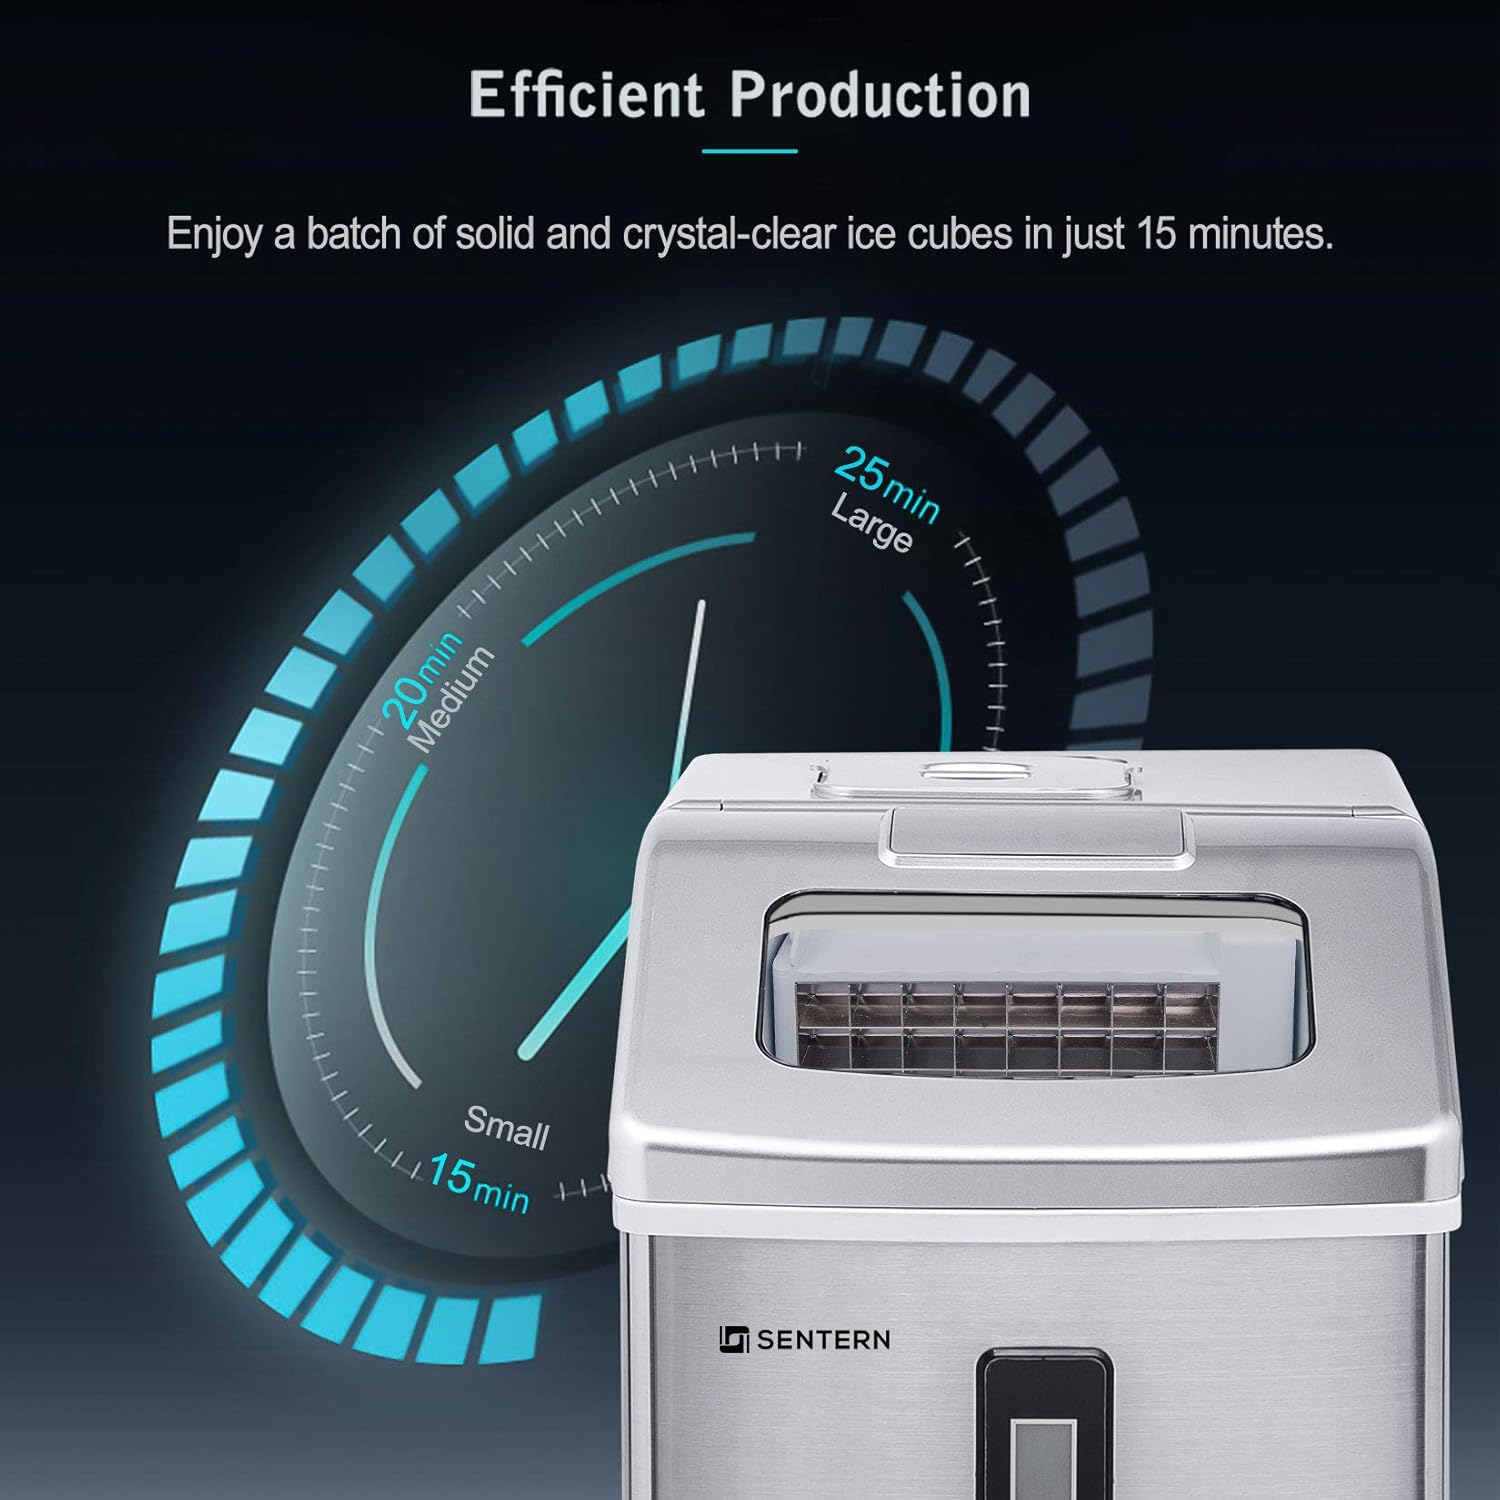
Figure 3.4: Detailed dimensions of the ice maker: 11.2 inches (width), 14.4 inches (depth), and 13.8 inches (height), with a top width of 9.4 inches.
Key Features:
- Clear Ice Production: Produces harder, denser, and crystal-clear ice cubes that melt slowly.
- Efficient Production: Capable of producing a batch of ice in approximately 15 minutes.
- Compact and Portable Design: Stainless steel body with a chic design, suitable for countertops.
- Large Water Tank: Features a 2.2 L water tank for continuous ice supply.
- Digital Control Panel: Easy-to-use interface for operation.
4. Setup
Before operating your ice maker, follow these steps for initial setup:
- Unpacking: Carefully remove the ice maker from its packaging. Remove all packing materials, tape, and any protective film.
- Placement: Place the ice maker on a flat, stable surface away from direct sunlight and heat sources (e.g., stoves, furnaces, radiators). Ensure there is at least 5 inches (12.7 cm) of space around the unit for proper ventilation.
- Initial Cleaning: Before first use, clean the interior of the ice maker.
- Wash the ice basket and ice scoop with warm water and mild detergent.
- Clean the interior with a soft cloth dampened with warm water and a small amount of vinegar or mild detergent. Rinse thoroughly.
- Drain any remaining water from the reservoir.
- Power Connection: Ensure the unit is unplugged. Allow the refrigerant fluid to settle for at least 2 hours before plugging in the appliance. This is crucial for the compressor's longevity. After settling, plug the power cord into a grounded electrical outlet.
5. Operating Instructions
Follow these steps to operate your Sentern ice maker:
5.1 Filling the Water Reservoir
- Open the top lid of the ice maker.
- Remove the ice basket.
- Fill the water reservoir with potable water up to the "MAX" fill line. Do not overfill.
- Replace the ice basket and close the lid.
5.2 Starting Ice Production
- Press the ON/OFF button on the control panel to turn on the unit.
- The display will illuminate, and the ice-making process will begin automatically.
- Selecting Ice Size: Use the + and - buttons to select your desired ice cube size: Small, Medium, or Large. The selected size will be indicated on the display.

Figure 5.1: Illustration of different ice cube sizes (Small, Medium, Large) and their typical production times (15, 20, 25 minutes) and suggested uses (Iced Food, Smoothies, Drinks).
- The first batch of ice may take slightly longer to produce. Subsequent batches will be faster.

Figure 5.2: Graphic demonstrating the efficient production time, showing ice ready in as little as 15 minutes for small cubes, 20 minutes for medium, and 25 minutes for large.
5.3 Ice Quality
The Sentern ice maker produces clear, dense ice cubes, which melt slower and dilute drinks less compared to softer, crumbly ice from other machines.
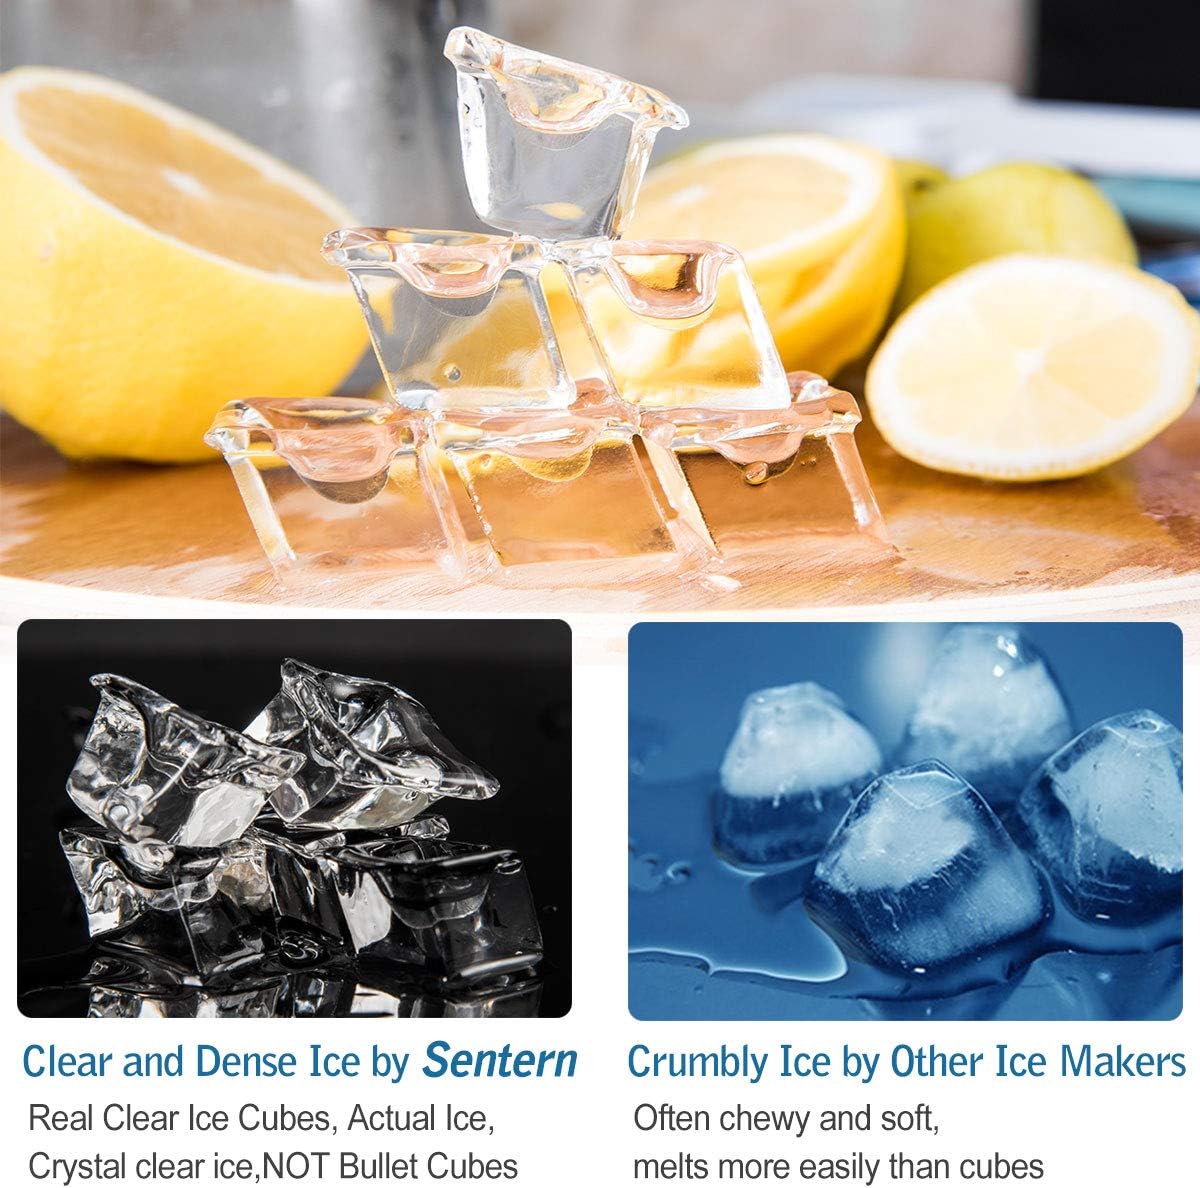
Figure 5.3: A visual comparison highlighting the difference between the clear and dense ice produced by Sentern and the often crumbly and soft ice from other ice makers.
5.4 Indicators
- "ADD WATER" Indicator: If the water level in the reservoir is too low, the "ADD WATER" indicator will light up, and the ice production will pause. Refill the reservoir to resume operation.
- "ICE FULL" Indicator: When the ice basket is full, the "ICE FULL" indicator will light up, and the ice production will stop. Remove ice from the basket to resume operation.
5.5 Stopping Operation
Press the ON/OFF button to stop the ice maker at any time.
6. Maintenance and Cleaning
Regular cleaning and maintenance will ensure the longevity and optimal performance of your ice maker.
- Daily Cleaning:
- After each use, drain any remaining water from the reservoir.
- Wipe the interior and exterior with a soft, damp cloth.
- Clean the ice basket and scoop with warm, soapy water.
- Monthly Cleaning (or as needed):
- Unplug the unit.
- Prepare a cleaning solution of water and vinegar (10:1 ratio) or a mild descaling agent.
- Pour the solution into the water reservoir.
- Run a few ice-making cycles (without consuming the ice) to circulate the cleaning solution.
- Drain the solution completely.
- Rinse the reservoir thoroughly with clean water multiple times to remove any residue.
- Wipe all surfaces dry.
- Storage: If storing the ice maker for an extended period, ensure it is completely drained and dry. Store in a cool, dry place.
Important: Do not use abrasive cleaners, solvents, or harsh chemicals, as they may damage the surface or internal components of the ice maker.
7. Troubleshooting
If you encounter issues with your ice maker, refer to the table below for common problems and solutions.
| Problem | Possible Cause | Solution |
|---|---|---|
| Ice maker not working. | Not plugged in; Power outage; Unit not turned on. | Ensure unit is plugged into a grounded outlet; Check power supply; Press the ON/OFF button. |
| "ADD WATER" indicator is on. | Water reservoir is empty or low. | Fill the water reservoir with potable water up to the MAX line. |
| "ICE FULL" indicator is on. | Ice basket is full. | Remove ice from the ice basket. |
| Ice cubes are small or cloudy. | Water temperature too high; Mineral buildup. | Use colder water; Perform a thorough cleaning and descaling. |
| Ice production is slow. | Poor ventilation; High ambient temperature; Water temperature too high. | Ensure adequate space around the unit; Operate in a cooler environment; Use colder water. |
| Unusual noise. | Unit not level; Fan obstruction; Normal compressor operation. | Ensure unit is on a level surface; Check for obstructions around fan vents; Some noise from compressor is normal. |
If the problem persists after trying these solutions, please contact customer support.
8. Product Specifications
| Feature | Detail |
|---|---|
| Brand | Merax |
| Model Name | Ice Maker Countertop |
| Model Number | HZB-16F |
| Capacity | 2.2 Liters (Water Tank) |
| Voltage | 120 Volts |
| UPC | 843438126634 |
| Material | Alloy Steel |
| Item Weight | 27.2 pounds |
| Package Dimensions | 17.5 x 17.5 x 14.5 inches |
| Installation Type | Countertop |
| Special Features | Portable |
| Color | Sliver |
| First Available Date | May 13, 2019 |
9. Warranty and Support
This Sentern Portable Countertop Clear Ice Maker is covered by a limited warranty. For specific warranty terms and conditions, please refer to the warranty card included with your product or contact the manufacturer directly.
For technical support, troubleshooting assistance, or to inquire about replacement parts, please contact Merax Customer Service. Contact information can typically be found on the manufacturer's website or on the product packaging.
Online Support: Visit the official Merax website for FAQs, product registration, and additional support resources. Merax Store on Amazon