1. Product Overview
The We R Memory Keepers Mini Precision Press & Stamp is designed for precise and consistent stamping. This kit includes a stamp press, various acrylic stamps, dies, and embossing folders to enhance your crafting projects. It allows for accurate placement and repeated stamping, ensuring professional results.

Image 1.1: Back of product packaging detailing the included components: 2 die and embossing folders, 1 embossing folder, 4 layered stamps, 13 acrylic stamps, 6 dies, and 1 stamp press. The UPC 633356607229 is visible.
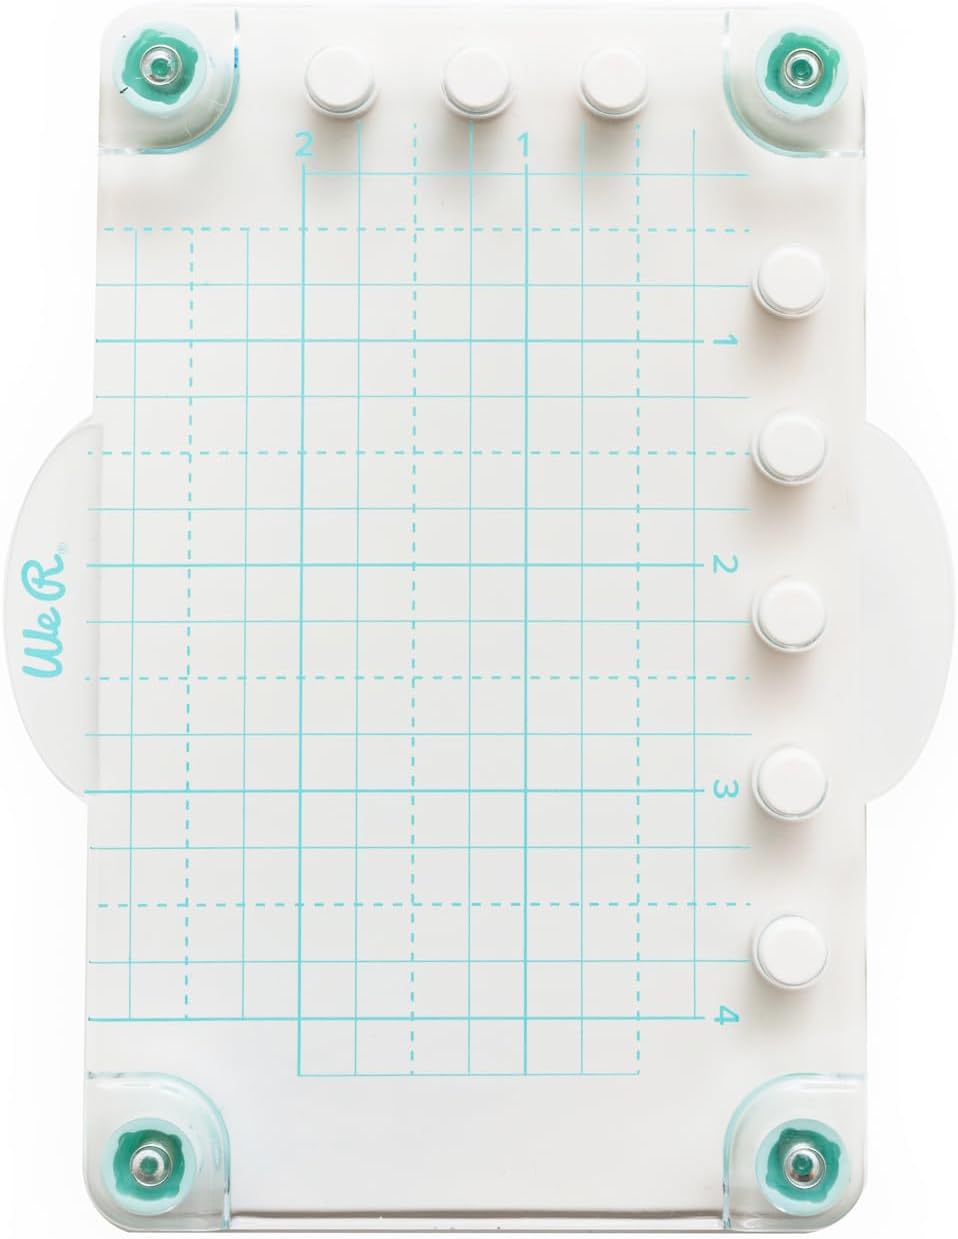
Image 1.2: The Mini Precision Press features a clear grid surface for accurate stamp and paper placement.
2. Safety Information
- Keep out of reach of small children due to small parts.
- Use on a stable, flat surface.
- Handle dies with care as they may have sharp edges.
- Do not apply excessive force to the press, as this may cause damage.
3. Setup
Follow these steps to set up your Mini Precision Press for use:
- Unpack all components from the packaging.
- Place the Mini Precision Press on a clean, flat, and stable work surface.
- Remove the protective film from both sides of the clear acrylic stamps.
- Position your paper or cardstock onto the base of the press, aligning it with the grid lines as needed.
- Place the desired clear acrylic stamp(s) onto your paper in the desired position. The stamps will temporarily cling to the paper.
4. Operating Instructions
4.1 Stamping with the Precision Press
- After placing your paper and stamps (as per Setup), close the clear hinged lid of the press, ensuring the stamps adhere to the lid.
- Open the lid and apply ink evenly to the surface of the stamp(s).
- Carefully close the lid, pressing down firmly and evenly across the entire surface of the stamp(s) to transfer the ink to your paper.
- Lift the lid to reveal your stamped image. If the impression is not dark enough or uneven, re-ink the stamp(s) and press again, as the precise alignment of the press allows for multiple impressions in the exact same spot.

Image 4.1: The press enables precise placement for stamping multiple phrases or designs on cards.

Image 4.2: Achieve clear and consistent results when stamping intricate designs like this llama.
4.2 Using Dies and Embossing Folders
The included dies and embossing folders are designed to be used with a compatible die-cutting and embossing machine, such as other We R Memory Keepers Mini Evolution accessories. Refer to your die-cutting machine's instruction manual for specific usage guidelines.

Image 4.3: The press is ideal for adding precise stamped elements to tags and other small projects.

Image 4.4: Examples of finished projects demonstrating the versatility of the included stamps and other crafting tools.

Image 4.5: A close-up showing the crisp and well-aligned text achieved through precision stamping.

Image 4.6: An example of a decorative tag created using the stamping press and coordinating elements.
5. Maintenance
- Cleaning the Press: Wipe the clear hinged lid and base with a soft, damp cloth after each use to remove any ink residue. Avoid abrasive cleaners.
- Cleaning Stamps: Clean acrylic stamps immediately after use with a stamp cleaner or mild soap and water. Pat dry with a lint-free cloth.
- Storage: Store the press and all components in a clean, dry place away from direct sunlight and extreme temperatures. Keep stamps on their original backing sheets to maintain their cling properties.
6. Troubleshooting
- Stamps difficult to remove from plastic sheeting: Gently peel the stamps from the plastic backing. If they are very stubborn, try flexing the plastic sheet slightly to help release them. Avoid using sharp objects.
- Uneven or faint impressions: Ensure you are applying even pressure across the entire lid when stamping. Re-ink the stamp and press again, utilizing the press's ability to stamp in the exact same spot for a darker impression.
- Stamps not adhering to the press lid: Clean both the stamp and the press lid with a damp cloth to remove any dust or oils. Ensure the stamps are dry before attempting to adhere them.
- Paper shifting during stamping: Use low-tack tape or a repositionable adhesive to secure your paper to the press base if it tends to move.
7. Specifications
| Brand Name | We R Memory Keepers |
| Model Number | 660722 |
| Global Trade Identification Number (GTIN) | 00633356607229 |
| Item Weight | 0.04 Kilograms |
| Material Type | Acrylic |
| Size | 1.5 inches x 2 inches |
| Unit Count | 1.0 Count |
8. Warranty and Support
Warranty: The manufacturer's warranty description for this product is not applicable.
Support: For further assistance or inquiries regarding your We R Memory Keepers Mini Precision Press & Stamp, please refer to the official We R Memory Keepers website or contact their customer service department.