
1. Introduction
This instruction manual provides essential information for the safe and efficient installation, operation, and maintenance of your EISL Flexo NI186FLNIB Sink Tap Fitting. Please read this manual thoroughly before installation and retain it for future reference. Proper installation and care will ensure long-lasting performance and satisfaction with your product.
2. Safety Information
- Always turn off the main water supply before beginning any installation or maintenance work.
- Ensure all connections are secure to prevent leaks.
- If you are unsure about any part of the installation process, consult a qualified plumber.
- Do not use abrasive cleaners, solvents, or harsh chemicals on the tap's surface, as these can damage the finish.
- Protect the product from frost.
3. Package Contents
Verify that all components listed below are present in your package before starting installation.

Image: The image displays all parts supplied for the tap's installation, including the faucet body, mounting hardware, flexible connection hoses, and the printed instruction manual.
- EISL Flexo NI186FLNIB Sink Tap Fitting (main body with flexible spout)
- Mounting hardware (nut, washer, gasket)
- Two flexible connection hoses (approx. 400 mm length)
- Instruction Manual
4. Setup (Installation)
4.1 Pre-Installation
- Turn off the main water supply to your kitchen.
- Clear the area under your sink for easy access.
- Ensure all package contents are present and undamaged.
4.2 Installation Steps

Image: This diagram provides the essential measurements of the tap, including its height (344 mm variable), spout reach (246 mm variable), and base diameter (50 mm), crucial for installation planning.
- Prepare the Mounting Hole: Ensure your sink or countertop has a single mounting hole of appropriate diameter (refer to specifications for base diameter).
- Insert Faucet: Place the faucet body into the mounting hole. Ensure the base gasket is correctly positioned between the faucet and the sink surface.
- Secure Faucet: From underneath the sink, slide the rubber washer, metal washer, and then thread the mounting nut onto the faucet shank. Tighten the nut securely to prevent movement, but do not overtighten.
- Connect Water Hoses: Attach the two flexible connection hoses to the corresponding inlets on the faucet body (typically marked for hot and cold). Hand-tighten, then use a wrench for a quarter turn to ensure a snug fit.
- Connect to Water Supply: Connect the other ends of the flexible hoses to your hot and cold water supply lines. Ensure the hot water line connects to the hot inlet and the cold water line to the cold inlet.
- Test for Leaks: Slowly turn on the main water supply. Check all connections for any signs of leaks. If leaks are detected, tighten the connections carefully.

Image: This image shows the tap installed in front of a window, illustrating how its flexible spout can be bent down to approximately 22 cm, allowing the window to open freely.
Note on Window Installation: The flexible spout design allows the tap to be lowered to approximately 22 cm, which can be beneficial for installations in front of windows that need to open inwards.
5. Operating Instructions
5.1 Water Flow and Temperature Control

Image: A detailed view of the tap's single lever handle. The image highlights the cold-start function, where the central lever position delivers only cold water, conserving energy.
- Lever Operation: The tap features a single lever for controlling both water flow and temperature.
- Cold Start Function: When the lever is in the central position, only cold water will flow. This energy-saving feature prevents the boiler from activating unnecessarily.
- Temperature Adjustment: Move the lever to the left for hot water and to the right for cold water.
- Flow Adjustment: Lift the lever upwards to increase water flow.
5.2 EcoClick Water Saving Function

Image: The tap is shown in a kitchen environment, emphasizing the Eco-Click function which can reduce water consumption by up to 50%. A stream of water is visible from the spout.
The EcoClick function provides a noticeable resistance when lifting the lever, indicating a reduced water flow setting. This can save up to 50% water. To achieve full water flow, simply push the lever past this resistance point.
5.3 Flexible Spout
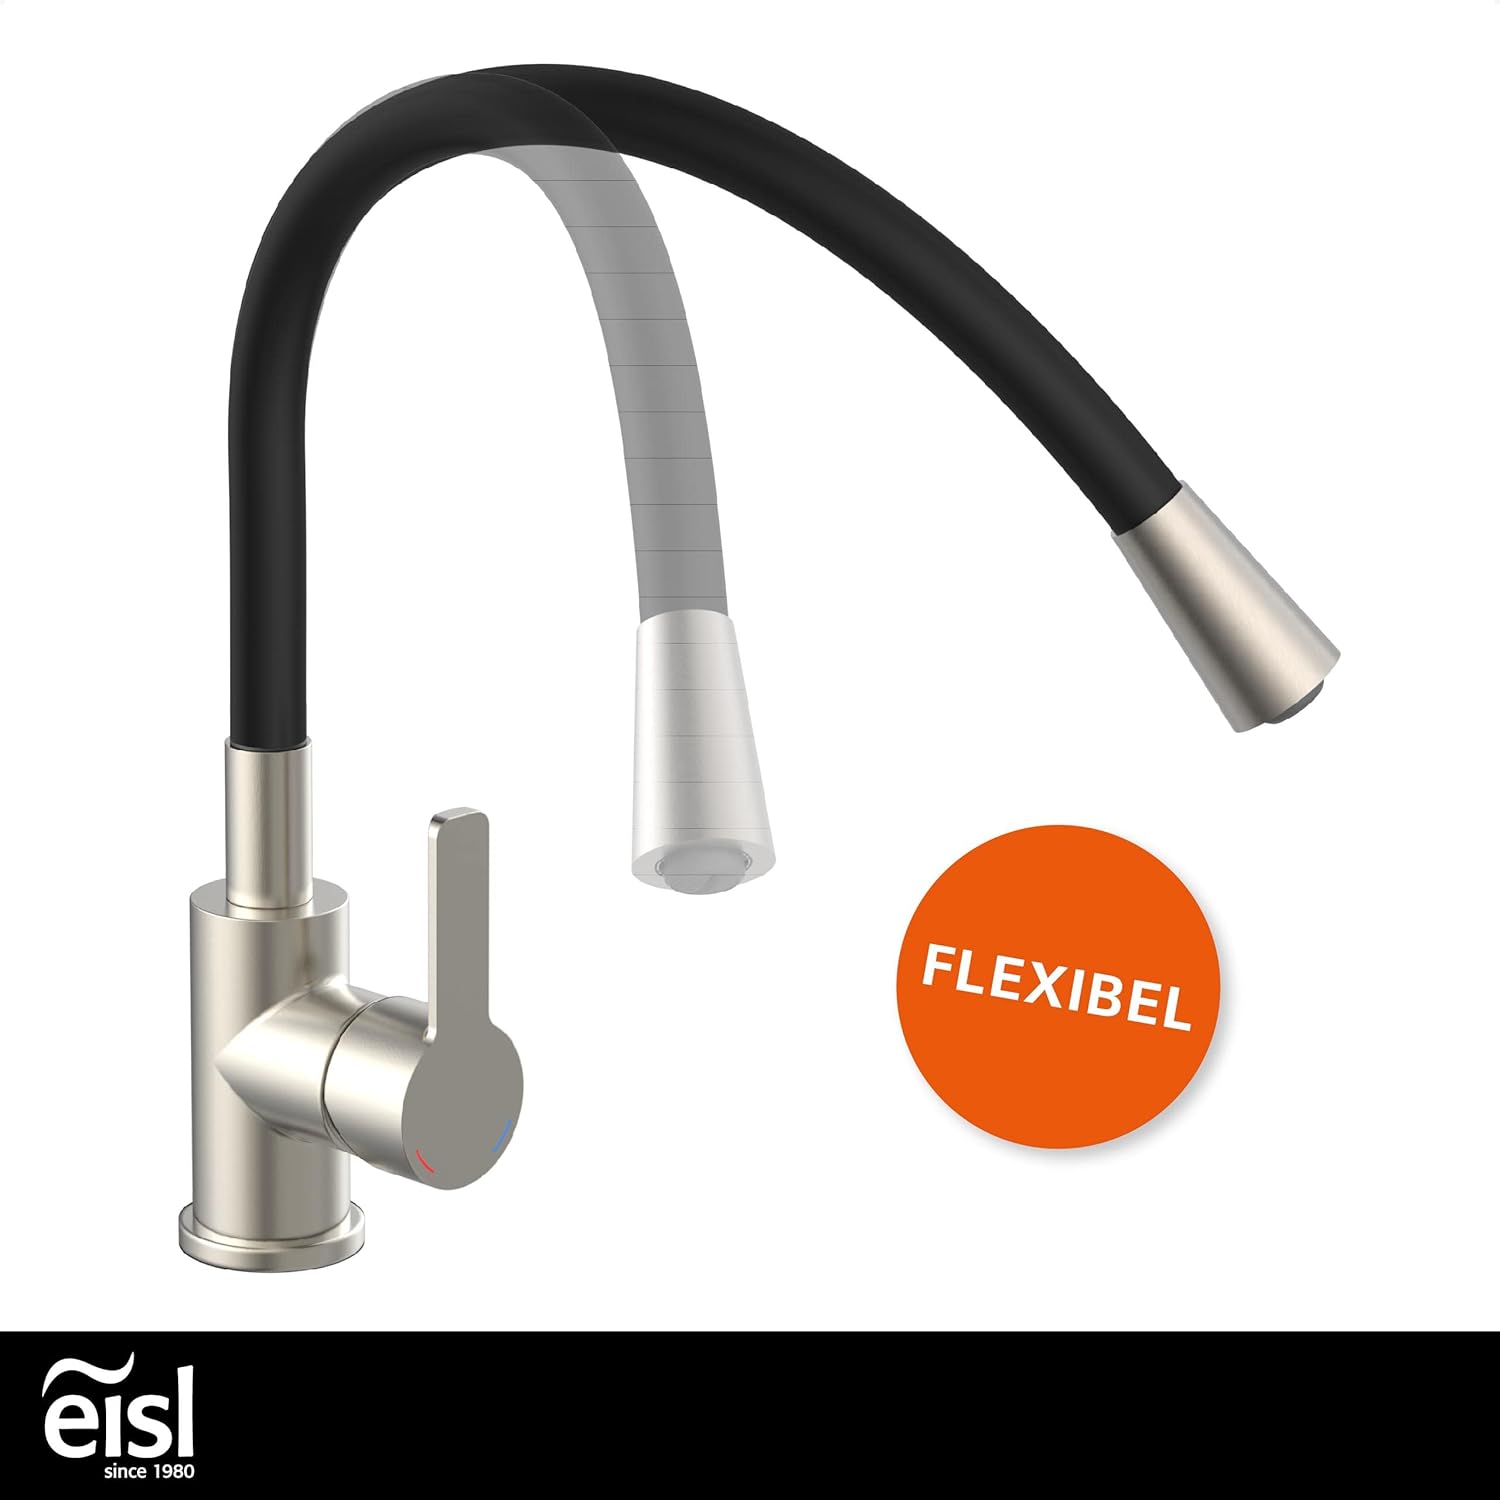
Image: This image illustrates the flexible nature of the tap's black spout, showing its ability to bend and hold various positions for versatile use in the kitchen.
The tap features a highly flexible spout that can be bent and positioned in various directions. It also offers a 360° swivel range, providing extended reach and convenience for different tasks in your sink area.
6. Maintenance
6.1 Cleaning
- Clean the tap regularly with a soft cloth and mild soap and water.
- Rinse thoroughly with clean water and dry with a soft cloth to prevent water spots.
- Do not use abrasive sponges, scouring pads, or cleaning agents containing alcohol, ammonia, or abrasive particles, as these can damage the surface finish.
6.2 Aerator Maintenance
Over time, mineral deposits can build up in the aerator, reducing water flow. To clean the aerator:
- Unscrew the aerator from the tip of the spout.
- Rinse any debris or mineral deposits under running water. For stubborn deposits, soak the aerator in a solution of equal parts white vinegar and water.
- Reattach the aerator to the spout, ensuring it is securely tightened.
7. Troubleshooting
If you encounter any issues with your tap, refer to the following troubleshooting guide before contacting customer support.
7.1 Low Water Flow
- Check Water Supply: Ensure the main water supply valves are fully open.
- Clean Aerator: A clogged aerator is a common cause of low flow. Refer to Section 6.2 for cleaning instructions.
- Inspect Hoses: Check the flexible connection hoses under the sink for any kinks or obstructions.
7.2 Leaks
- Check Connections: Ensure all connections, including those to the water supply lines and the faucet body, are securely tightened. Do not overtighten.
- Inspect Gaskets/O-rings: If a leak persists, the gaskets or O-rings at the connection points may be damaged or improperly seated. Turn off the water supply and inspect them.
7.3 Temperature Issues
- Verify Connections: Confirm that the hot and cold water supply lines are connected to the correct inlets on the faucet.
- Check Water Heater: Ensure your water heater is functioning correctly and set to an appropriate temperature.
8. Specifications
| Feature | Detail |
|---|---|
| Model Number | NI186FLNIB |
| Brand | EISL |
| Manufacturer | Eisl Sanitär GmbH |
| Product Dimensions | 24.6 x 10.1 x 34.4 cm |
| Item Weight | 1.69 kg |
| Colour | Stainless Steel Look/Black (Edelstahloptik/Schwarz) |
| Style | Lever |
| Finish | Brass (body) |
| Material | Plastic (spout), Brass (handle) |
| Installation Method | Single Hole |
| Mounting Type | Deck Mount |
| Number of Handles | 1 |
| Special Features | Water Saving (EcoClick), Energy Saving (Cold Start), Flexible Spout, 360° Swivel Range |
9. Warranty and Support
For warranty information, please refer to the documentation provided with your purchase or visit the official EISL website. Warranty terms and conditions may vary by region and retailer.
If you require further assistance or have questions not covered in this manual, please contact your retailer or the EISL customer support directly. Contact details can typically be found on the manufacturer's website or your purchase invoice.