1. Introduction
The Snooper DVR-PRO is a professional vehicle dash camera designed to provide continuous recording of your journeys. It features high-definition video capture, integrated GPS for location and speed data, Wi-Fi connectivity for smartphone app control, and a secure, lockable SD card slot. This manual provides essential information for the proper installation, operation, and maintenance of your DVR-PRO dash cam.
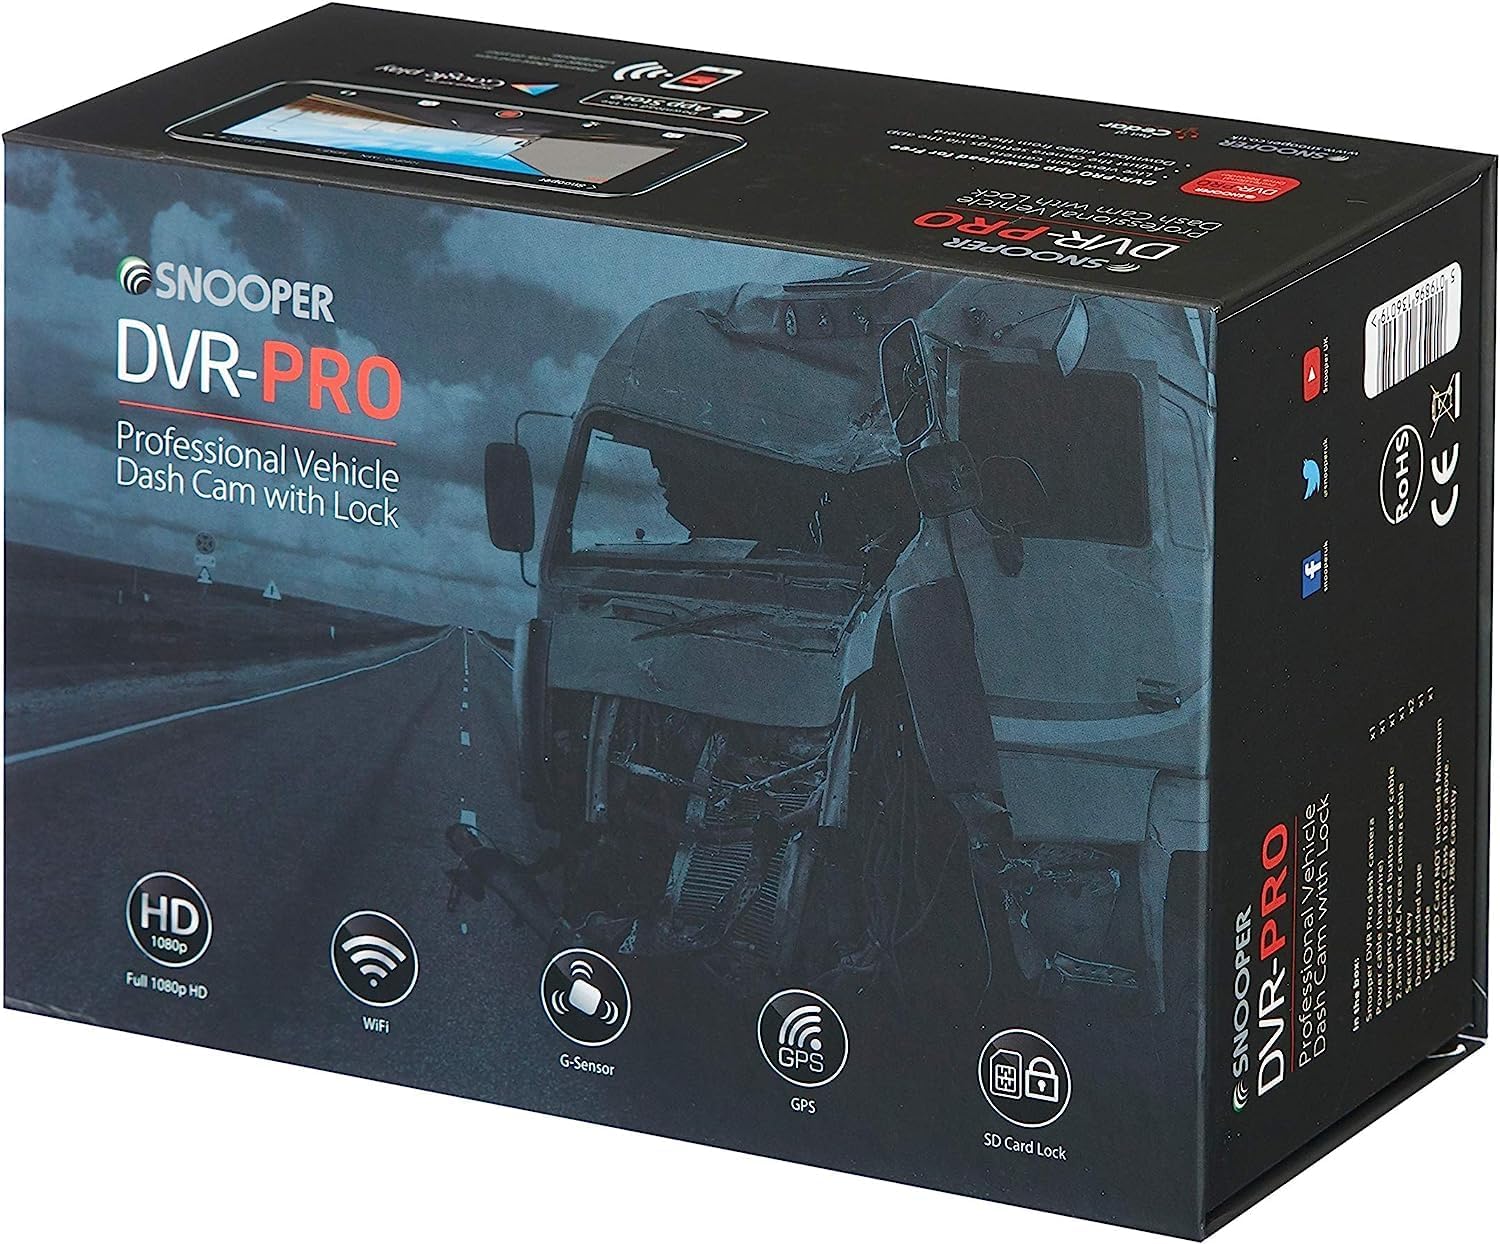
Image 1.1: Snooper DVR-PRO Dash Cam packaging, showing key features like HD 1080p, Wi-Fi, G-Sensor, GPS, and SD Card Lock.
2. Safety Information
- Ensure the dash cam is installed in a location that does not obstruct the driver's view or interfere with vehicle safety features.
- Do not operate the device or adjust settings while driving. Always pull over to a safe location before making any adjustments.
- Use only the provided power cable and accessories to prevent damage to the device or vehicle.
- Keep the device away from extreme temperatures, direct sunlight for prolonged periods, and moisture.
- Do not attempt to disassemble or repair the device yourself. Refer all servicing to qualified personnel.
3. Package Contents
Verify that all items are present in the package:
- Snooper DVR-PRO Vehicle Driving Recorder
- Main Power Loom (12V-24V Vehicle Power Supply)
- Emergency Recording Button and Loom
- Input Cable for 2nd Camera (optional, 2nd camera not included)
- 2 Keys for SD Card Lock
- Locking Screws and Tool
- USB Cable
- Windscreen Mount (suction cup type)
- 8GB Micro SD Card (may vary by region/package)

Image 3.1: The emergency recording button with its connecting cable.
4. Product Overview
The DVR-PRO dash cam features a compact design with essential ports and controls for easy operation.

Image 4.1: Close-up view of the DVR-PRO dash cam's side, showing the power button, A/V input, and USB port.

Image 4.2: Detail of the lockable SD card slot, demonstrating the key mechanism for secure data storage.
Key components include:
- Camera Lens: Captures Full HD 1080p video with a 165-degree wide-angle view.
- LCD Screen: For viewing live footage, playback, and menu navigation.
- Power Button: To manually turn the device on/off.
- SD Card Slot: Secure, lockable slot for Micro SD cards up to 128GB.
- GPS Module: Integrated for recording location and speed data.
- Wi-Fi Module: For wireless connection to the smartphone app.
- G-Sensor: Detects impacts and sudden movements to trigger emergency recording.
5. Setup
5.1 Mounting the Dash Cam
- Clean the chosen area on your windscreen thoroughly.
- Attach the suction cup mount to the windscreen, ensuring it does not obstruct your view.
- Slide the DVR-PRO dash cam onto the mount until it clicks securely into place.
- Adjust the camera angle to ensure a clear view of the road ahead.
5.2 Inserting the Micro SD Card
- Unlock the SD card slot using one of the provided keys.
- Insert a Micro SD card (Class 10 or higher, up to 128GB recommended) into the slot with the contacts facing the camera's screen. Push until it clicks.
- Lock the SD card slot using the key to secure the card and prevent unauthorized removal or tampering.
5.3 Connecting Power
- Connect the main power loom to the dash cam's power input port.
- Route the cable neatly along the vehicle's interior to avoid interference with driving.
- Plug the other end of the power loom into your vehicle's 12V/24V power outlet.
5.4 Installing the Emergency Recording Button
- Connect the emergency recording button loom to the designated port on the dash cam.
- Mount the button in an easily accessible location within the vehicle, such as on the dashboard.
6. Operating Instructions
6.1 Automatic Recording
The DVR-PRO is designed for automatic operation. Once connected to power and the vehicle ignition is turned on, the dash cam will automatically power on and begin continuous loop recording. When the ignition is turned off, the camera will save the current recording and power down.
6.2 Emergency Recording
In the event of an incident or if you wish to manually save a specific moment, press the external emergency recording button. This action will protect the current video segment from being overwritten by loop recording.
6.3 GPS Functionality
The integrated GPS module automatically records your vehicle's location and speed data, embedding this information into the video footage. This data can be viewed during playback using the dedicated PC player or smartphone app.

Image 6.1: Visual representation of the built-in GPS feature, showing a car on a road with a GPS signal icon.
6.4 Wi-Fi Connectivity and Smartphone App
The DVR-PRO features built-in Wi-Fi, allowing you to connect your smartphone via the free DVR-PRO app (available for iOS and Android). This app enables you to:
- View live footage from the dash cam.
- Review recorded videos and images.
- Download footage directly to your smartphone.
- Adjust camera settings.

Image 6.2: The dash cam's display showing the Wi-Fi connection status.

Image 6.3: A smartphone screen showing the DVR-PRO app, displaying live camera feed.
6.5 Parking Mode
The DVR-PRO includes an anti-vandalism parking mode. When the vehicle is parked, the G-sensor can detect impacts and automatically initiate recording to capture events around your vehicle.

Image 6.4: Visual representation of the parking mode feature, showing a car in a parking garage with a person near it.
7. Maintenance
7.1 SD Card Management
Regularly format your Micro SD card (at least once a month) to ensure optimal performance and prevent data corruption. This can typically be done through the camera's menu settings or via the smartphone app. Back up any important footage before formatting.
7.2 Cleaning the Device
Use a soft, dry cloth to clean the camera lens and the device body. Do not use abrasive cleaners or solvents, as these can damage the device. Ensure the device is powered off before cleaning.
8. Troubleshooting
- Camera not powering on: Check the power connection to the vehicle's 12V/24V outlet. Ensure the vehicle's ignition is on.
- Recording issues: Ensure the Micro SD card is properly inserted and locked. Format the SD card. If issues persist, try a different compatible SD card.
- GPS not acquiring signal: Ensure the camera has a clear view of the sky. Metalized window tints can interfere with GPS reception.
- Wi-Fi connection problems: Ensure Wi-Fi is enabled on the dash cam and your smartphone. Restart both devices and try connecting again.
- Poor video quality: Clean the camera lens. Ensure the protective film has been removed from the lens.
9. Specifications
| Feature | Specification |
|---|---|
| Model Number | DVR-PRO |
| Video Resolution | Full HD 1080p |
| Field of View | 165 Degrees |
| Connectivity | Wi-Fi |
| Special Features | Integrated GPS, 3-axis G-Sensor, Dedicated Smartphone App, Lockable SD Card Slot |
| Storage | Micro SD Card (up to 128GB, Class 10 recommended) |
| Power Source | Vehicle 12V-24V |
| Battery Type | Lithium-ion (internal, non-rechargeable by user) |
| Color | Black |
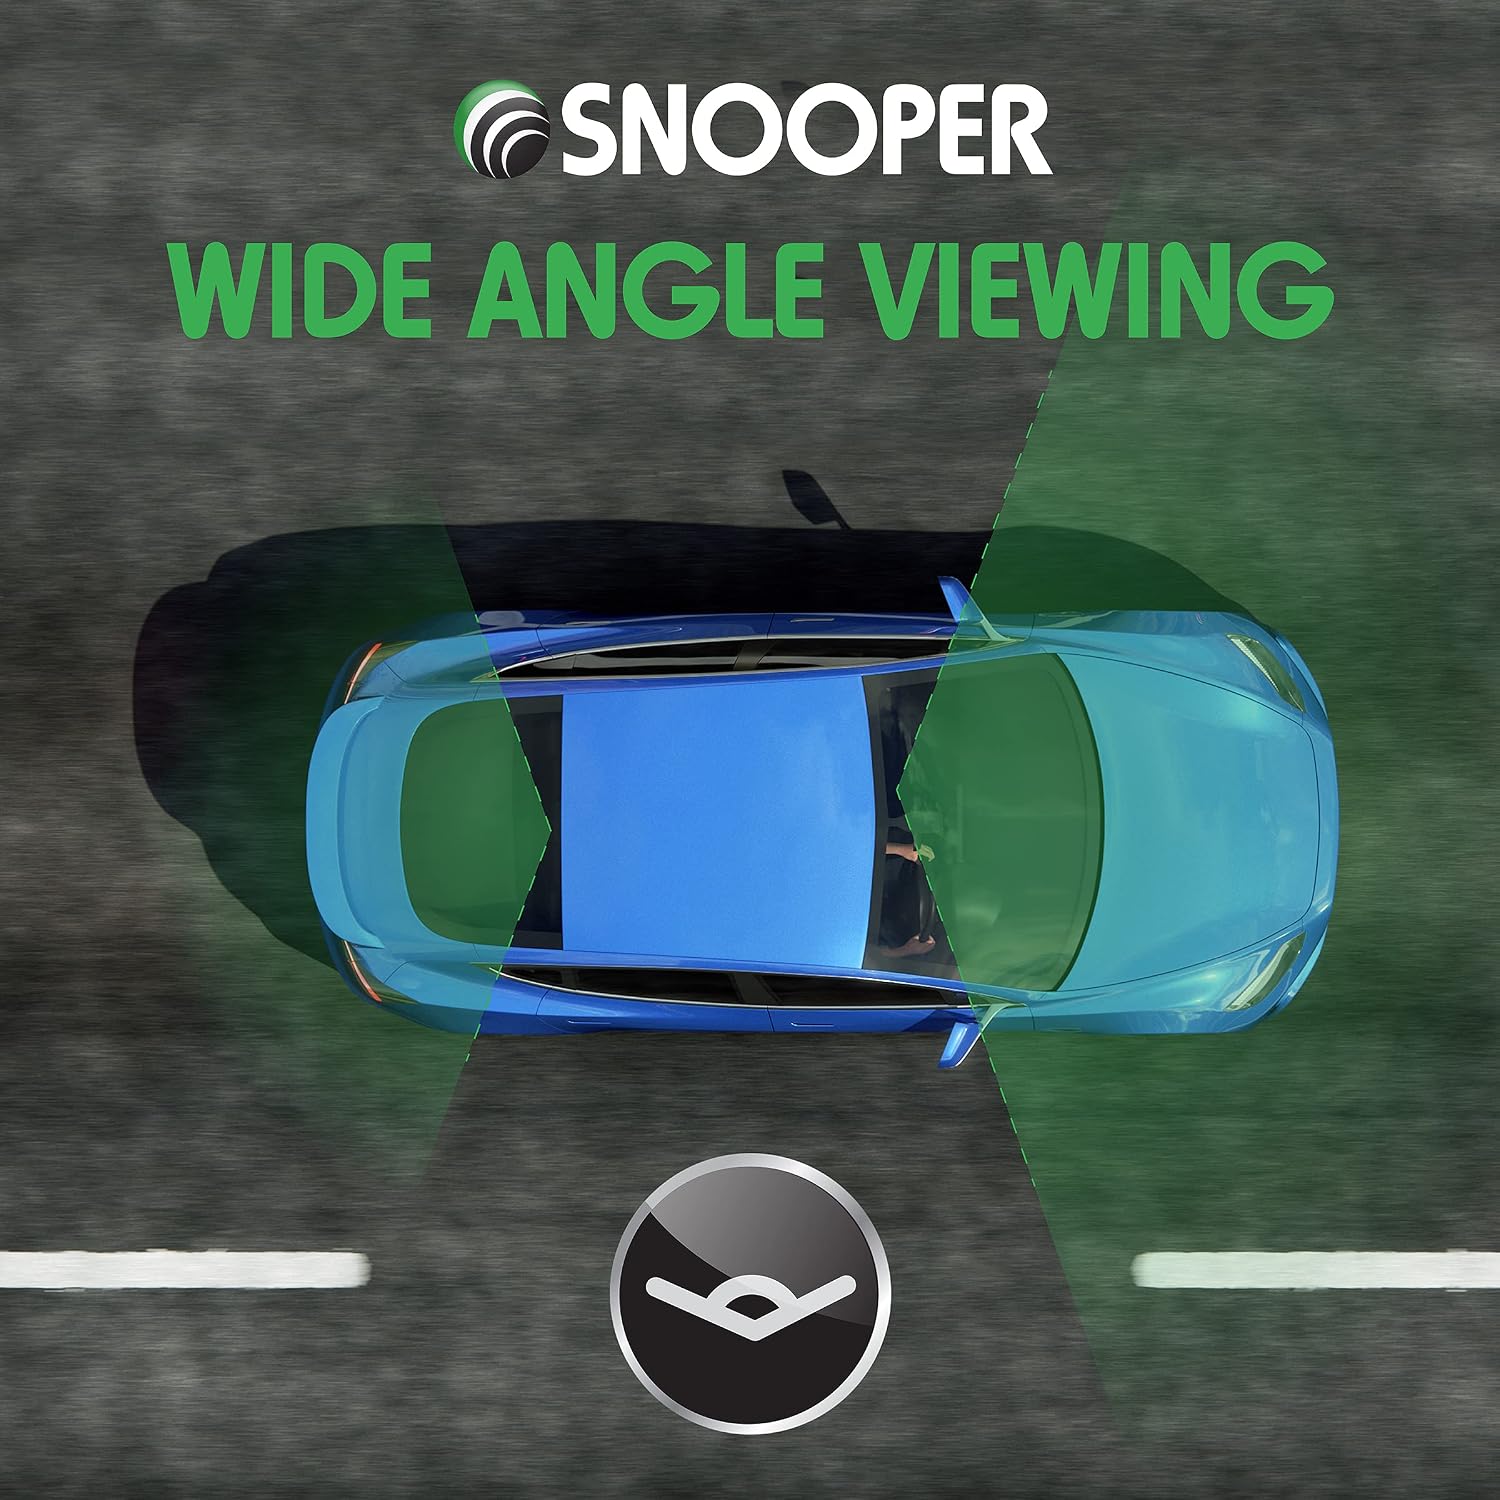
Image 9.1: Visual representation of the wide-angle viewing capability of the dash cam.
10. Warranty and Support
For warranty information and technical support, please refer to the documentation provided with your purchase or visit the official Snooper website. Keep your proof of purchase for warranty claims.


