Important Safeguards
Please read all instructions carefully before using your UNIWARE Espresso Coffee Maker. Keep this manual for future reference.
- Do not touch hot surfaces. Use handles or knobs.
- To protect against fire, electric shock, and personal injury, do not immerse cord, plugs, or the appliance in water or other liquid.
- Close supervision is necessary when any appliance is used by or near children.
- Unplug from outlet when not in use and before cleaning. Allow to cool before putting on or taking off parts, and before cleaning the appliance.
- Do not operate any appliance with a damaged cord or plug or after the appliance malfunctions, or has been damaged in any manner.
- The use of accessory attachments not recommended by the appliance manufacturer may result in fire, electric shock, or personal injury.
- Do not use outdoors.
- Do not let cord hang over edge of table or counter, or touch hot surfaces.
- Do not place on or near a hot gas or electric burner, or in a heated oven.
- Always attach plug to appliance first, then plug cord into the wall outlet. To disconnect, turn any control to "off", then remove plug from wall outlet.
- Do not use appliance for other than intended use.
- Ensure the safety valve is not obstructed.
Product Overview
The UNIWARE Espresso Coffee Maker is a classic stovetop percolator designed to brew rich, authentic espresso-style coffee. Its distinctive eight-sided aluminum body ensures even heat distribution for optimal flavor extraction.
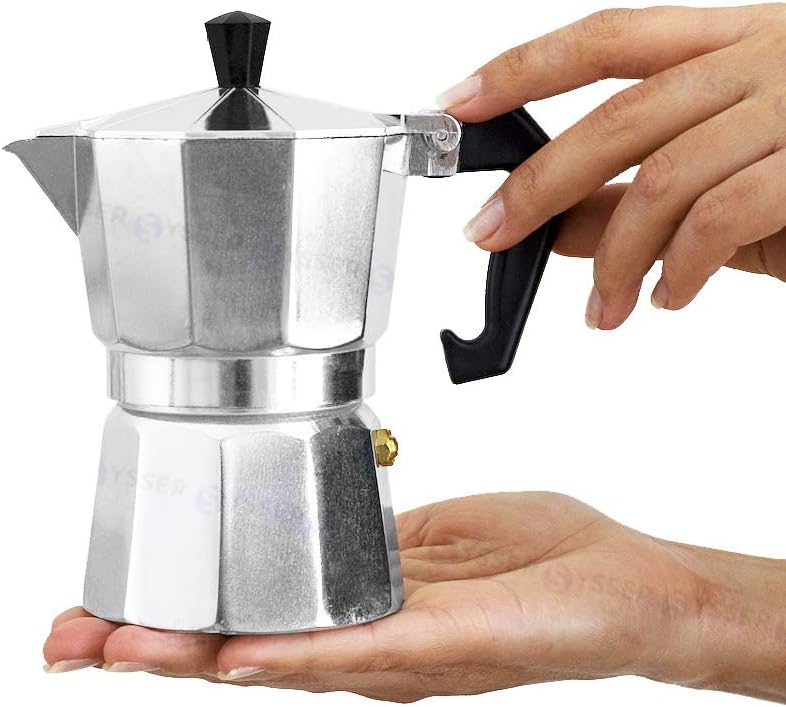
Figure 1: The UNIWARE 3-Cup Espresso Coffee Maker, fully assembled and ready for use. It features a polished aluminum finish and a black handle and knob.
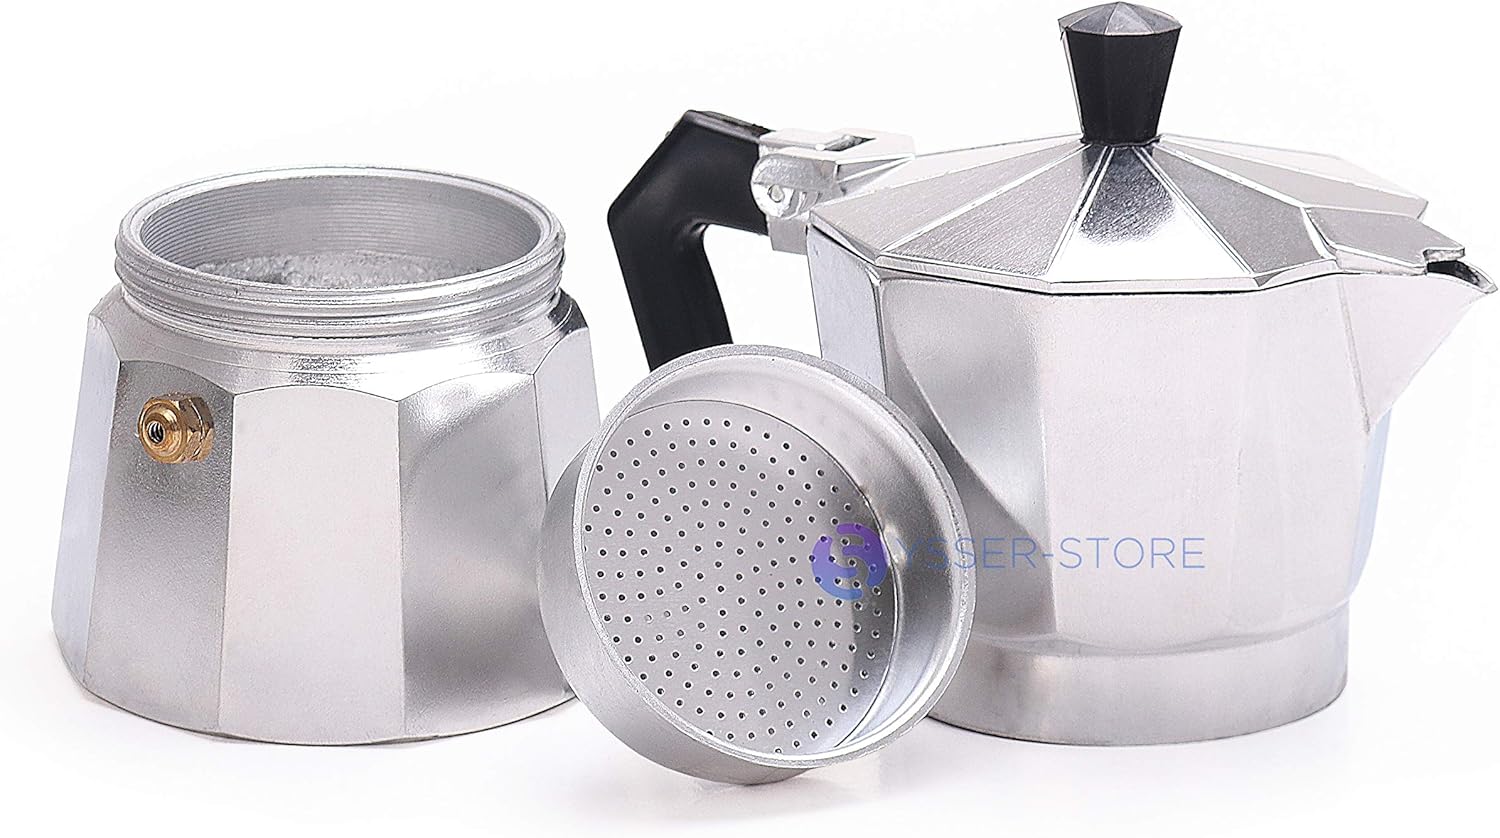
Figure 2: The main components of the espresso maker: the bottom water chamber, the filter basket, and the top coffee collection chamber with lid.
Setup and First Use
1. Unpacking
Carefully remove all components from the packaging. Inspect for any damage. Retain packaging for future storage or transport if needed.
2. Initial Cleaning
Before first use, disassemble the coffee maker and wash all parts (bottom chamber, filter basket, top chamber, and gasket) with warm soapy water. Rinse thoroughly and dry completely. It is recommended to brew 2-3 batches of coffee and discard them to season the pot and remove any manufacturing residues.
3. Assembly
Ensure the rubber gasket and filter plate are correctly seated in the top chamber. Screw the top chamber onto the bottom chamber securely, but do not overtighten.

Figure 3: The bottom water chamber and the filter basket, showing how the basket sits inside the chamber.

Figure 4: The top coffee collection chamber with its lid open, revealing the central column where brewed coffee emerges.
Operating Instructions
1. Filling the Base
Unscrew the top chamber from the bottom chamber. Fill the bottom chamber with cold water up to the level of the safety valve. Do not overfill.
2. Adding Coffee Grounds
Insert the filter basket into the bottom chamber. Fill the filter basket with finely ground coffee. Do not tamp the coffee. Level the grounds gently without pressing them down. Ensure no grounds are on the rim of the filter or the bottom chamber.
3. Brewing
Screw the top chamber firmly onto the bottom chamber. Place the assembled coffee maker on a stovetop burner over medium heat. Keep the lid open initially to observe the brewing process. As the water heats, pressure builds, forcing hot water up through the coffee grounds and into the top chamber. Once coffee begins to flow steadily, close the lid. Remove from heat when the top chamber is nearly full or when you hear a gurgling sound, indicating most of the water has passed through.

Figure 5: Freshly brewed coffee emerging from the central column into the top chamber of the espresso maker.
4. Serving
Carefully remove the coffee maker from the heat source. Pour the freshly brewed espresso into small cups. Enjoy immediately.

Figure 6: Rich espresso coffee being poured from the maker into a white ceramic cup, ready for serving.
Maintenance and Cleaning
1. Daily Cleaning
After each use, allow the coffee maker to cool completely. Disassemble all parts. Discard used coffee grounds. Wash all components with warm water and a mild detergent. Rinse thoroughly to remove all soap residue. Dry completely before reassembling or storing.
2. Deep Cleaning
Periodically, inspect the rubber gasket and filter plate for wear or residue buildup. If necessary, replace the gasket. For stubborn stains or mineral buildup, a solution of water and white vinegar can be used to soak the metal parts, followed by thorough rinsing.
3. Storage
Store the clean, dry coffee maker in a cool, dry place. It is recommended to store the parts disassembled or with the top chamber loosely screwed on to allow air circulation and prevent odors.
Troubleshooting
| Problem | Possible Cause | Solution |
|---|---|---|
| Coffee does not brew or brews slowly. | Heat too low, coffee grounds too fine/tamped, safety valve blocked, insufficient water. | Increase heat, use coarser grind, do not tamp, check safety valve for blockages, ensure water is above valve. |
| Coffee tastes burnt or bitter. | Heat too high, coffee brewed too long, old coffee grounds. | Reduce heat, remove from heat as soon as brewing finishes, use fresh coffee. |
| Water leaks from the side. | Top and bottom chambers not screwed tightly, worn gasket, grounds on rim. | Ensure chambers are tightly screwed, replace gasket if worn, clean rim before assembly. |
| No coffee or very little coffee in the top chamber. | Insufficient water, safety valve blocked, coffee grounds too fine/tamped. | Fill water to safety valve, check safety valve, use coarser grind, do not tamp. |
Specifications
| Feature | Detail |
|---|---|
| Brand | UNIWARE |
| Model | Espresso Coffee Maker (3-Cup) |
| Material | Polished Aluminum |
| Color | Silver |
| Capacity | 3 Espresso Cups |
| Operation Mode | Manual Stovetop |
| Special Features | Distinctive eight-sided shape, Patented safety valve |
| UPC | 751125467741 |
Warranty and Support
For information regarding warranty coverage or product support, please refer to the original purchase documentation or contact UNIWARE customer service directly. Contact details can typically be found on the product packaging or the manufacturer's official website.