Introduction
This manual provides detailed instructions for the installation, operation, and maintenance of your Moen Arris Posi-Temp with Built-in 3-Function Transfer Valve Trim Kit, Model TS22000BL. This trim kit is designed to complement the modern aesthetic of the Arris collection, featuring a matte black finish. Please read all instructions carefully before beginning installation or operation to ensure proper function and safety.
Safety Information
- Always turn off the main water supply before installing or servicing any plumbing fixture.
- Wear appropriate personal protective equipment, such as safety glasses, during installation.
- If you are unsure about any part of the installation process, it is recommended to consult a qualified plumber.
- Ensure all connections are secure and watertight to prevent leaks.
- Do not use harsh chemicals or abrasive cleaners on the product finish, as this may cause damage and void the warranty.
Package Contents
The Moen Arris Posi-Temp 3-Function Transfer Valve Trim Kit (Model TS22000BL) includes the following components:
- Valve trim kit (escutcheon, handles, and associated hardware)
Note: The required Posi-Temp valve body (Moen models #2521, 2551, 2571, or 2581) is sold separately and is essential for the complete installation and operation of this trim kit.
Identifying Your Moen Posi-Temp Valve

This diagram illustrates how to identify a Moen Posi-Temp valve. Key features include the escutcheon screws and the handle operation, which is rotate-only. This trim kit is only compatible with Moen Posi-Temp valves.
Before installing the trim kit, ensure that you have a compatible Moen Posi-Temp valve body installed in your wall. Posi-Temp valves are characterized by their single handle operation for temperature control and pressure balancing capabilities. Refer to the diagram above for visual identification.
Installation
This trim kit is designed to be installed over a pre-existing or newly installed Moen Posi-Temp valve body (models 2521, 2551, 2571, or 2581). Refer to the installation instructions provided with your valve body for rough-in plumbing details.
- Prepare the Area: Ensure the water supply to the shower is turned off. Clear the work area and have all necessary tools ready.
- Install Escutcheon: Place the escutcheon plate over the valve body, aligning the screw holes. Secure it with the provided screws.
- Install Handles: Attach the temperature control handle and the 3-function transfer valve handle according to the specific instructions included with your trim kit. Ensure they are securely fastened and operate smoothly.
- Test: Slowly turn the water supply back on and check for any leaks around the escutcheon and handles. Operate both handles to ensure proper water flow and temperature control.
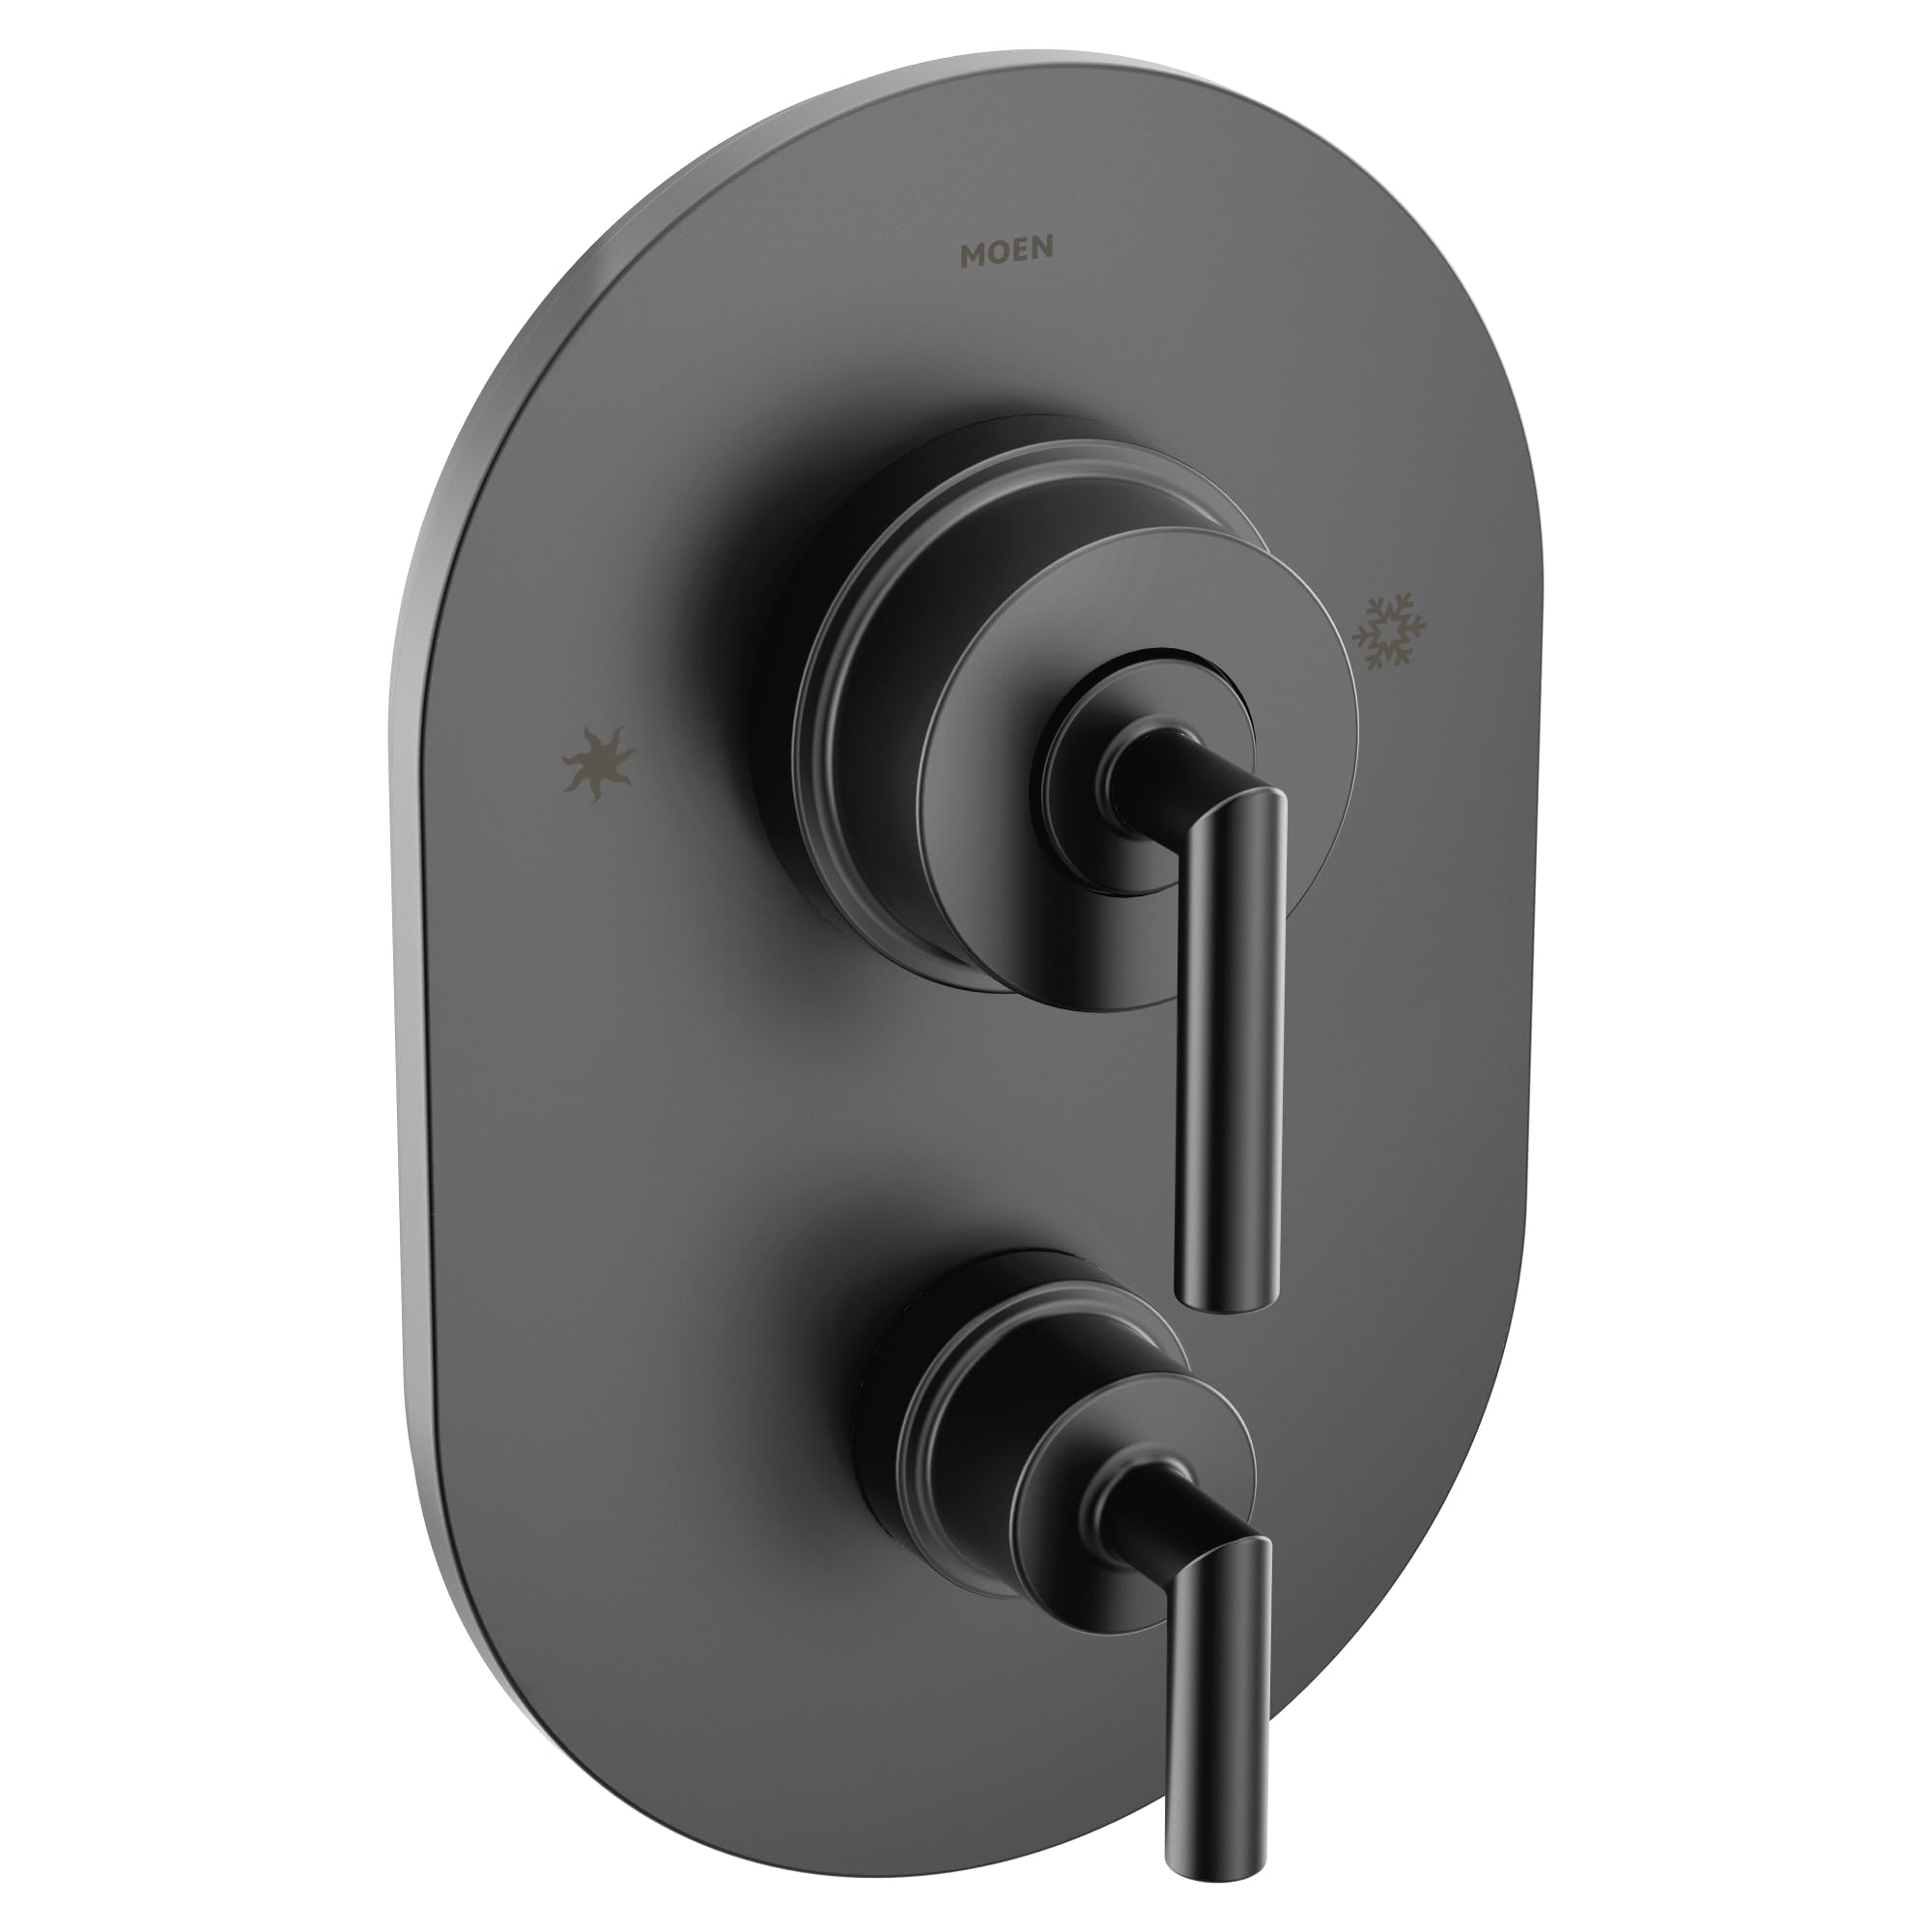
The Moen Arris Posi-Temp 3-Function Transfer Valve Trim Kit in Matte Black. This image shows the complete trim kit assembly, including the temperature control handle and the transfer valve handle, ready for operation.
Operating Instructions
Your Moen Arris Posi-Temp trim kit features a single handle for temperature control and a separate handle for the 3-function transfer valve.
- Temperature Control: Rotate the main handle to adjust the water temperature. The Posi-Temp valve maintains consistent water pressure and temperature, even when other water sources in the house are in use, preventing sudden temperature changes.
- Function Transfer: Use the lower handle to direct water flow to different showering functions (e.g., showerhead, hand shower, body sprays). Rotate the handle to select the desired output.
Maintenance
To maintain the finish and performance of your Moen Arris trim kit, follow these guidelines:
- Cleaning: Clean the surface with a soft, damp cloth and mild soap. Rinse thoroughly with water and dry with a soft cloth.
- Avoid Harsh Cleaners: Do not use abrasive cleaners, scouring pads, ammonia-based cleaners, or any cleaners containing bleach, acids, or alcohol, as these can damage the matte black finish.
- Regular Inspection: Periodically check for any signs of leaks or loose components. Tighten screws as needed, but do not overtighten.
Troubleshooting
If you encounter issues with your trim kit, consider the following common solutions:
| Problem | Possible Cause | Solution |
|---|---|---|
| Low Water Pressure | Partially closed stopcock; debris in valve; issues with main water supply. | Ensure stopcocks are fully open. Consult a plumber to inspect the valve or main water supply. |
| Temperature Fluctuations | Improperly installed Posi-Temp valve; issues with hot/cold water supply. | Verify the Posi-Temp valve is correctly installed. Check hot and cold water lines for blockages or pressure imbalances. |
| Leaks from Handles/Escutcheon | Loose connections; damaged O-rings or gaskets within the valve body. | Ensure all trim kit components are securely tightened. If leaks persist, the issue may be with the valve body itself, requiring professional service. |
For persistent issues or problems not listed here, please contact Moen customer support or a certified plumbing professional.
Specifications
| Feature | Detail |
|---|---|
| Model Number | TS22000BL |
| Material | Metal |
| Exterior Finish | Matte Black |
| Item Dimensions (L x W x H) | 8.9 x 17.8 x 27.1 Centimetres (3.5 x 7 x 10.6875 inches) |
| Inlet Connection Type | Compression or Sweat |
| Number of Ports | 3 |
| Valve Type (Trim Kit Function) | Posi-Temp (Pressure Balancing) with 3-Function Transfer |
| Required Valve Body | Moen Posi-Temp Valve #2521, 2551, 2571, or 2581 (sold separately) |
Warranty and Support
This Moen product is backed by Moen's Limited Lifetime Warranty. For detailed warranty information, please refer to the official Moen website or contact Moen customer service.
If you require assistance with installation, troubleshooting, or have questions about your product, please contact Moen customer support:
- Manufacturer Contact Information: Oakville, ON L6H5S7, CA
- Visit the official Moen website for contact details and support resources.