1. Introduction
Thank you for purchasing the UHAPPY U18 Portable Mini HD LED Projector. This manual provides essential information for the safe and efficient operation of your device. Please read it thoroughly before use and retain it for future reference.
Safety Precautions
- Do not look directly into the projector lens when the lamp is on.
- Ensure proper ventilation around the projector to prevent overheating.
- Do not expose the projector to rain or moisture.
- Use only the power adapter supplied with the projector.
- Do not attempt to open or repair the projector yourself. Refer all servicing to qualified personnel.
2. Product Overview
Familiarize yourself with the components and ports of your UHAPPY U18 projector.
Package Contents
The following items are included in your projector package:

Image: Contents of the UHAPPY U18 projector package, including the projector, power adapter, AV cable, remote control, and user manual.
- UHAPPY U18 Mini LED Projector
- Power Adapter
- AV Cable
- Remote Control
- User Manual (this document)
Projector Components and Ports

Image: Angled top-down view of the UHAPPY U18 projector, highlighting the lens, focus adjustment, and control panel.

Image: Top view of the UHAPPY U18 projector, showing the integrated control buttons.

Image: Front view of the UHAPPY U18 projector, focusing on the projection lens.
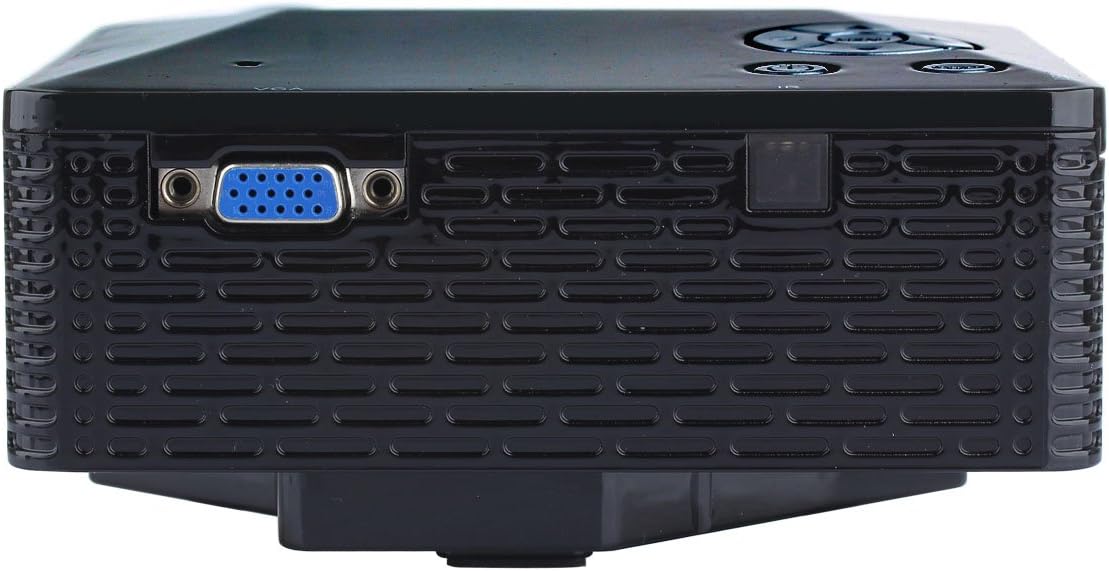
Image: Side view of the UHAPPY U18 projector, illustrating the VGA input port.
The projector features various input ports for connectivity:
- HDMI Input: For connecting devices like laptops, gaming consoles, or media players.
- USB Port: For connecting USB storage devices to play media directly.
- SD Card Slot: For inserting SD memory cards to play media directly.
- AV Input: For connecting older devices using the included AV cable.
- VGA Input: For connecting computers or laptops with a VGA output.
- DC-IN: Power input port.
- Headphone Output: For connecting external audio devices or headphones.
- Focus Knob: Located near the lens for adjusting image clarity.
3. Setup
3.1 Placement
Place the projector on a stable, flat surface. Ensure there is adequate space around the projector for ventilation. The ideal projection distance is between 1 to 4 meters, yielding an image size of 20 to 80 inches.
3.2 Power Connection
- Connect the power adapter to the DC-IN port on the projector.
- Plug the power adapter into a suitable electrical outlet.
3.3 Connecting Input Devices
Choose the appropriate cable and port based on your source device:
- HDMI: Connect an HDMI cable from your device (e.g., laptop, DVD player) to the projector's HDMI port.
- VGA: Connect a VGA cable from your computer to the projector's VGA port.
- AV: Use the provided AV cable to connect devices with AV output (e.g., older DVD players, set-top boxes) to the projector's AV port.
- USB/SD Card: Insert a USB drive into the USB port or an SD card into the SD card slot.
4. Operating Instructions
4.1 Powering On/Off
- To Power On: Press the power button on the projector or the remote control. The LED indicator will light up.
- To Power Off: Press the power button again. It is recommended to allow the projector to cool down for a few minutes before unplugging it.
4.2 Source Selection
After powering on, you may need to select the input source:
- Press the 'Source' button on the projector or the remote control.
- Use the navigation buttons to select the desired input (HDMI, VGA, AV, USB, SD) and press 'OK' or 'Enter'.
4.3 Focus Adjustment
If the projected image appears blurry:
- Rotate the focus knob located near the projector lens until the image becomes clear and sharp.
4.4 Menu Navigation
Use the 'Menu' button on the projector or remote to access settings. Use the navigation arrows to move through options and 'OK' or 'Enter' to confirm selections. The projector supports multiple languages including English, Czech, Slovak, Danish, German, Spanish, French, Croatian, Italian, Hungarian, Dutch, Norwegian, Polish, Portuguese, Romanian, Slovene, Serbian, Finnish, Swedish, Bulgarian, Greek, Russian, and Chinese.
4.5 Supported Media Formats
When playing media directly from USB or SD card, the projector supports the following formats:
- Image: BMP, JPEG, PNG
- Video: MPEG1, MPEG2, MPEG4, RM, RMVB, AVI, FLV, WMV
5. Maintenance
5.1 Cleaning the Lens
Use a soft, lint-free cloth specifically designed for optical lenses to gently wipe the projector lens. Avoid using abrasive materials or harsh chemicals.
5.2 General Cleaning
Wipe the projector's exterior with a soft, dry cloth. Do not use liquid cleaners directly on the device. Ensure ventilation openings are free from dust and obstructions.
5.3 Storage
When not in use, store the projector in a cool, dry place, away from direct sunlight and extreme temperatures. It is advisable to cover the lens to protect it from dust.
6. Troubleshooting
If you encounter issues with your projector, refer to the following common problems and solutions:
| Problem | Possible Cause | Solution |
|---|---|---|
| No image on screen | Incorrect input source selected Loose cable connection Source device not powered on | Select the correct input source. Check all cable connections. Ensure the source device is powered on and outputting a signal. |
| Image is blurry | Focus not adjusted | Rotate the focus knob until the image is clear. |
| No sound | Volume too low External audio device not connected Source device audio settings | Increase projector volume. Connect external speakers/headphones to the audio output. Check audio settings on your source device. |
| Projector overheats and shuts down | Blocked ventilation Prolonged use in hot environment | Ensure ventilation openings are clear. Allow the projector to cool down. Operate in a well-ventilated area. |
7. Specifications
Technical specifications for the UHAPPY U18 Portable Mini HD LED Projector:
- Image System: LCD
- Native Resolution: 320x240
- Lamp: LED
- LED Life: 20,000 hours
- Brightness: 60 LM
- Contrast: 300:1
- Lens: F=125
- Image Size: 20-80 inches
- Projection Distance: 1-4 meters
- Projection Mode: Front projection
- Operation Mode: Manual/Remote control
- Input Terminals: AV, VGA, USB, SD, HDMI
- Output: Headphone
- Power: 24W
- Color: 16.77 Million colors
- Speaker: 1.0W*2
- Working Temperature: 10-35°C
- Dimensions: 135 x 132 x 52 mm
- Weight: 0.44 kg
8. Warranty and Support
This product is manufactured by Generic. For warranty information and technical support, please refer to the documentation provided at the time of purchase or contact your retailer. Keep your purchase receipt as proof of purchase.